Introduction
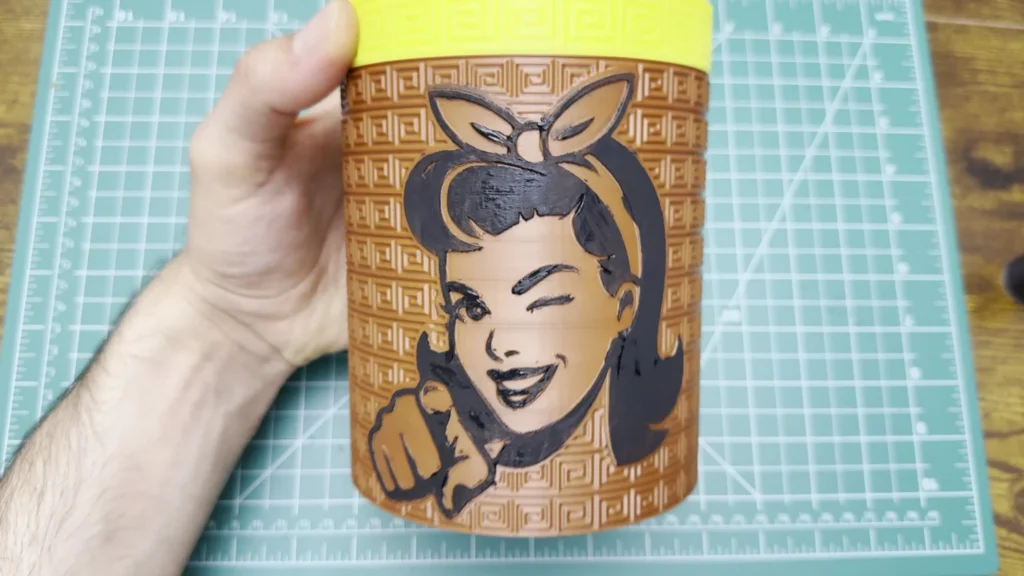
This 3D printed jar started as a drawing on my screen. No CAD, no supports, and the lid really screws on.
I designed it in Jar Studio, a tool I built for exactly this: you pick a size, a thread, a pattern and a lid, put your own drawing on the wall, and download the print files. Then I printed it in one colour and painted the drawing by hand with black paint and a thin brush.
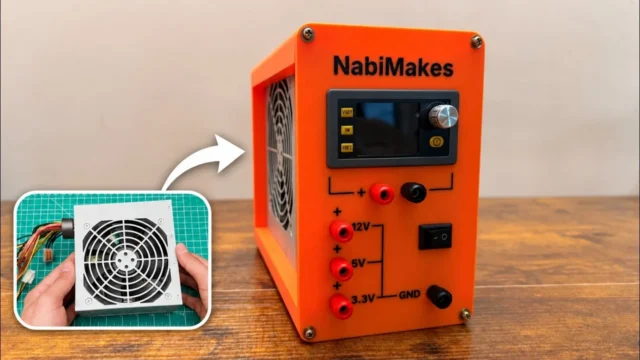
The whole build is also in the video below. If you like builds where I make the tool first, my ATX bench power supply got its case from another tool I wrote.
 Watch the full build on YouTube
Full build · 4:49
Watch the full build
Every step, the mistakes and the first test, in one video.
T-02Made with a NabiMakes tool
Jar Studio
Design 3D-printable screw-top jars with a flush lid: size, thread, 41 jar and 19 lid patterns and colours, downloaded as STL or 3MF.
In this build. I designed the whole jar in Jar Studio: the size, the thread, the pattern, my drawing on the wall and the lid. Then I downloaded the print files, no CAD involved.
- Size
- 140 mm tall · Ø 120 mm
- Capacity
- about 1.4 litres
- Thread
- 2.3 turns to close
- Pattern
- Greek key
- Artwork
- cut 0.8 mm into the wall
- Lid
- medium, Greek key grip
- Colours
- brown jar · yellow lid · black artwork
- File
- 3MF, two plates
Free to use: designing, previewing and the production files.
Tools and materials
01 Tools
- Jar Studio (NabiMakes browser tool)
- Computer with a web browser (Jar Studio)
- 3D printer (Anycubic Kobra X)
- Thin paintbrush
02 Materials
- PLA filament in brown (jar) and yellow (lid)
- Black acrylic paint
- A drawing as an SVG file (mine is a retro winking woman)
03 Consumables
- Tissues for wiping off the extra paint
Build process
-
Step 1: Start with a drawing
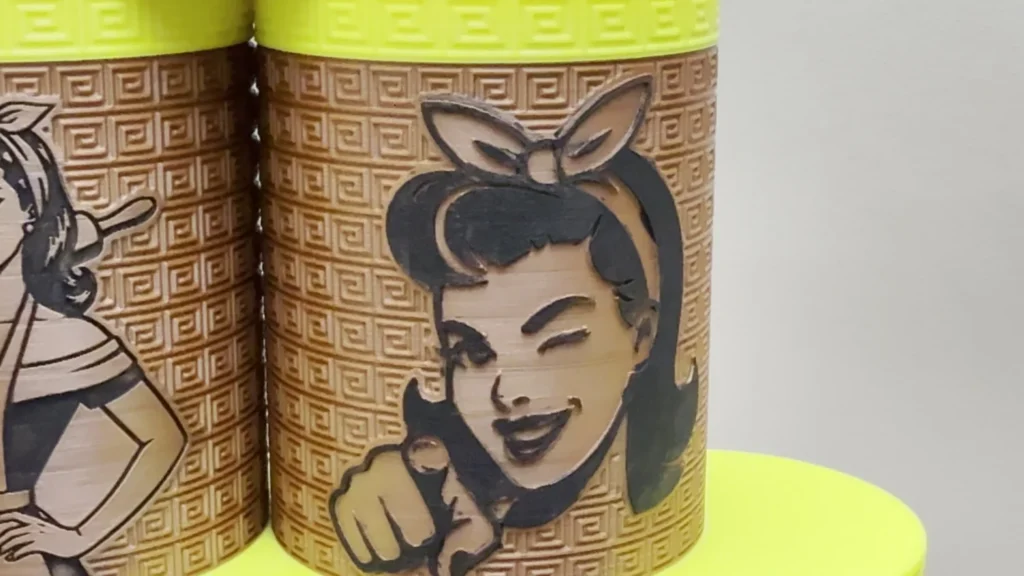
Everything started with this drawing: a retro woman with a headscarf, winking and pointing at you. It is a clean black and white SVG file, which is what Jar Studio needs to cut a drawing into the wall.
Simple, bold lines work best. Every black area becomes a groove in the jar, and later every groove gets paint.

Fig. 01 -
Step 2: Set the size
Step one in Jar Studio is the size. As I drag the height and diameter sliders, the jar grows on screen and the tool tells me how much it holds.
I went for 140 mm tall and 120 mm across, which holds about 1.4 litres.
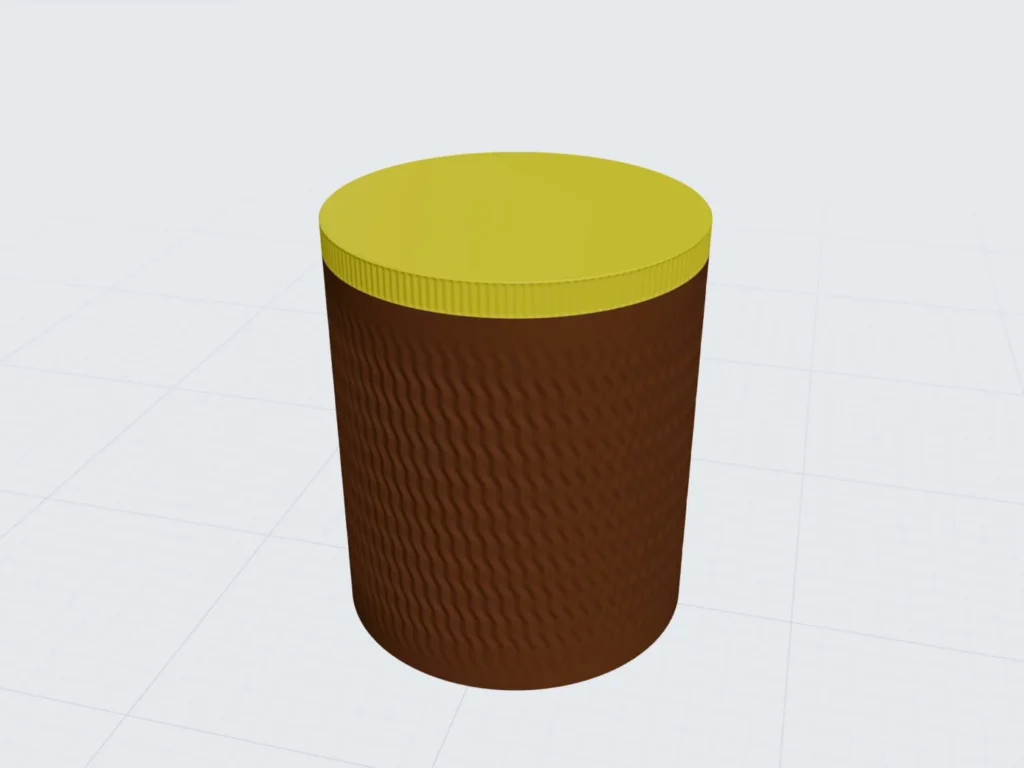
Fig. 02 -
Step 3: Choose the thread
Step two is the thread. This was the part I was most worried about, because a jar is useless if the lid doesn't close.
The thread has flanks at 45 degrees, so it prints without supports. In the cut-open view you can see it running around the inside of the lid and the neck of the jar. Mine needs 2.3 turns to close.
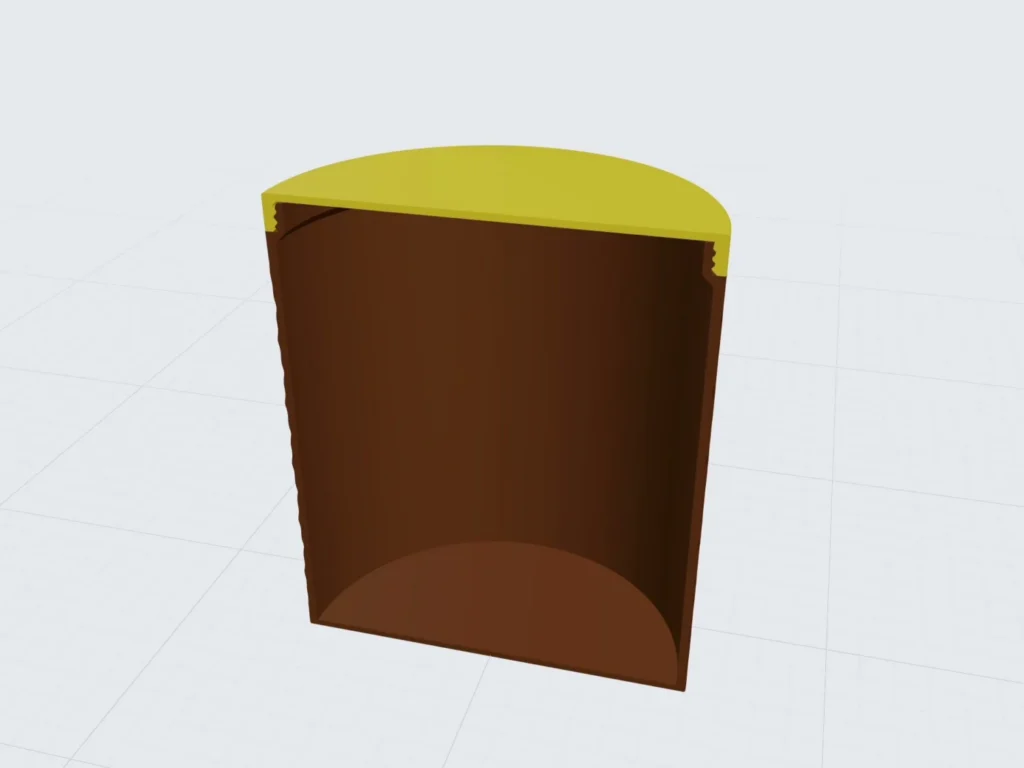
Fig. 03 Thread
2.3 turns to close, printed without supports.
-
Step 4: Pick a pattern
Step three is the pattern on the wall. I searched the pattern list for Greek key and picked it. It wraps around the whole jar.
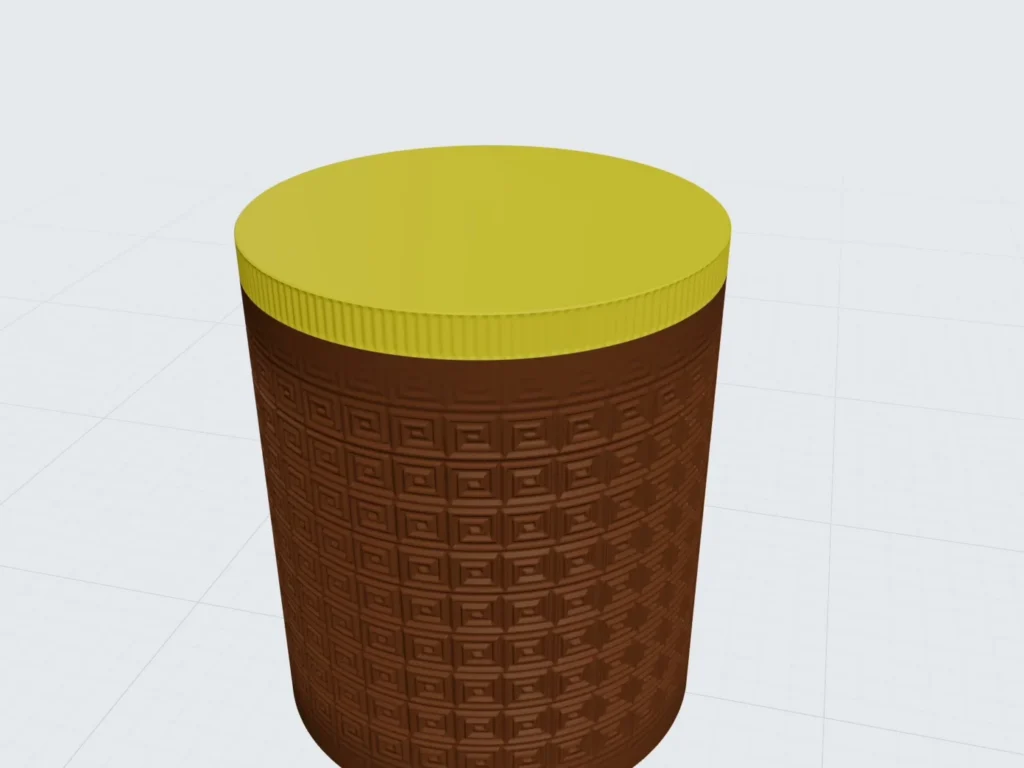
Fig. 04 -
Step 5: Put the drawing on the wall
Now the fun part. I uploaded my drawing and it went straight onto the wall of the jar. I made it black in the preview, so I could really see it.
The pattern stays out of the drawing, so every line stays clean. The drawing is cut into the wall instead of standing out, and that matters later when it comes to painting.
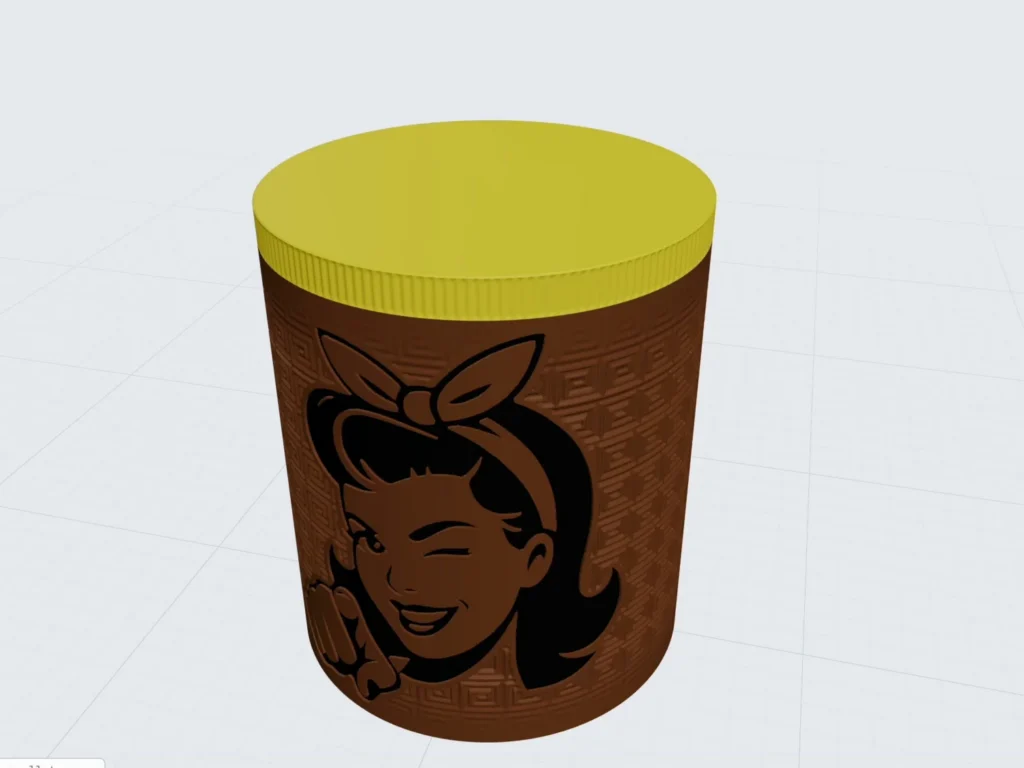
Fig. 05 Depth
The drawing is cut 0.8 mm into the wall.
-
Step 6: Add the lid
Step four is the lid. I picked the medium one, with the same Greek key around its grip.
With one click on Open the lid, I can watch it unscrew in the 3D view, which is a nice way to check the thread before printing anything.
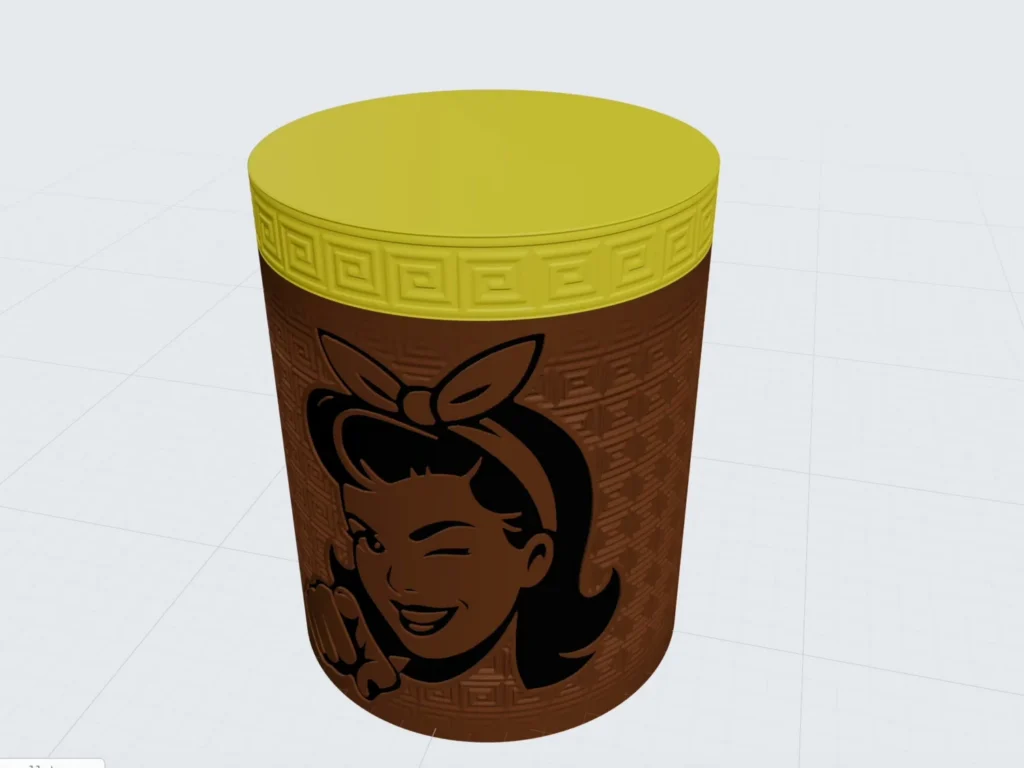
Fig. 06 -
Step 7: Pick colours and download
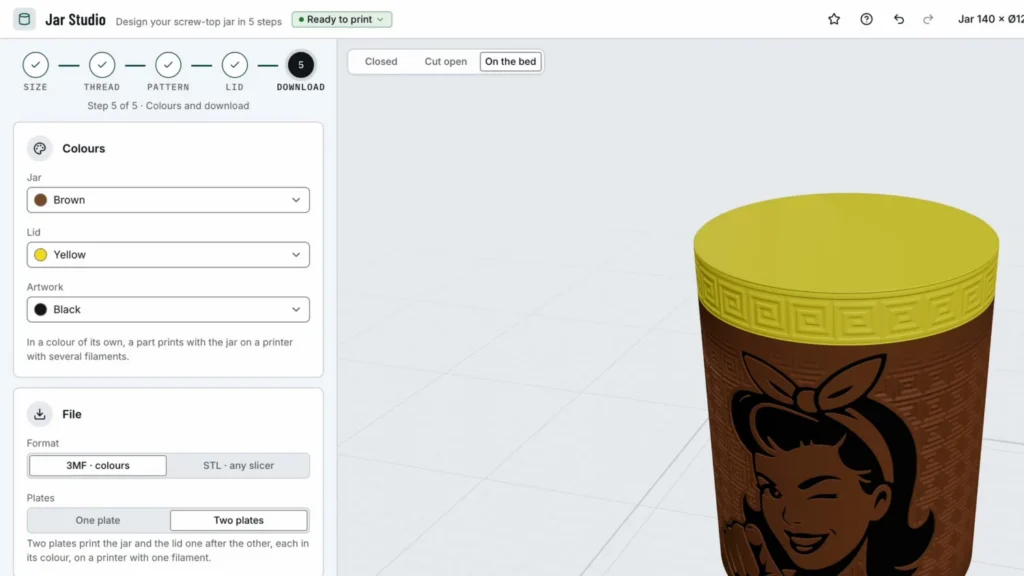
Step five is colours and download: brown for the jar, yellow for the lid, black for the drawing.
I chose two plates, because the jar and the lid don't fit side by side on my printer. After that, the warning at the top changed to Ready to print, and I downloaded the 3MF file.
With a multi-colour printer, the drawing prints in black by itself. I printed mine in one colour, because I wanted to paint it by hand.
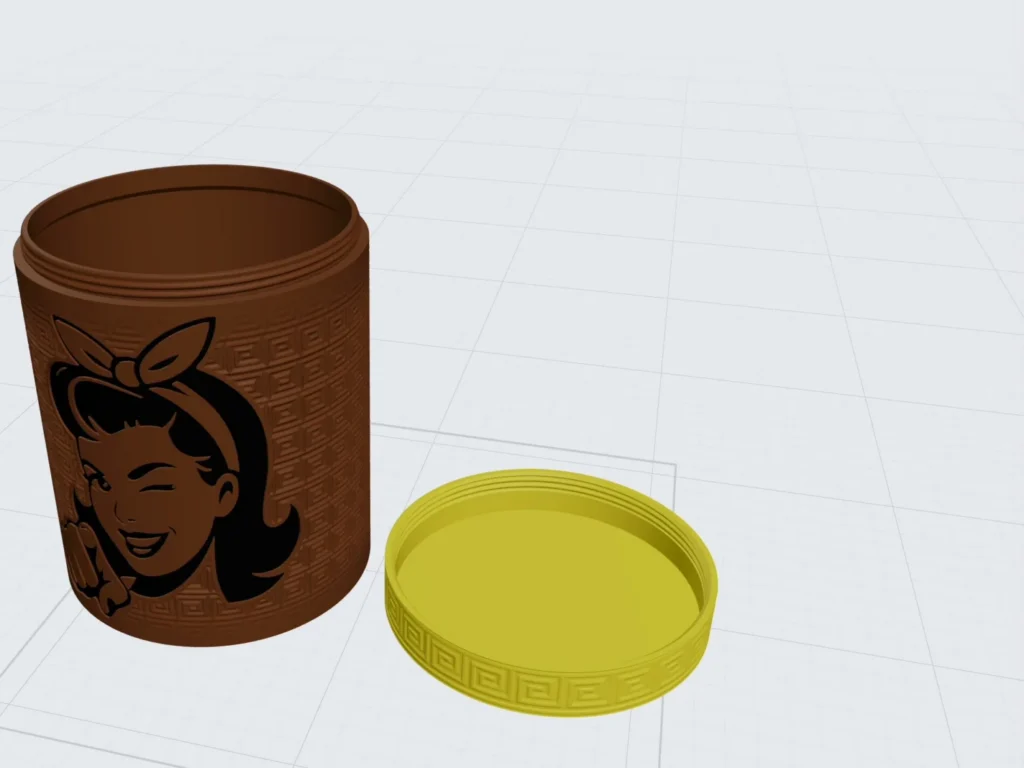
Fig. 07 -
Step 8: Print a small test jar first
Before printing the big one, I printed a small test jar, just to check the thread. It screwed on, so I moved on to the real jar.
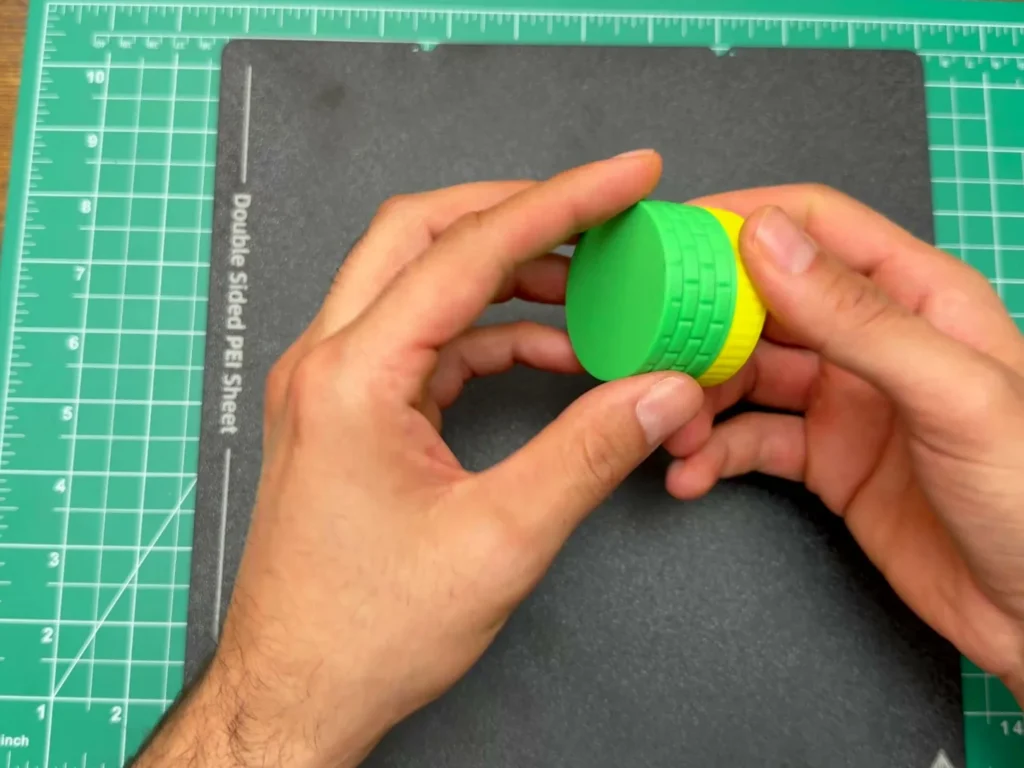
Fig. 08 -
Step 9: Print the big jar
Then the big one, printed in brown PLA, with the yellow lid on its own plate. The pattern came out really crisp.
Printing in one colour also saved a lot of time. For this exact jar, my slicer estimated 7 h 21 min in one colour, against 15 h 31 min with the drawing in black on a multi-colour printer, because of all the filament changes.
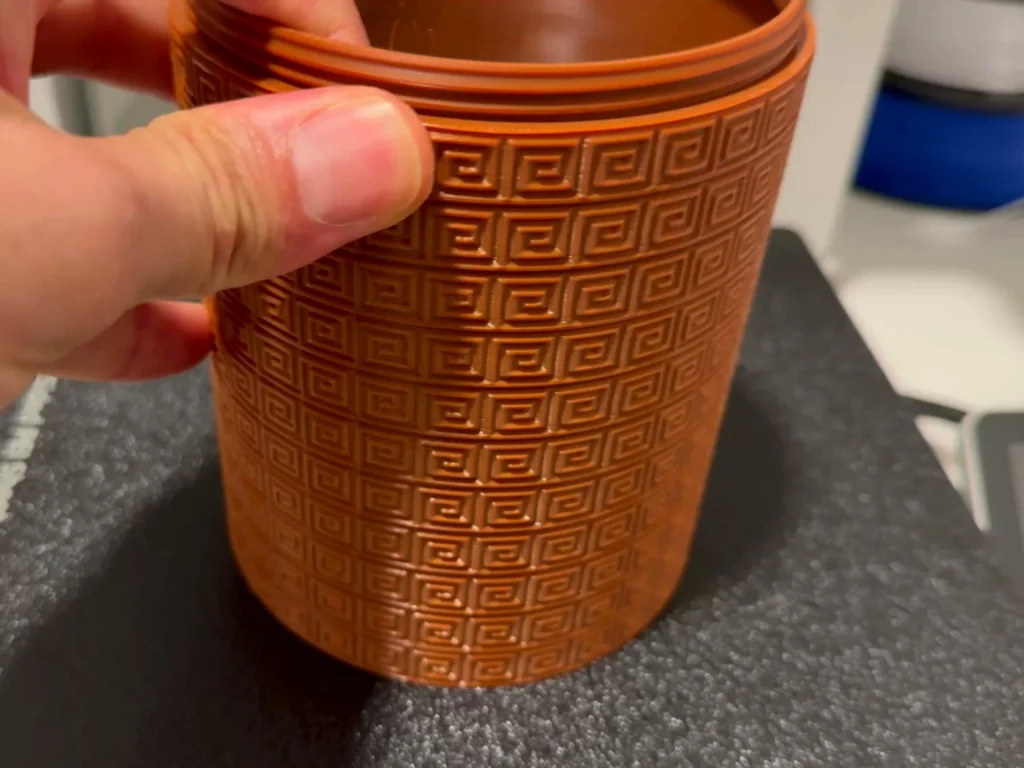
Fig. 09 Slicer estimate
One colour: 7 h 21 min. Drawing in black: 15 h 31 min (Anycubic Slicer Next, Kobra X, 0.20 mm layers).
-
Step 10: Notice the drawing is hard to see
Look closely at the printed jar: the drawing is there, but it is the same brown as everything else. You only really see her when the light hits from the side.
So I grabbed a brush.
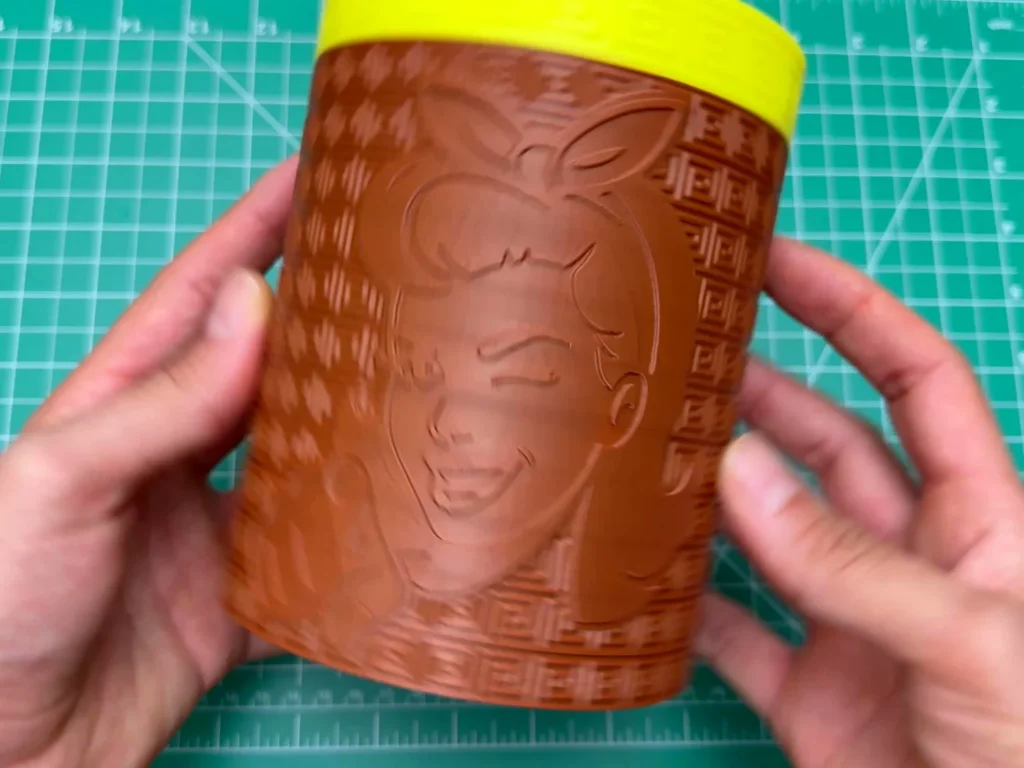
Fig. 10 -
Step 11: Paint the big shapes first
All I used is black paint and a thin brush. Because the drawing is cut into the wall, the grooves guide the brush for you.
I started with the hair, the biggest shape, and filled the grooves rather than painting the wall around them. Small slips are fine, they come off later.
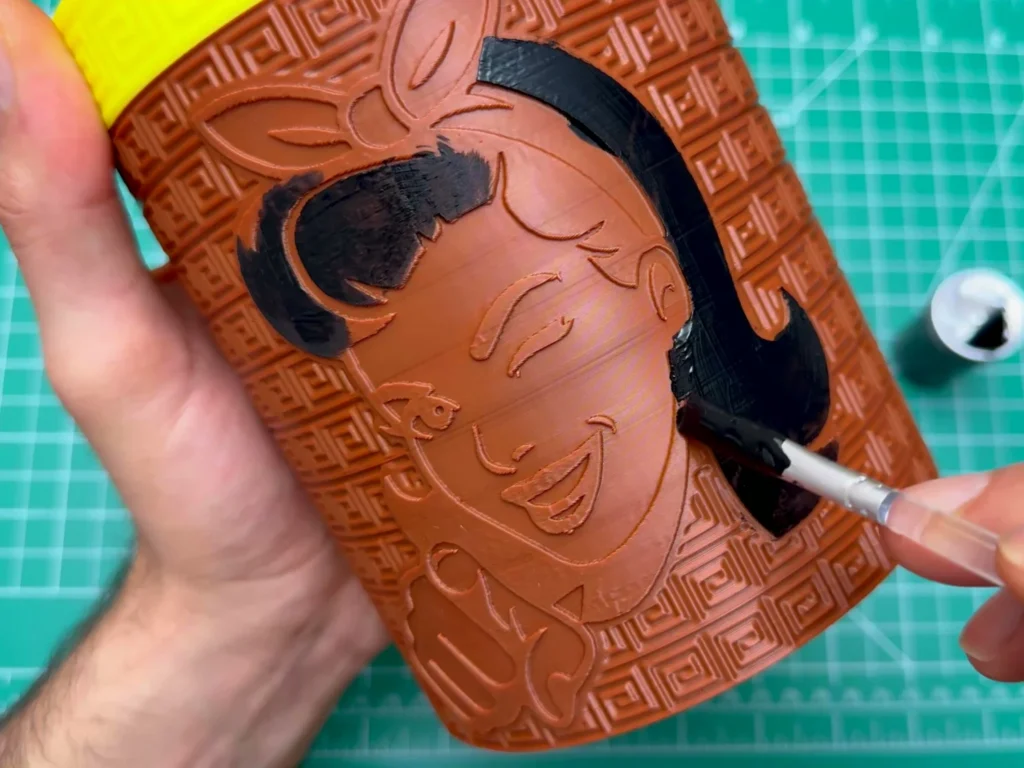
Fig. 11 -
Step 12: Add the small details
Then the face, and then all the little details, using only the tip of the brush. I turned the jar as I went, so my hand always had a good angle.
The whole drawing took me about fifteen minutes.
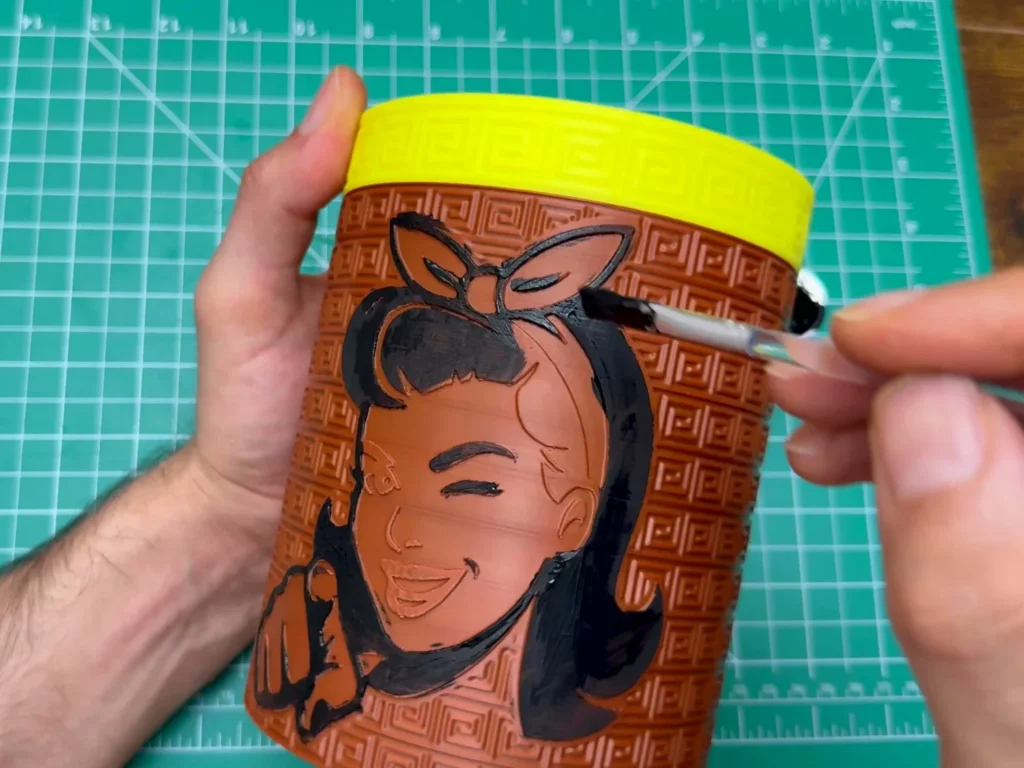
Fig. 12 -
Step 13: Wipe off the extra paint
When the paint has set for a moment, I wipe the surface with a tissue. The paint comes off the wall and stays in the grooves, so the black stays in the lines.
And she's done. And yes, she's winking at you.
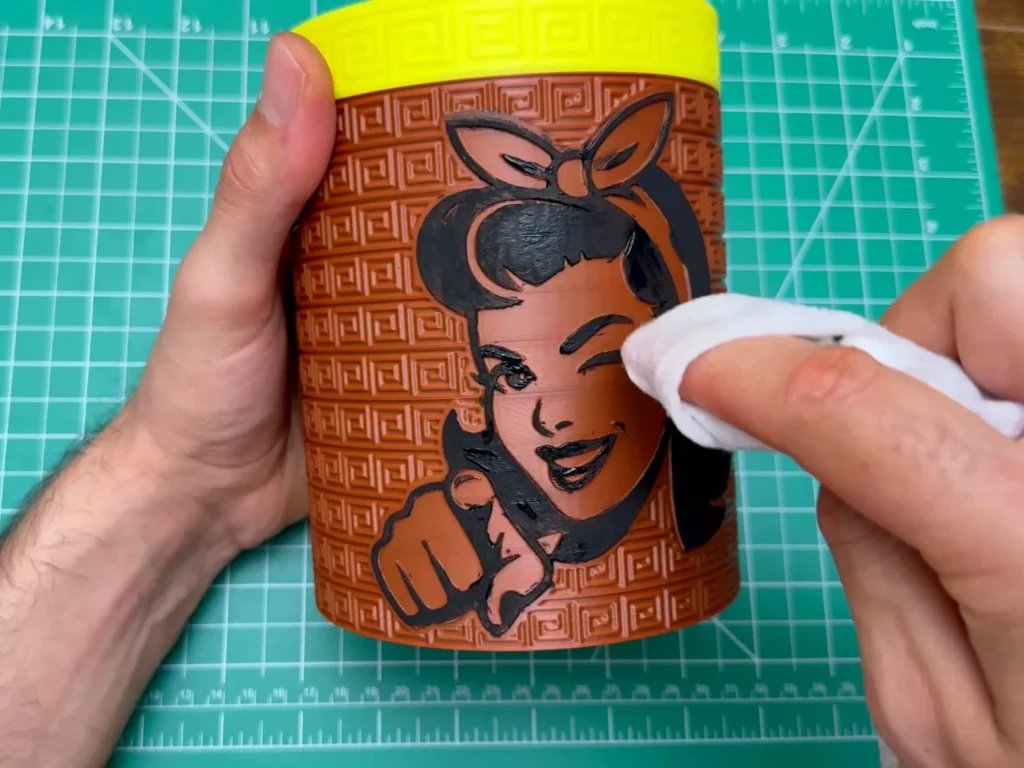
Fig. 13 Food jars
Paint only the outside, and keep the jar for dry goods.
-
Step 14: Check that the lid closes
Now the part I was worried about. Does the lid actually close? A couple of turns, and it sits flush. Perfect!
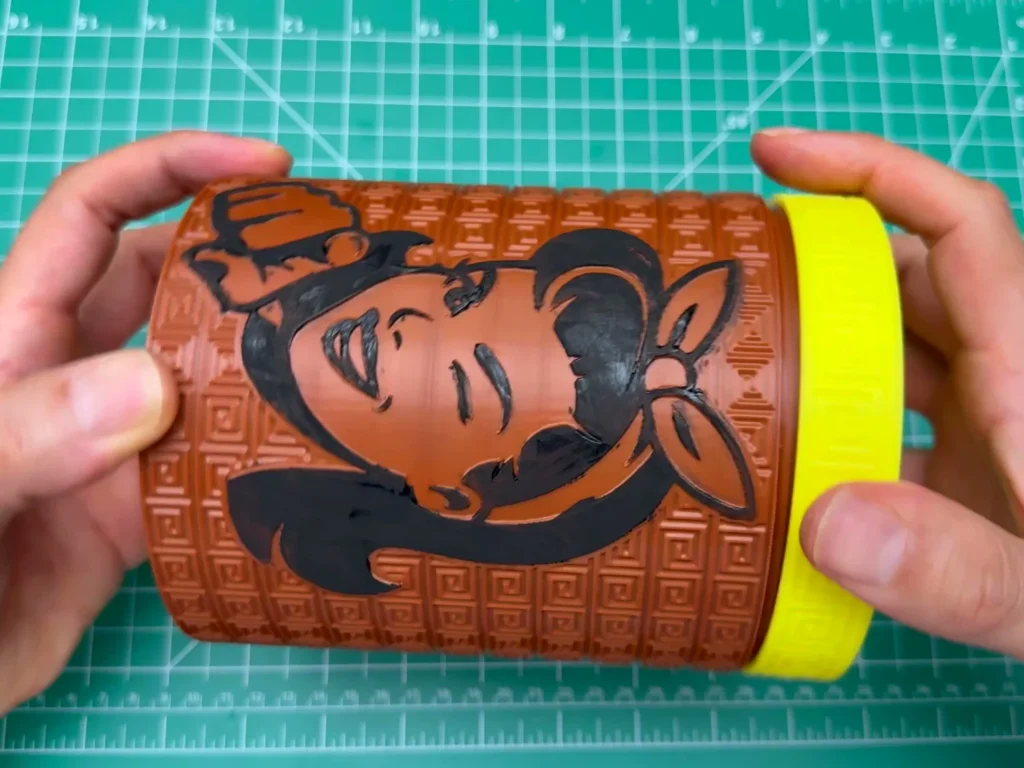
Fig. 14
Problems & mistakes
The only surprise was the drawing itself. Printed in one colour, it nearly disappears into the wall, and you only see it with light from the side. Painting the grooves fixed that, and it was faster than printing the drawing in a second colour.
The other thing to know: the jar and the lid did not fit side by side on my printer's bed, so Jar Studio showed a warning until I switched to two plates.
Final result
From a drawing on my screen to a real jar on my shelf. It holds about 1.4 litres, the thread printed without supports, and the lid screws on and sits flush.
I made a baker jar too, and a coffee jar with its own label, all from the same tool. Which drawing should go on my next jar? Tell me in the comments on the video.