Introduction
This wooden piano music box is one of the cutest builds I have made. It's a small laser-cut plywood kit that I found at TEDi in Germany for about €3, and it took me about an hour to put together.
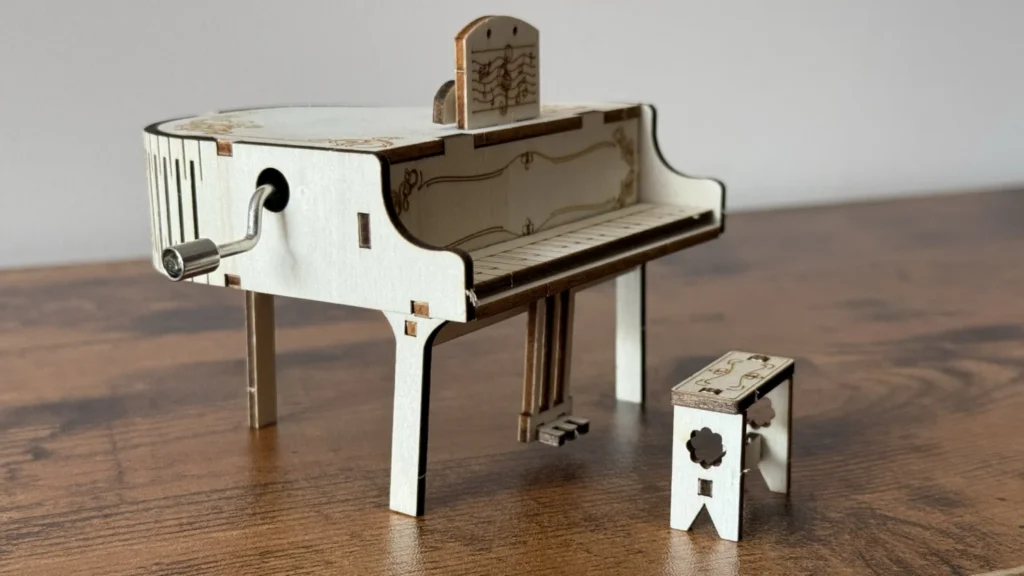
The finished model is a tiny grand piano with engraved decorations, little keys, legs, pedals and a matching bench. Inside sits a real music box movement, so when you turn the small crank on the side, the piano plays a melody.
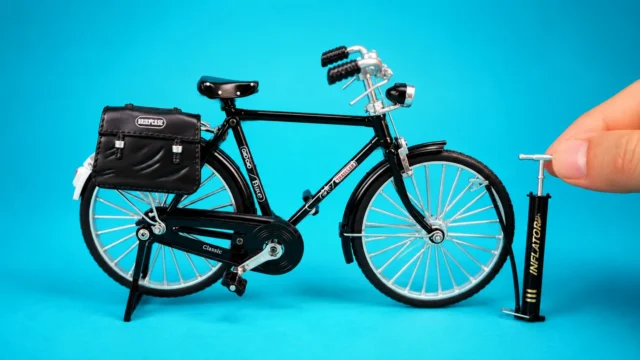
It's a perfect first kit: the only tool you need is the little screwdriver that comes in the box, and the result looks great on a shelf. If you like small model kits, have a look at my tiny retro bicycle as well.
 Watch the full build on YouTube
Full build · 5:11
Watch the full build
Every step, the mistakes and the first test, in one video.
Tools and materials
01 Tools
- The small screwdriver included in the kit
- Your fingers to press the parts out of the sheet
- Optional: a craft knife to free any part that is still attached
02 Materials
- Wooden piano music box kit from TEDi (about €3)
- Laser-cut plywood sheet with engraved parts
- Hand-crank music box movement
- Small screws for the movement (included)
Build process
-
Step 1: Unpack the kit
The kit comes as a single plywood sheet with all the parts laser-cut and the decorations already engraved, plus a metal hand-crank music box movement, a few small screws and a tiny screwdriver.
Before starting, I laid everything out and looked at how the parts fit together. Most pieces have tabs and slots, so the shapes already show you where each part goes.
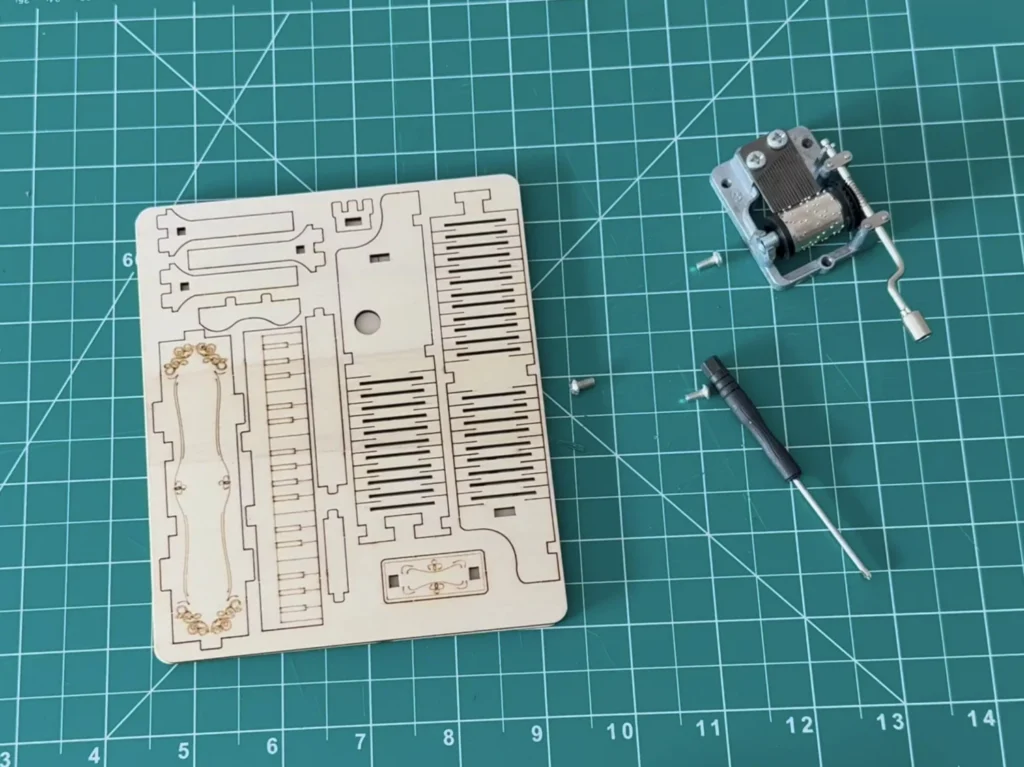
Fig. 01 -
Step 2: Press out the parts
The parts are held in the sheet by tiny bridges. Push them out gently from the back, one at a time, only when you need them, so the small pieces don't get mixed up.
Be careful with the thin parts like the keys, the legs and the pedals. If one doesn't come out easily, cut the little bridge with a craft knife instead of forcing it.
Heads up
Thin plywood parts snap easily. Never twist them out of the sheet; press straight through.
-
Step 3: Mount the music box movement
The heart of the piano is the music box movement. I screwed it to the curved base plate with the included screws, with the crank shaft pointing out to the side where the hole in the piano body will be.
The movement is the classic type: a metal comb and a pinned cylinder. When you turn the crank, the pins pluck the teeth of the comb and play the tune.
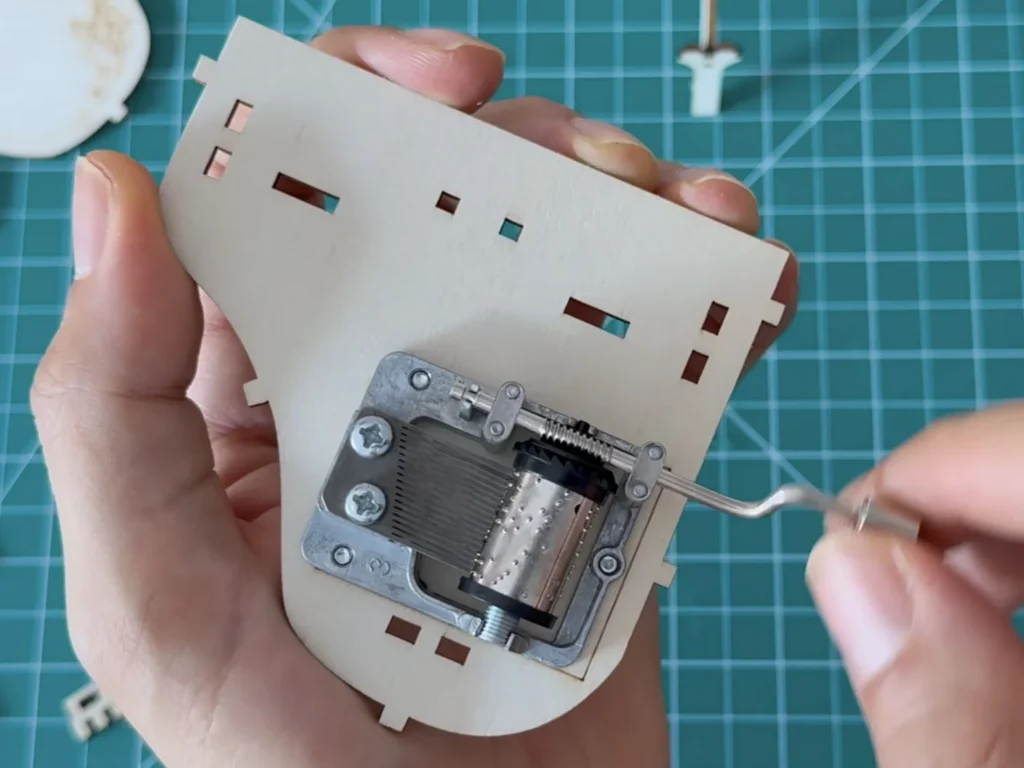
Fig. 02 -
Step 4: Build the curved piano body
Next comes the body. The long side pieces have rows of thin cuts in them. That is a living hinge: the cuts let the plywood bend so it can follow the curved shape of a grand piano.
I slotted the side walls into the base one by one and bent the hinged sections slowly around the curve. Go gently here; bending too fast or too far can crack the thin strips.
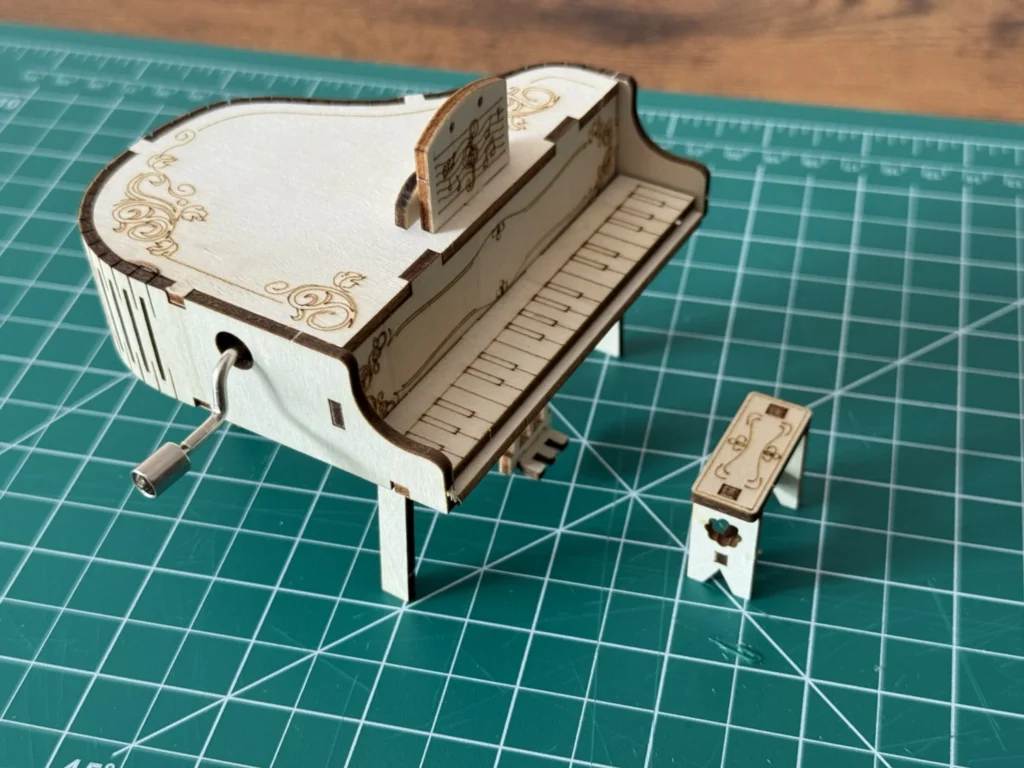
Fig. 03 -
Step 5: Add the keyboard and the lid
With the body standing, I added the keyboard at the front and the engraved lid on top. The keys are engraved into one piece, so there's nothing fiddly to line up.
The little music stand with its engraved sheet music slots into the lid last, and it's the detail that makes it really look like a piano.
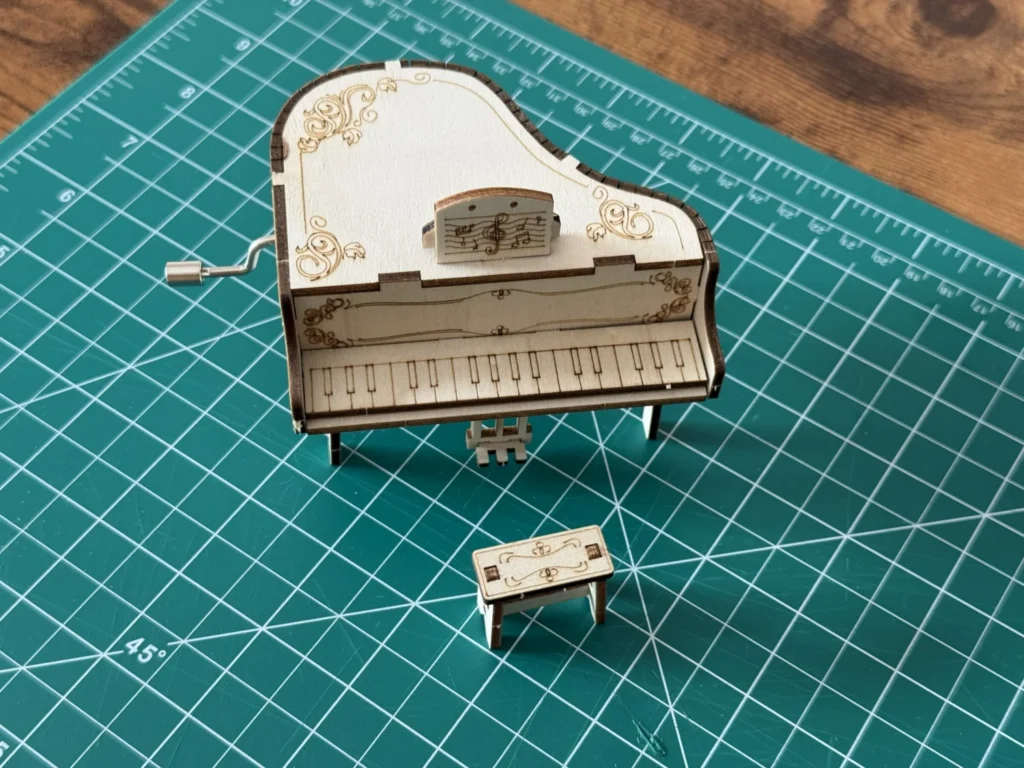
Fig. 04 -
Step 6: Fit the legs, pedals and bench
The three legs and the pedal piece slot into the bottom of the body. Make sure each tab is pushed all the way in so the piano stands level.
The matching bench is built from a few small parts of its own. It's tiny, but it completes the scene.
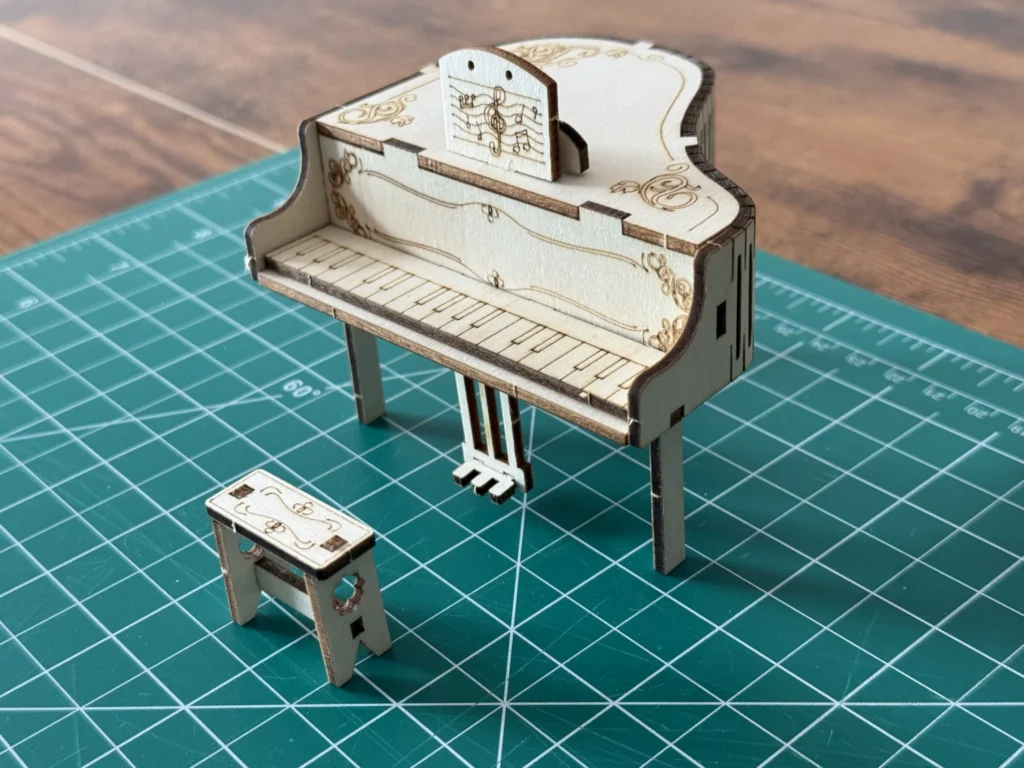
Fig. 05 -
Step 7: Turn the crank and play
The last step is the best one: turn the little crank on the side and the piano starts playing. The movement is screwed to the wooden body, which helps carry the sound.
Turn the crank slowly and evenly for the nicest sound.
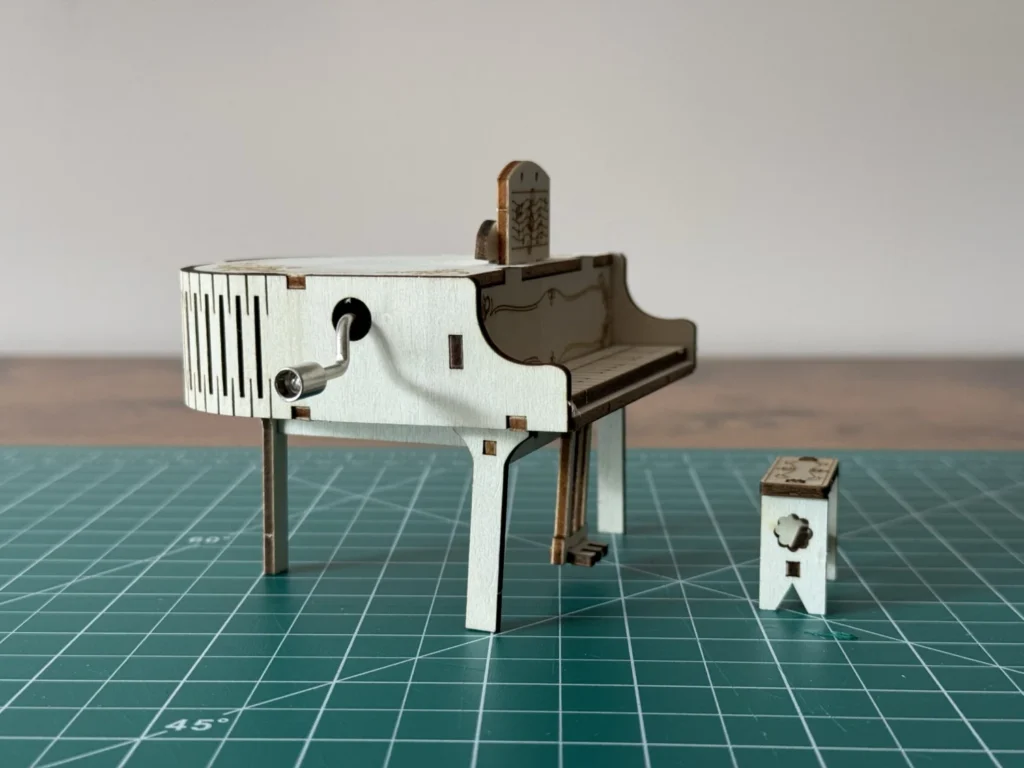
Fig. 06
Problems & mistakes
This kit is very easy, but there are two things to watch. The thin parts can break if you twist them out of the sheet, and the living-hinge sections can crack if you bend them too quickly.
Also, mount the music box movement before closing up the body. Once the sides are on, it's hard to reach the screws.
Watch out
Don’t force a tab into a slot. If it’s too tight, check that you have the right part and that it faces the right way.
Final result
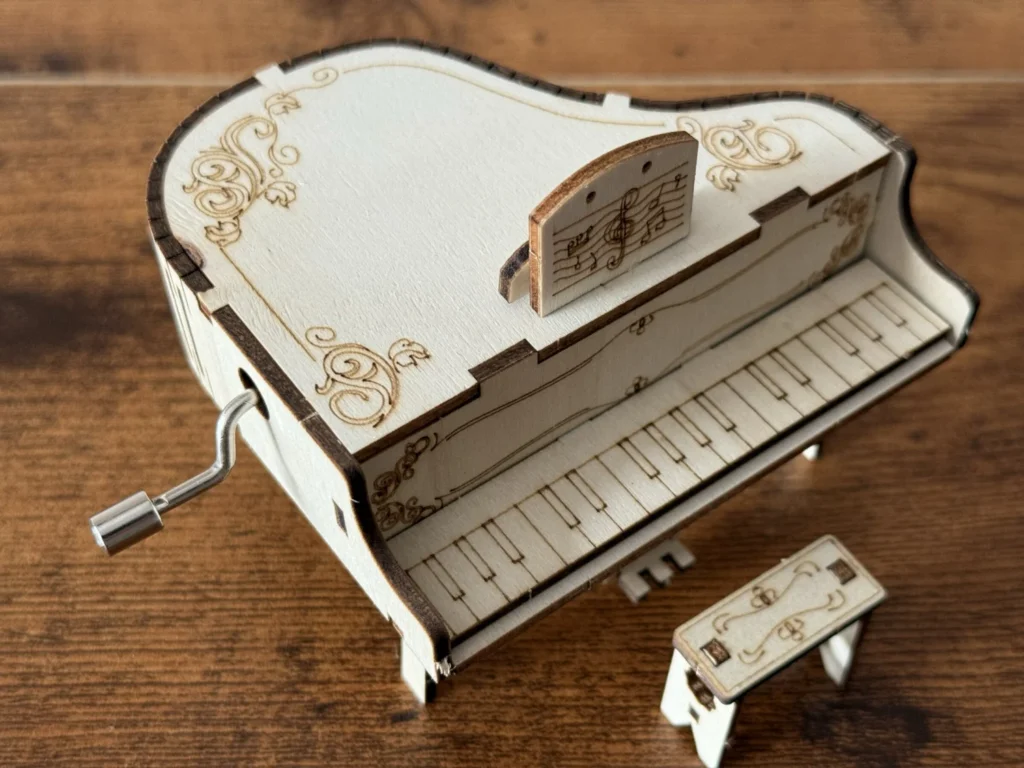
The finished wooden piano music box looks far better than its €3 price. The engraved details, the tiny keys and the little bench make it a lovely display piece, and turning the crank to hear it play never gets old.
It's a great first kit, a nice gift, and a fun one-hour build. You can watch the whole build and hear it play in the video.
What I would change
I would give it a light coat of clear varnish or wax to protect the bare plywood and bring out the engraving.
Painting the keys black and white, or the whole piano in a classic glossy black, would make it look even more like a real grand piano.