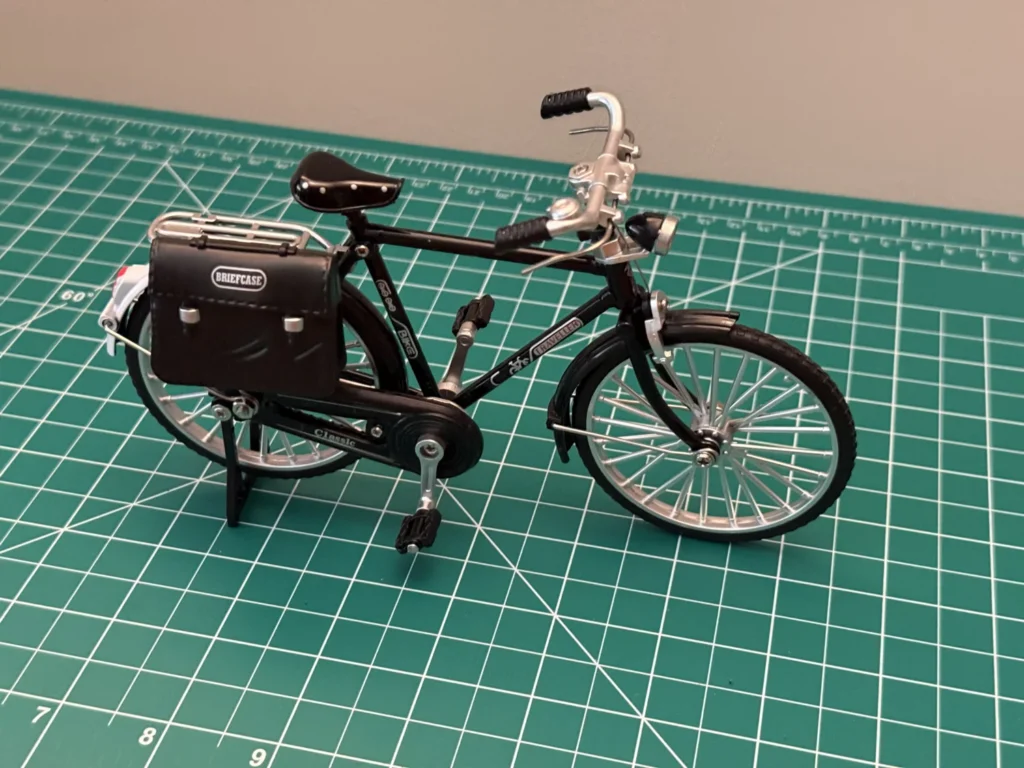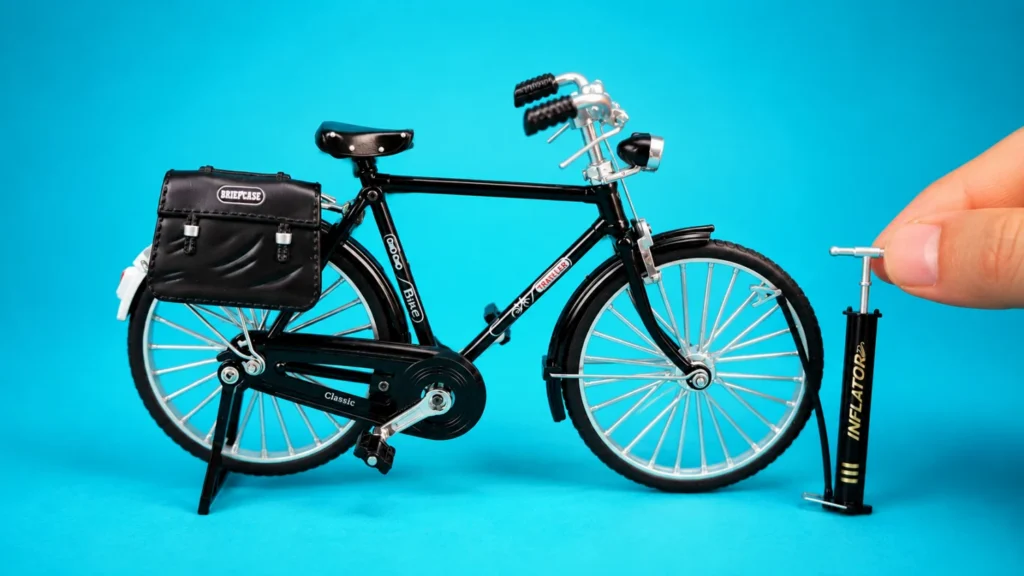
In this Project, I assemble a detailed 1:10-scale DIY retro bicycle model piece by piece. From the tiny wheels and frame to the pedals, pump, saddle bags, and realistic bike details, this miniature bicycle kit is surprisingly fun to build! Watch the full assembly process and see how all the small parts come together to create a beautiful classic mini bike model. Perfect for model lovers, DIY fans, collectors, and anyone who enjoys satisfying miniature builds. Can this tiny bike actually move? Does it look realistic when finished? Watch until the end to see the final result!
Tools & materials
Tools
- The only thing you need is the xinrongda DIY 1:10 Mini Bike Model Retro
Step by step
Build process
Open up the box!
The first thing is to open the box, then put all the components on the table and organize them. Be careful not to miss any component, because there are a lot of very small screws and small components that can be lost very easily!
Follow the the manual on the back of the box
On this step, you must follow the instructions on the back of the model kit box. Try to create the bigger parts with the smaller components.
Heads up
Unfortunately, the model instructions are not as clear as they should be, and I highly recommend following the instructions in my YouTube video attached to this project to be on the safe side and avoid having to assemble and disassemble multiple times due to the unclear instructions, like me!
What I would change
I have to say this again! The next time I want to build a model kit, I will not rush into assembling it. I will take my time a bit to see the manual very carefully, and also take some time to organize the components.
Also, if the manual was not clear, I would search the web and use another person’s experience who has already gone through the issues that I’m about to face and try to avoid them!
Final result
In the YouTube video and also in the project gallery on this page, you can see the final result. I think now it’s the time when I can mention that this was my first-ever model kit build, and I built a bicycle model, and it was fun!