
What can you make with French Cleat Generator?
Parts for cleats 6 to 30 mm thick, cut at 45° or 30°, from 15 to 300 mm wide. Makers print:
- A hanger for a wooden tool holder, box or picture frame.
- Hooks for pliers, cables and hand tools.
- A small shelf for glue, tape or a charger.
- A printed wall strip for a garage or workshop wall.
How do you make a French cleat part, step by step?
Everything is in the panel beside the part, which updates as you change it. Start from a preset, then change what you need.
1. Start from a preset
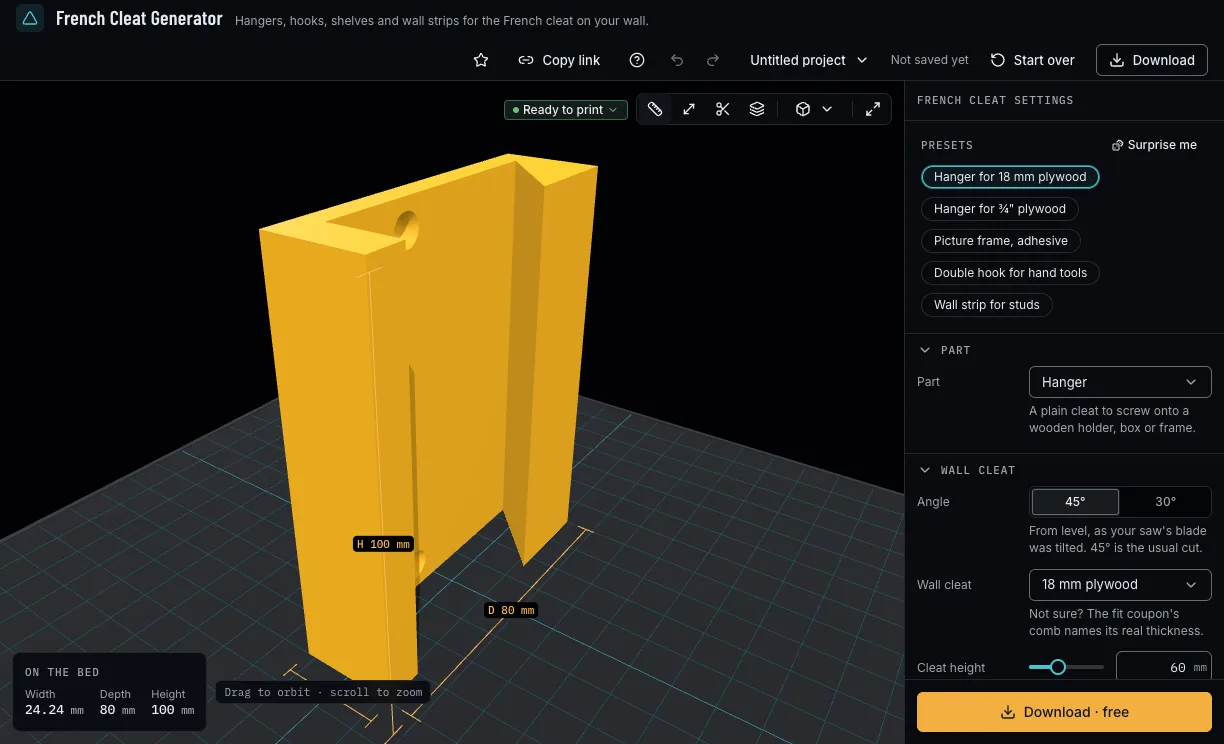
Pick Hanger for 18 mm plywood, Hanger for ¾" plywood, Picture frame, Double hook for hand tools or Wall strip for studs. A preset sets only the values it names; Surprise me tries another reach, lip, width and back height and keeps your wall.
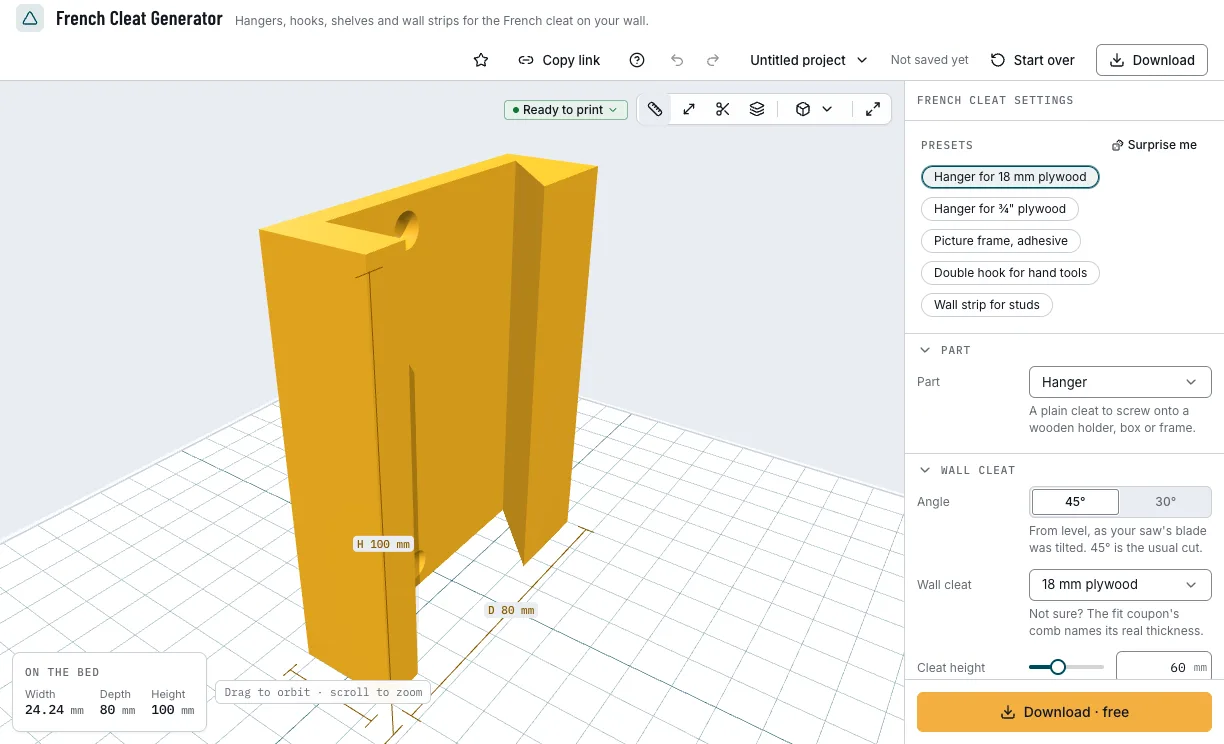
The presets and the hanger they start from. 2. Pick the part
A hanger to screw onto a holder, a hook, a shelf, the wall strip, or the fit coupon. Print the coupon first if you do not know your cleat's real thickness: the tightest slot of its comb that slides onto the cleat names it, and its hook slice hangs on the wall before the full part.
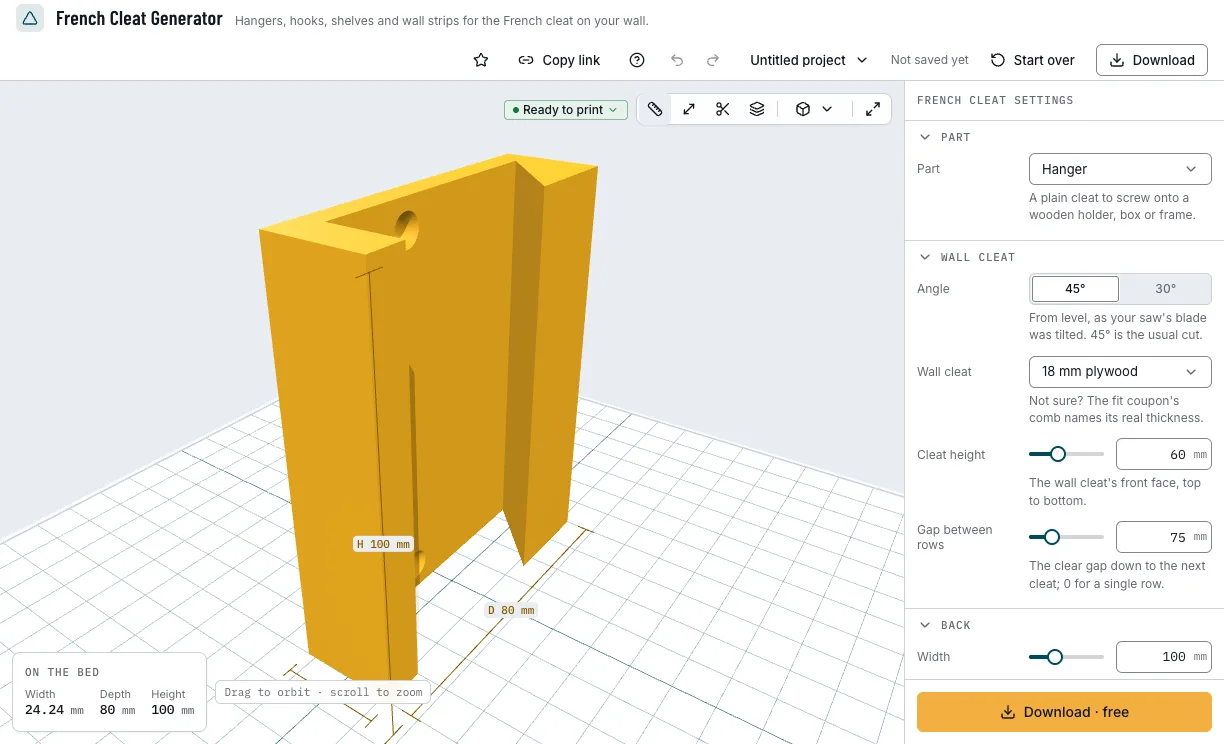
Five parts on one tool. 3. Describe your wall cleat
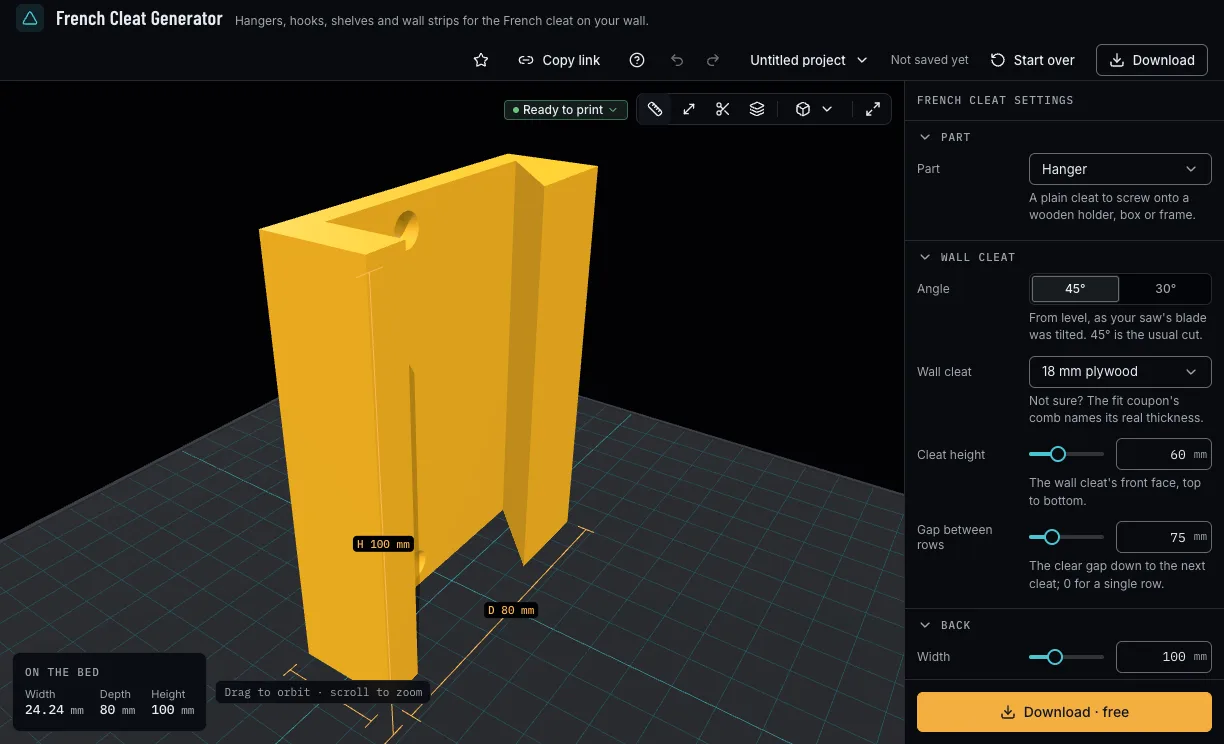
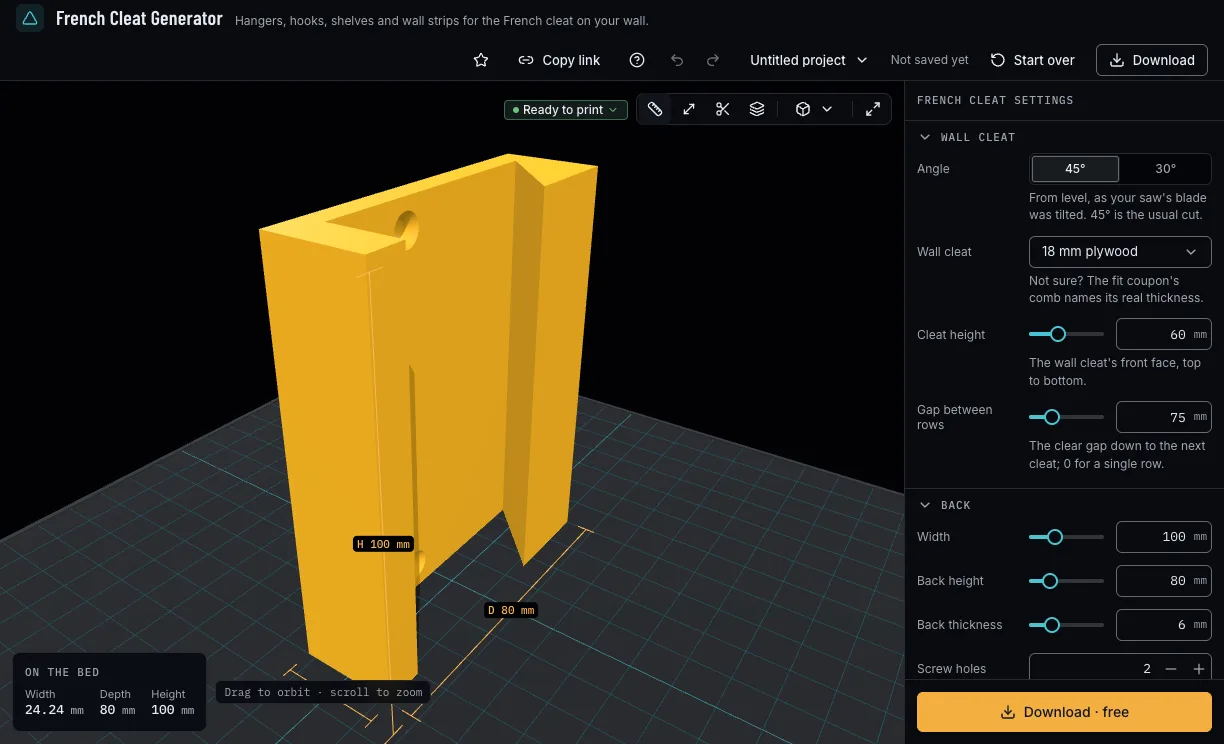
The angle your saw's blade was tilted to cut it, 45° or 30°; the cleat, from the plywood and lumber presets or your own thickness; its height at the front; and the gap down to the next row, 0 for a single row. The spacer goes where your wall needs it.
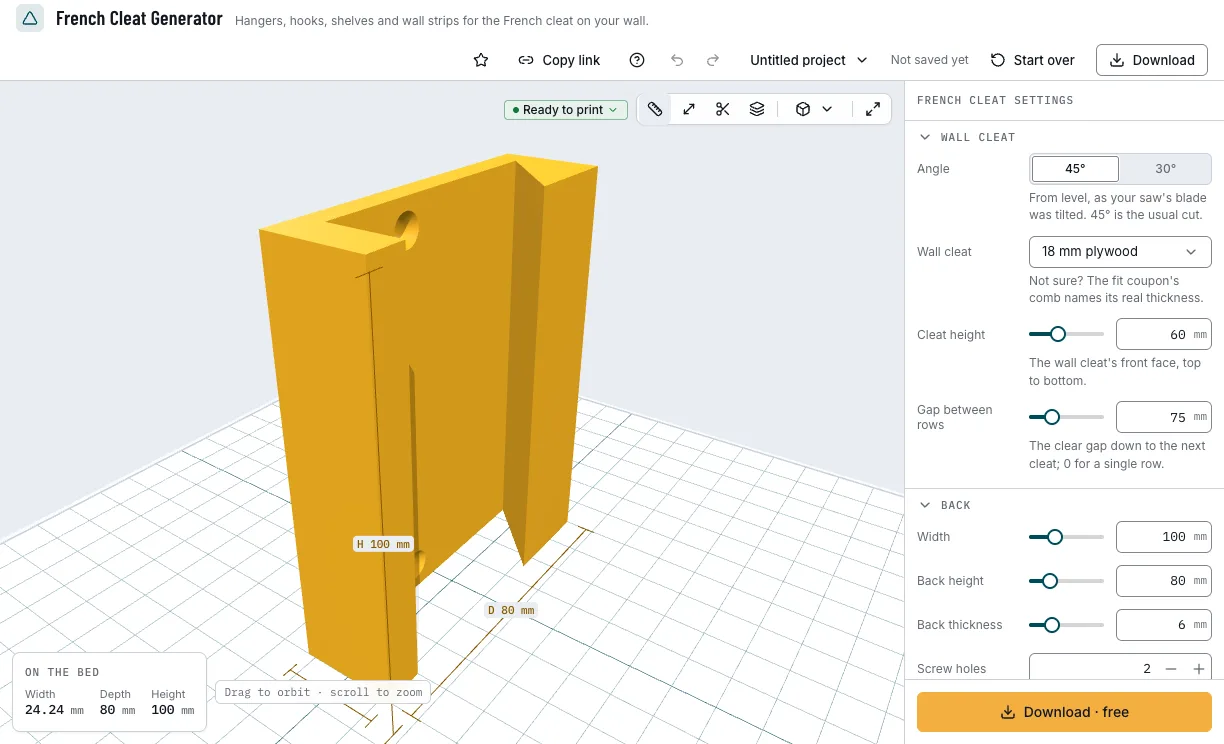
Your wall, in four settings. 4. Shape a hook or a shelf
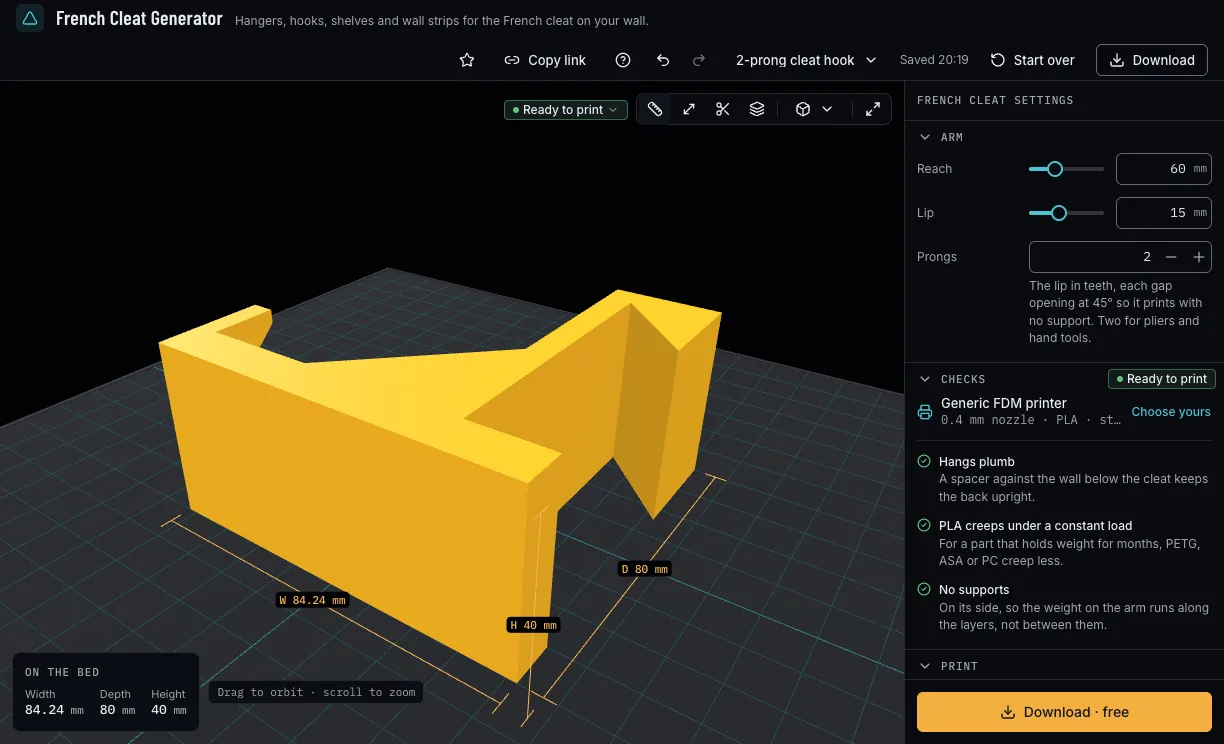
Set how far it reaches from the back, the lip at its front and, for a hook, how many prongs the lip is cut into. The arm has a gusset at its root, and each gap between prongs opens at 45°, so the hook prints on its side with no support.
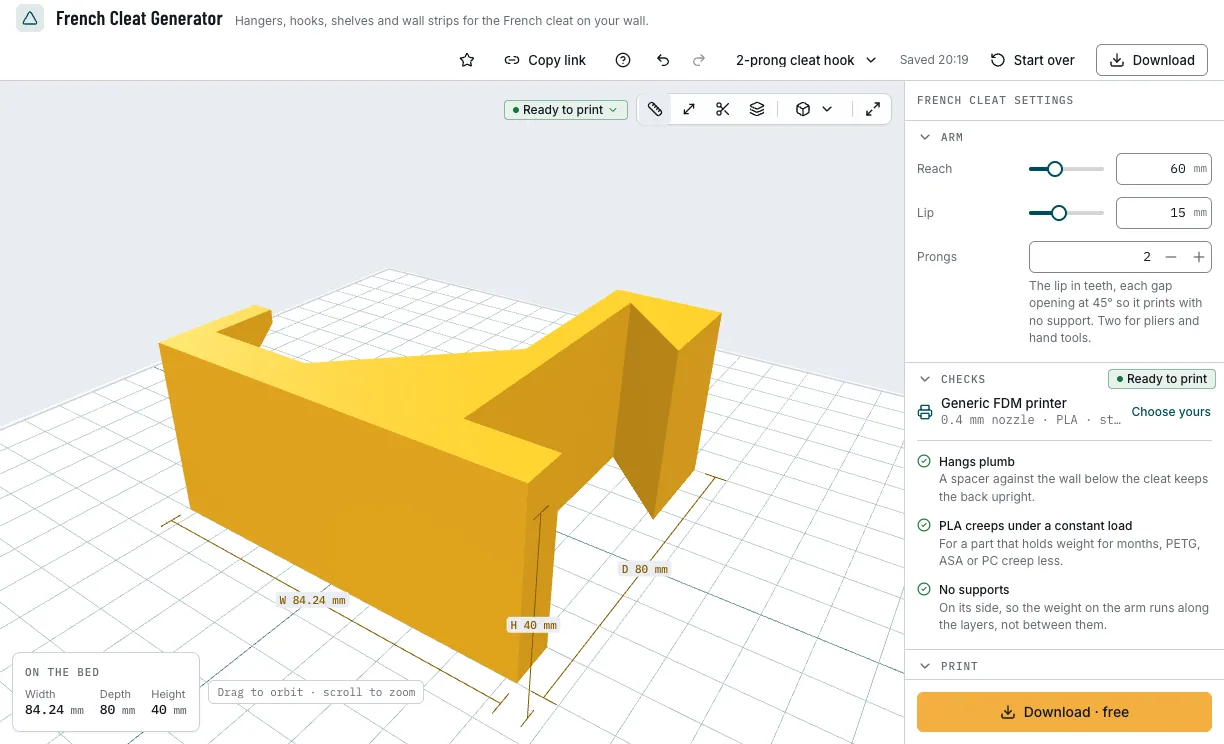
A double hook for hand tools. 5. Print the wall strip
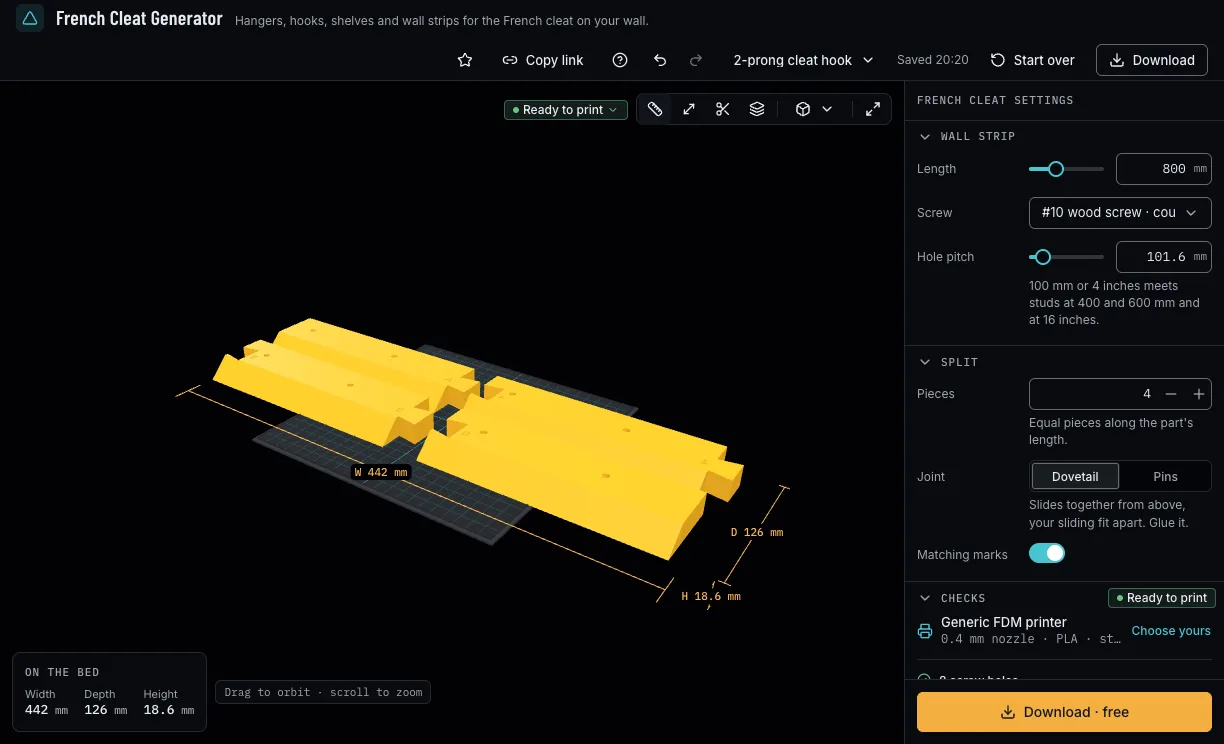
Set its length, the screw and the hole pitch: 100 mm or 4 inches meets studs at 400 and 600 mm and at 16 inches. A strip longer than your bed splits into pieces with dovetails; it prints front face down, so neither its bevel nor its countersinks need support.
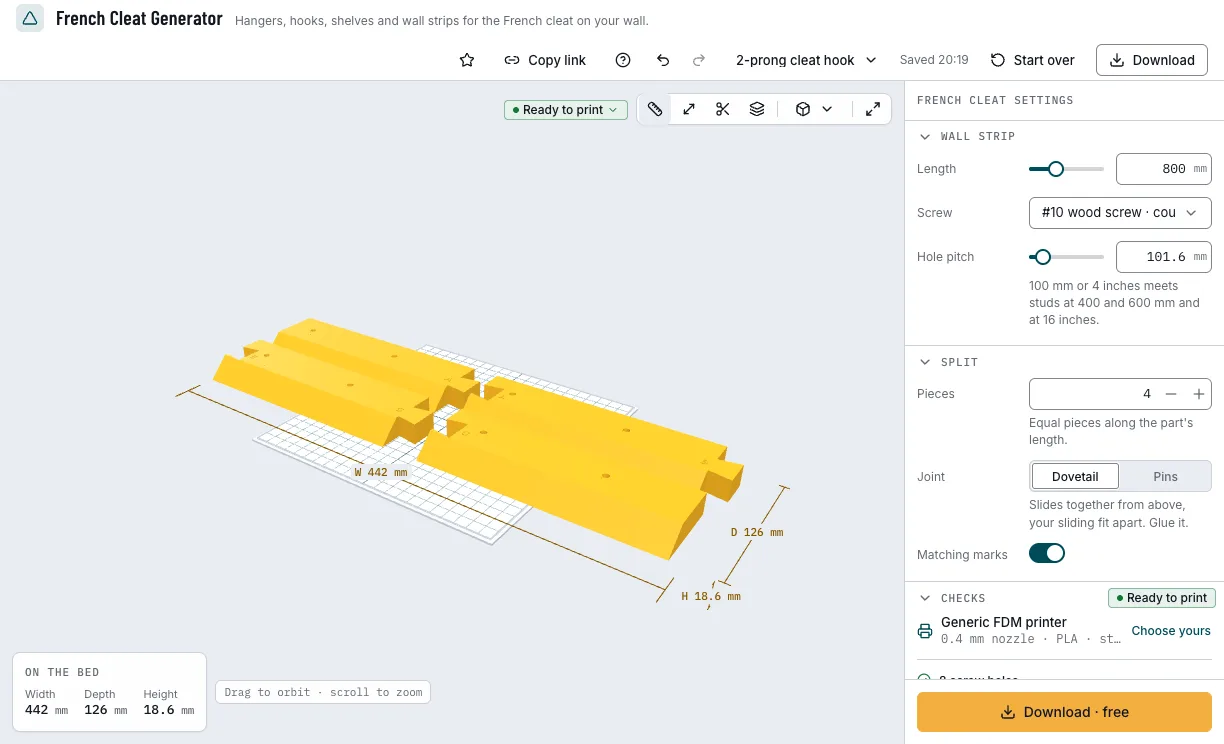
An 800 mm strip in four pieces. 6. Check it and download
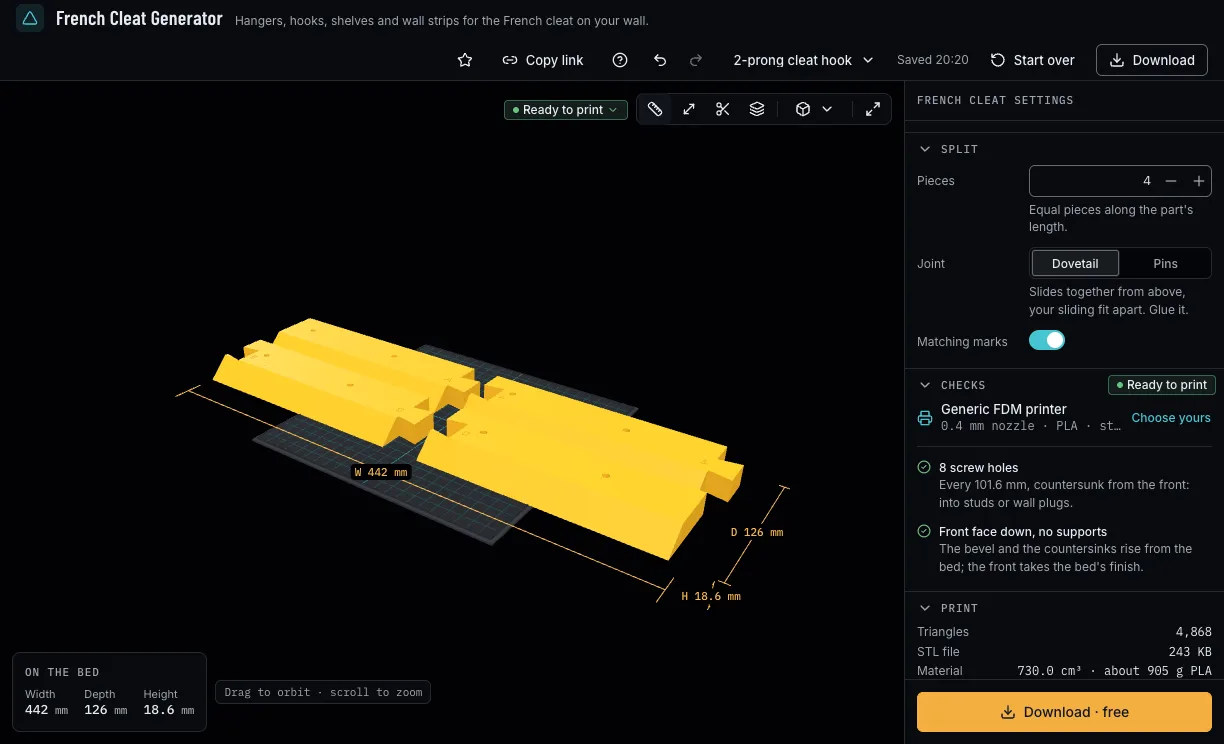
The checks say whether the hook fits between your rows, where the spacer went, whether the screw holes have room and how the part prints. Then download 3MF or STL.
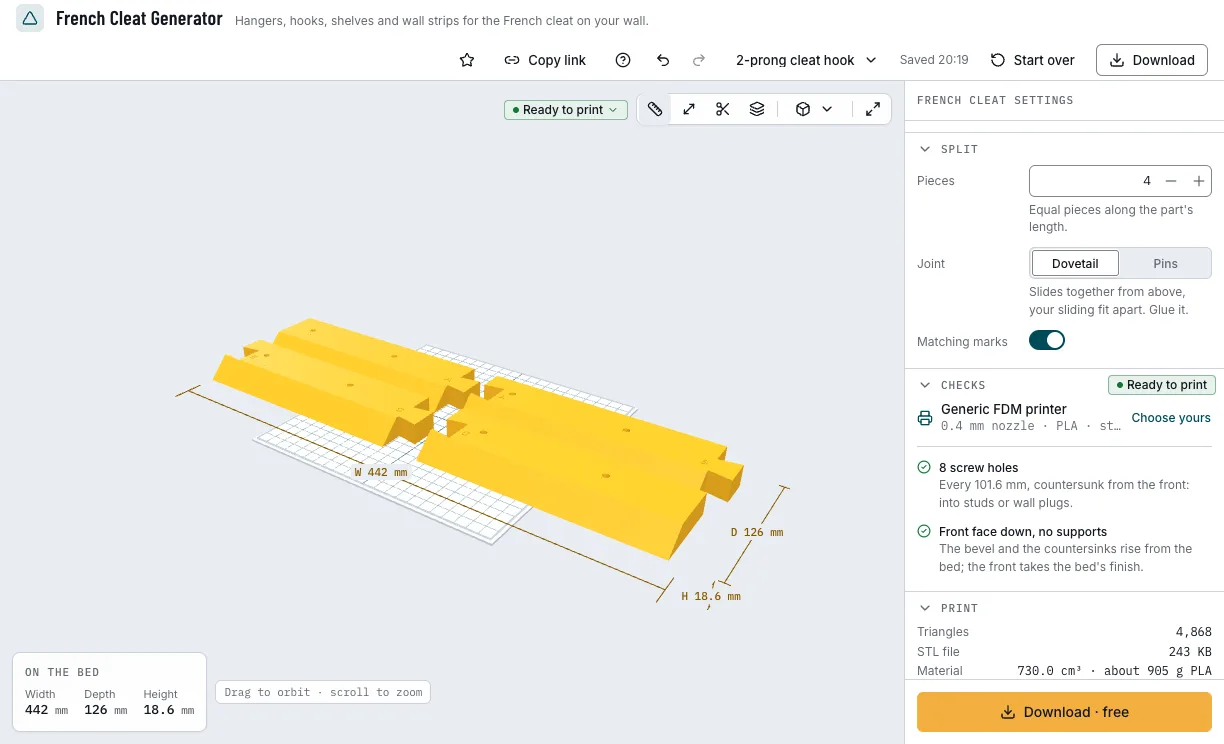
The checks and the download.
Which French cleat parts can you start from?
Each example opens in French Cleat Generator as a new design, beside your own.
Hanger for 18 mm plywood
A hanger for a wooden holder on an 18 mm plywood cleat, with two countersunk screws.
- 18 mm cleat
- 45°
- 100 mm wide
- Free
Picture frame, adhesive
A thin hanger for a picture frame on an 8 mm cleat, for adhesive pads.
- 8 mm cleat
- 45°
- 80 × 40 mm
- Free
Double hook for hand tools
A double hook for pliers and hand tools.
- 2 prongs
- 60 mm reach
- 15 mm lip
- Free
Wall strip for studs
An 800 mm wall strip with #10 screws every 4 inches, in four pieces.
- 800 mm
- 4 pieces
- Dovetails
- Free
Which print settings work best for French cleat parts?
Hangers, hooks and shelves print on their side, so the profile is in every layer and the hook's pull runs along the layers, with no supports. The wall strip prints front face down. The layer height is a starting point; the thinnest wall is the one the printer checks hold each filament to.
| Filament | Layer height to start | Thinnest wall | Supports | Notes |
|---|---|---|---|---|
| PLA | 0.2 mm | 0.8 mm | None | Fine for light things; PLA creeps under a load it holds for months. |
| PETG | 0.2 mm | 0.8 mm | None | Creeps less than PLA, for hooks and shelves that hold tools. |
Tips for cleat parts that hang straight
- Print the fit coupon first: ¾ inch plywood is often 23/32 inch, about 18.26 mm, or less.
- Measure the gap between your rows: a hook taller than the gap will not go on.
- Use a 30° cleat for close rows: its hook is shorter.
- Screw a wall strip into studs or wall plugs at every hole.
- Before you print, check it on the view's bar: Dimensions shows its size, Measure the distance between two points, Section cuts it open and Layers steps through it as your printer will.
What if the part does not hang right?
- The hook is too tight or too loose on the cleat
- The hook is your cleat's thickness plus your filament's sliding fit. Print the fit coupon to find the real thickness, type it as your own, and set your printer's fits from its fit test.
- The checks say the hook is taller than the gap between rows
- Press Apply for a 30° cleat where its shorter hook fits, or move your rows further apart.
- The part leans out at the bottom
- Check the cleat height: the spacer goes below the wall cleat only when the back reaches past it. A back that ends on the cleat's face rests on it.
- The checks say there is no room for the screw holes
- Press Apply for a taller back: the holes go between the hook and the spacer.
Is French Cleat Generator free?
Yes. Every part, size and download is free; downloading needs a free NabiMakes account, which also keeps your projects.
Free
Free- Hangers, hooks, shelves and wall strips
- Any cleat from 6 to 30 mm, 45° or 30°
- The fit coupon
- 3MF and STL
Every setting, with its range and default
Lengths are in millimetres. Each setting shows only where it applies: the back for a hanger, hook or shelf, the arm for a hook or shelf, the strip's settings for a wall strip.
| Setting | Range | Default | What it does |
|---|---|---|---|
| Part | |||
| Part | Hanger, Hook, Shelf, Wall strip, Fit coupon | Hanger | A hanger, a hook, a shelf, the wall strip or the fit coupon. |
| Wall cleat | |||
| Angle | 45°, 30° | 45° | The angle the cleat was cut at, from level: 45° or 30°. |
| Wall cleat | 12, 15, 18 mm; ½", ⅝", ¾" plywood (23/32"), ¾" lumber; your own | 18 mm plywood | Your wall cleat: plywood and lumber presets, or your own. |
| Thickness | 6–30 mm | 18 mm | Your own cleat's thickness: the fit coupon's comb names it. |
| Cleat height | 20–130 mm | 60 mm | The wall cleat's front face, top to bottom. |
| Gap between rows | 0–300 mm | 75 mm | The clear gap down to the next row; 0 for a single row. |
| Back | |||
| Width | 15–300 mm | 100 mm | Across the wall. |
| Back height | 20–300 mm | 80 mm | The back's height, hook included. |
| Back thickness | 4–12 mm | 6 mm | The back plate's thickness. |
| Screw holes | 0–6 | 2 | The hanger's screws into its holder, countersunk on the wall side; 0 for adhesive. |
| Screw | 10 options | 4 mm wood screw · countersunk | The hanger's countersunk wood screw. |
| Arm | |||
| Reach | 20–150 mm | 60 mm | How far a hook or shelf reaches from the back. |
| Lip | 0–40 mm | 15 mm | The lip at the front of a hook's arm or a shelf; 0 for none. |
| Prongs | 1–4 | 1 | The hook's lip in teeth, 4 mm apart at the arm, each tip at least 3 mm. |
| Wall strip | |||
| Length | 60–2400 mm | 400 mm | The wall strip's length; pieces that fit your bed join with the split's joint. |
| Screw | 10 options | 5 mm wood screw · countersunk | The wall strip's countersunk screw. |
| Hole pitch | 50–600 mm | 100 mm | Between the strip's holes, from 25 mm in from each end. |
| Split | |||
| Pieces | 1–8 | 1 | How many pieces the strip prints in. |
| Joint | Dovetail, Pins | Dovetail | Dovetails or printed pins between the pieces. |
| Matching marks | On, off | On | Matching letters on both sides of each cut. |
| Fit coupon | |||
| Comb | 5 slots, 7 slots, 9 slots, 11 slots | 9 slots | The comb's slots, 0.25 mm apart round your cleat's thickness. |