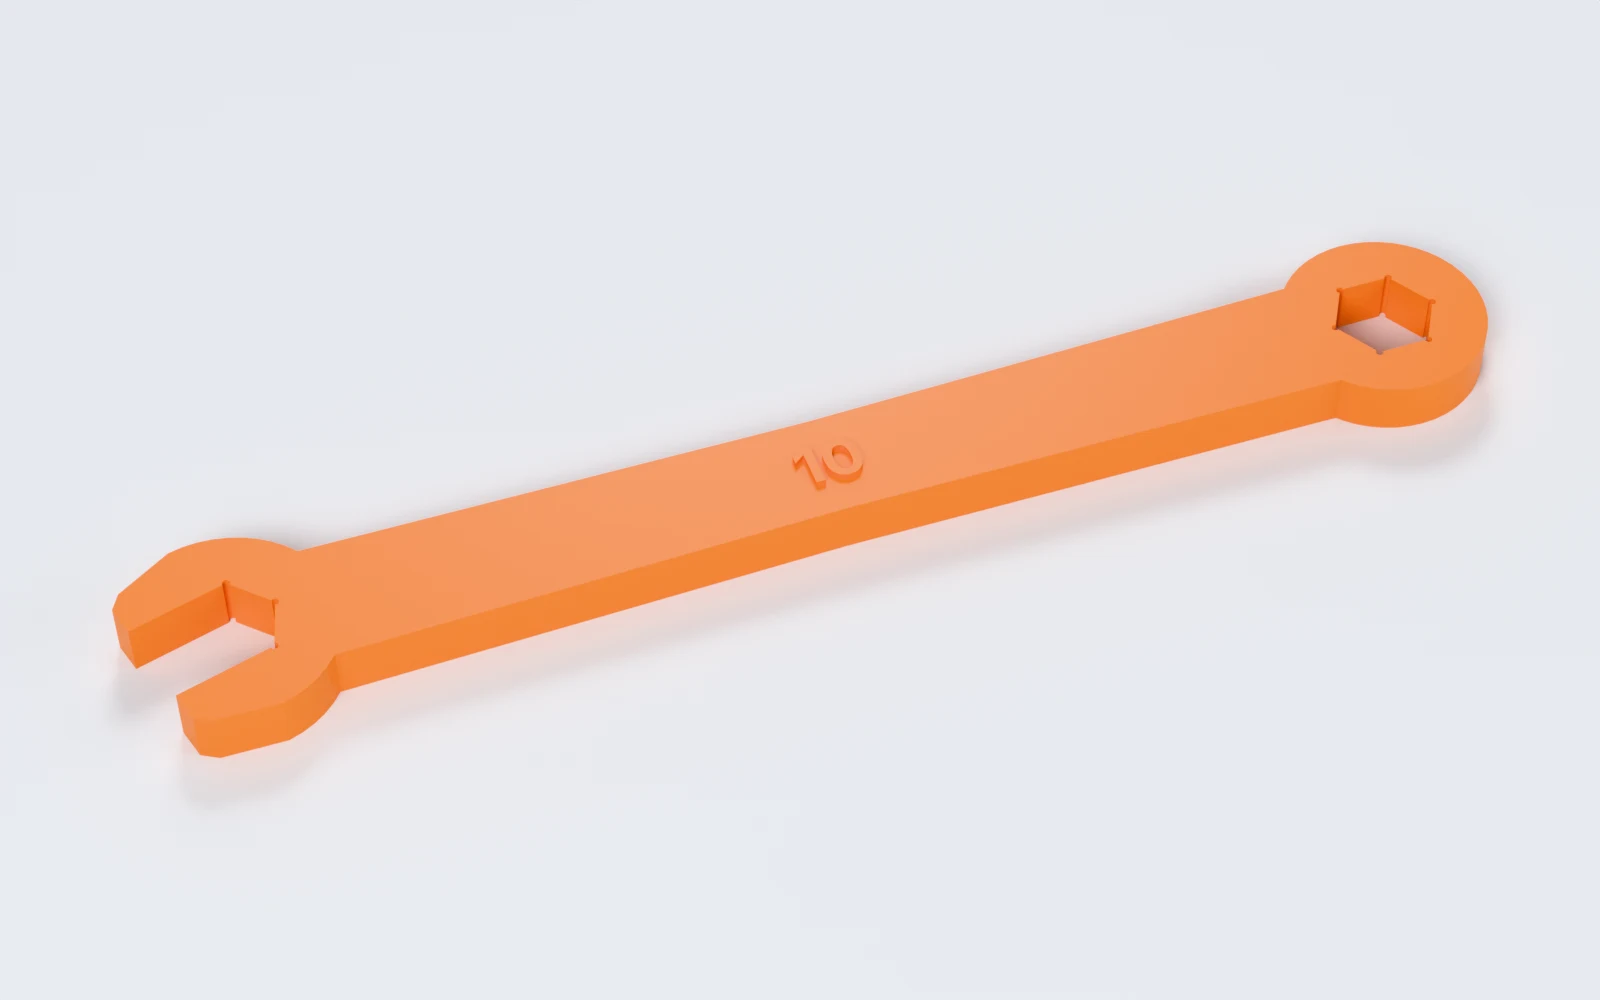
What can you make with Flat Wrench Generator?
A spanner with one or two ends, from 3 to 40 mm across flats. Makers print:
- A spare spanner for flat-pack furniture or a bike.
- A thin key for jam nuts and cone nuts.
- A ring spanner for a nut that only takes small swings.
- A spanner in an inch size you do not have.
- A plastic spanner that will not scratch a painted part.
How do you make a spanner, step by step?
Everything is in the panel beside the spanner, which updates as you change it. Start from a preset, then change what you need.
1. Start from a preset
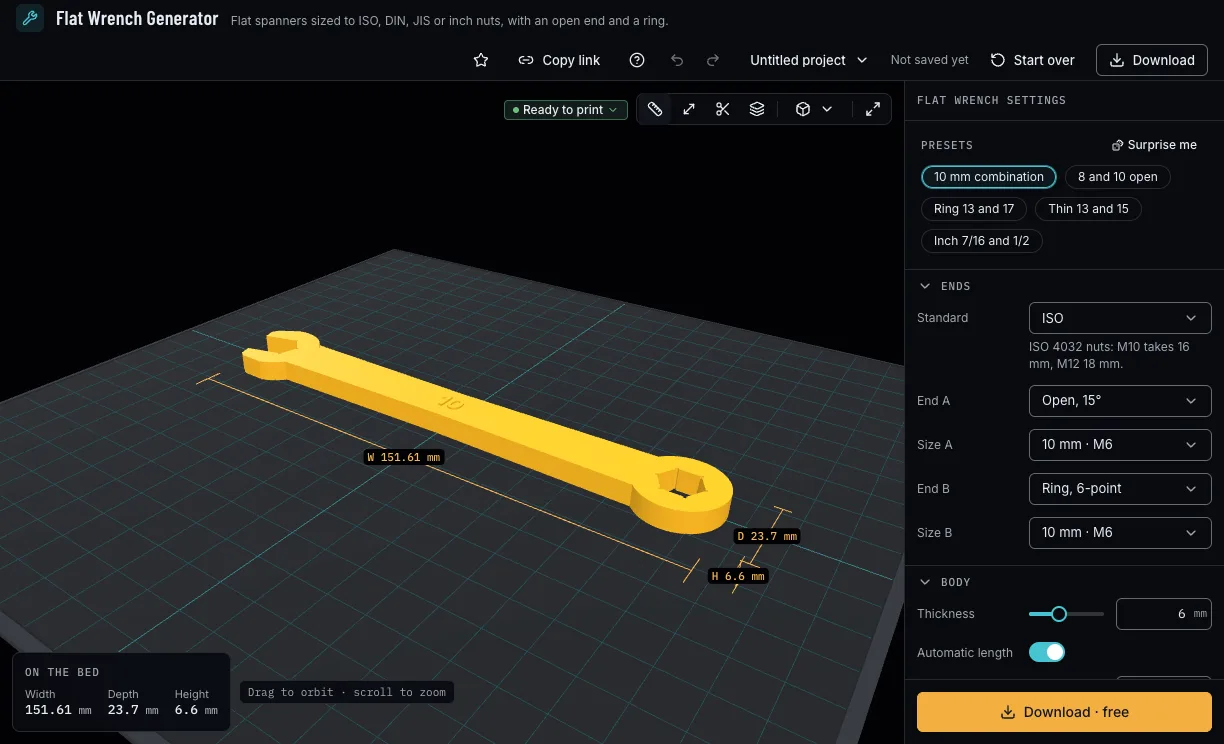
Pick a 10 mm combination, 8 and 10 open, Ring 13 and 17, Thin 13 and 15 or Inch 7/16 and 1/2. A preset sets only the values it names, so your fit stays; Surprise me tries other ends and another thickness for the same sizes.
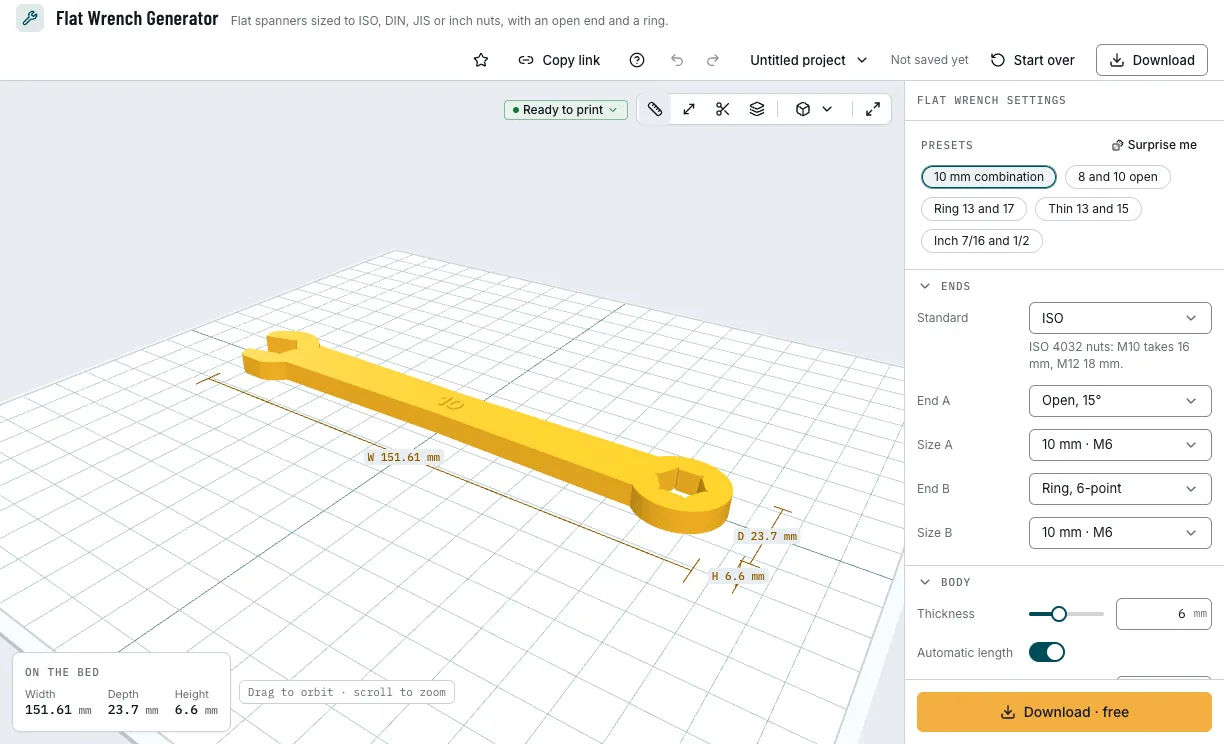
The presets and the spanner they make. 2. Pick the nut and the ends
Choose the standard your nut follows: ISO, DIN, JIS, JIS small or inch. Each width is named with the threads it fits, so an ISO M10 nut takes 16 mm and a DIN one 17 mm; Custom takes any width. Then each end: open at 15° or straight, a 6- or 12-point ring, or no end B.
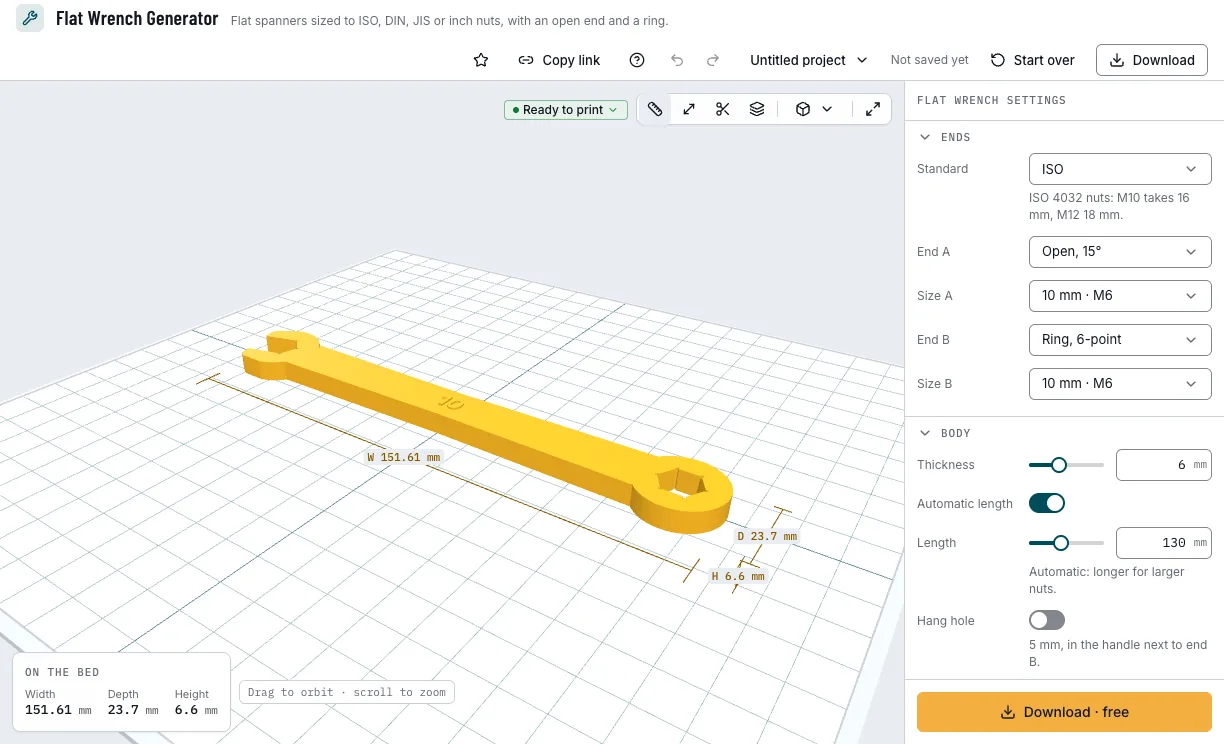
The standard, the ends and their widths. 3. Set the body and the label
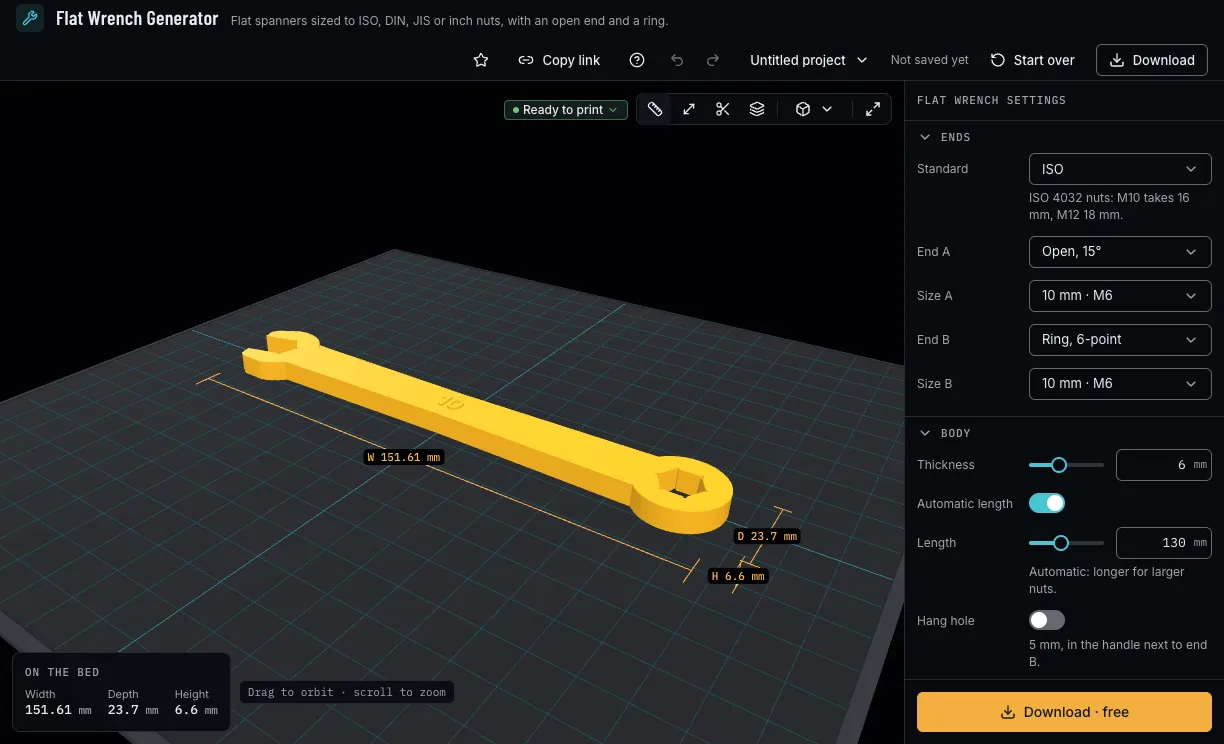
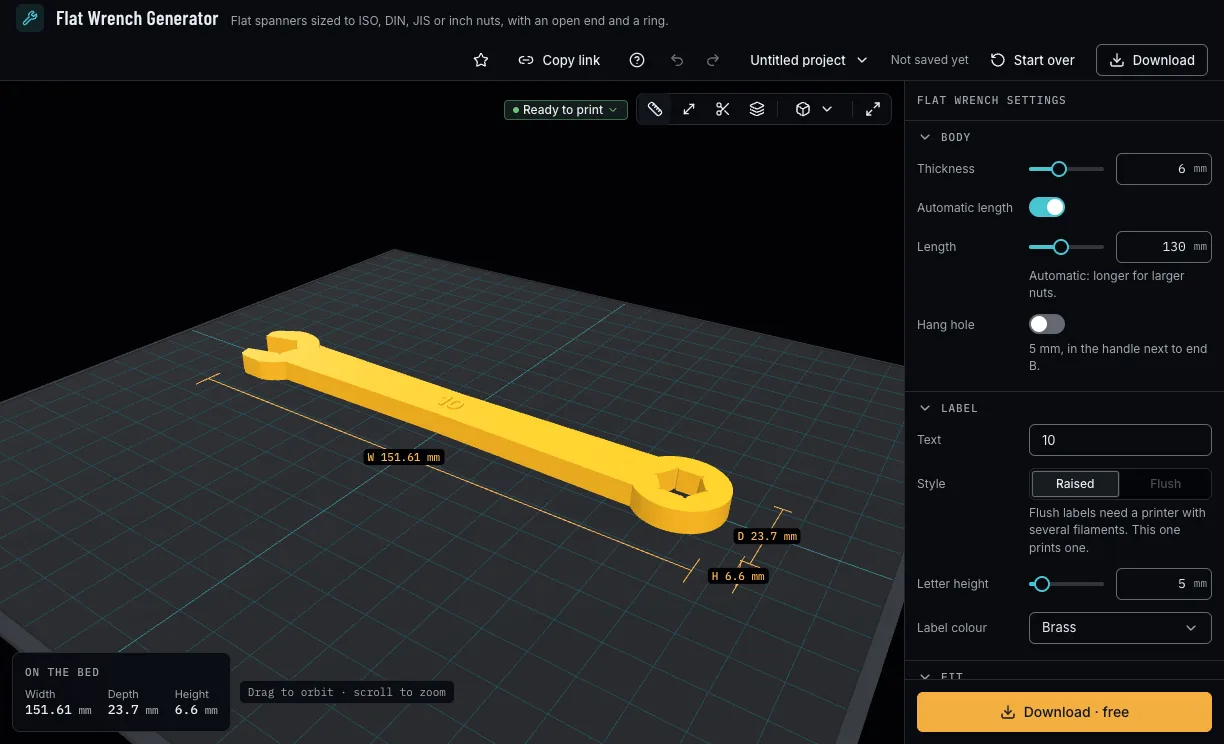
Set the thickness, and let the length follow the size (8 × the largest width + 50 mm) or type your own; add a 5 mm hang hole. The label on the handle is the sizes until you type your own, raised, or flush in a second colour on a printer with several filaments.
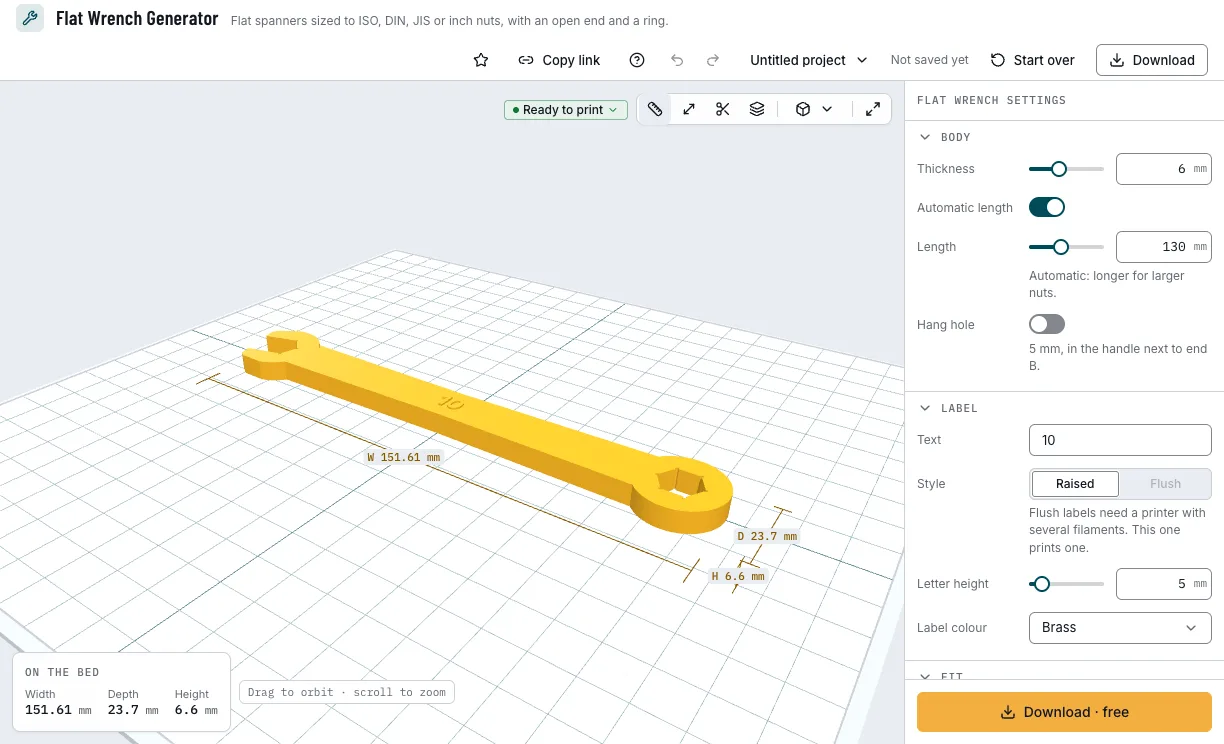
The spanner's thickness and length. 4. Find the fit with the chip
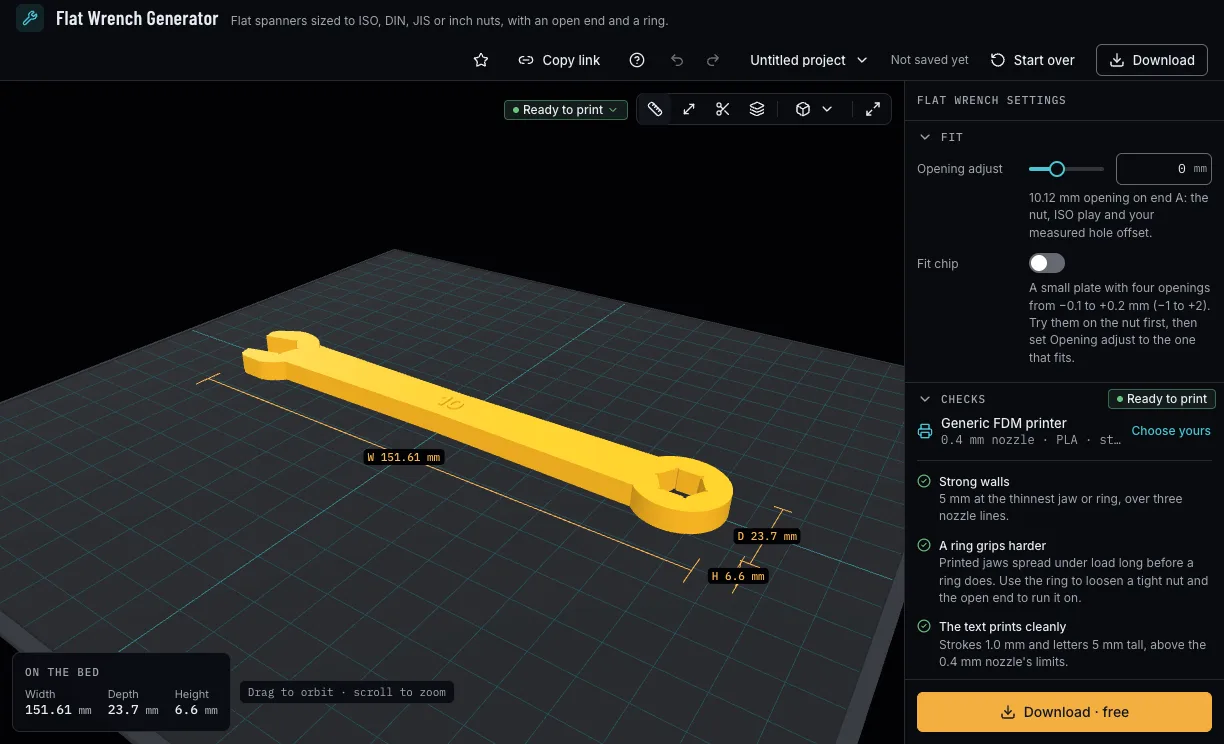
The opening is the nut, the middle of the ISO 691 play and your measured hole offset. Turn on Fit chip: the download adds a small plate with that opening in four steps from −0.1 to +0.2 mm, marked −1 to +2 in tenths. Print it, try them on your nut and set Opening adjust to the step that slides on without rocking.
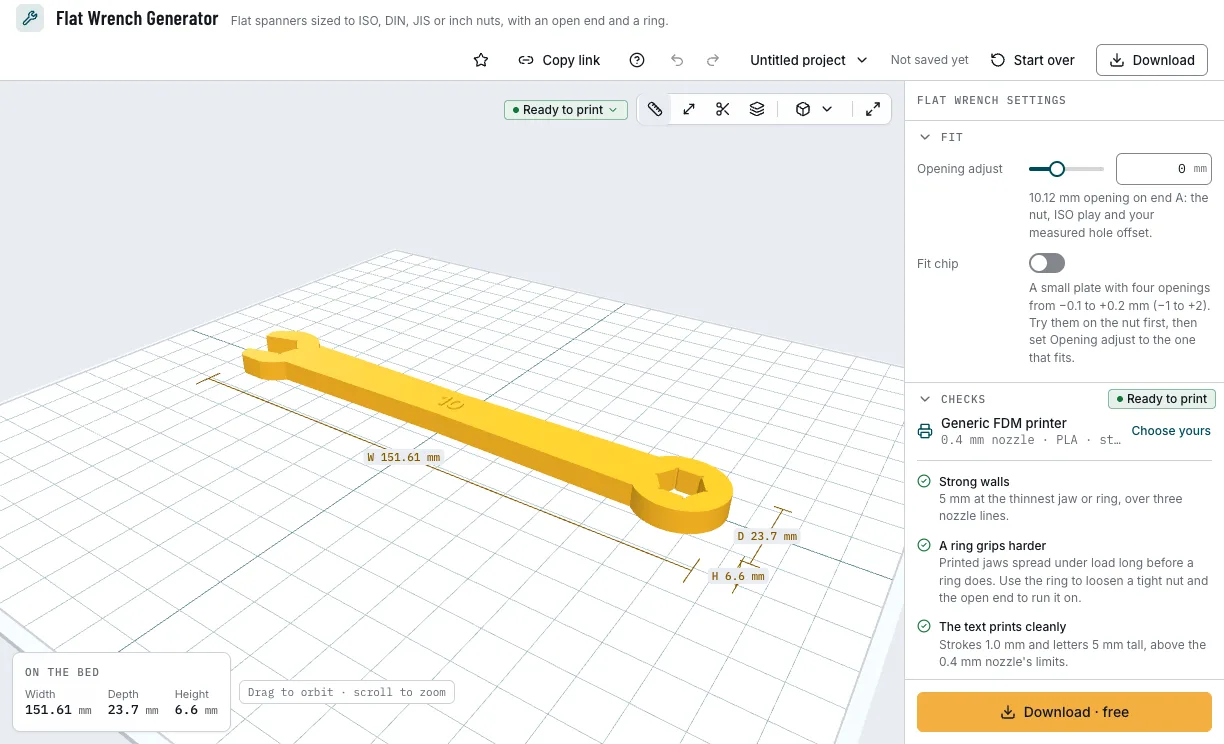
The opening and the fit chip. 5. Check it and download
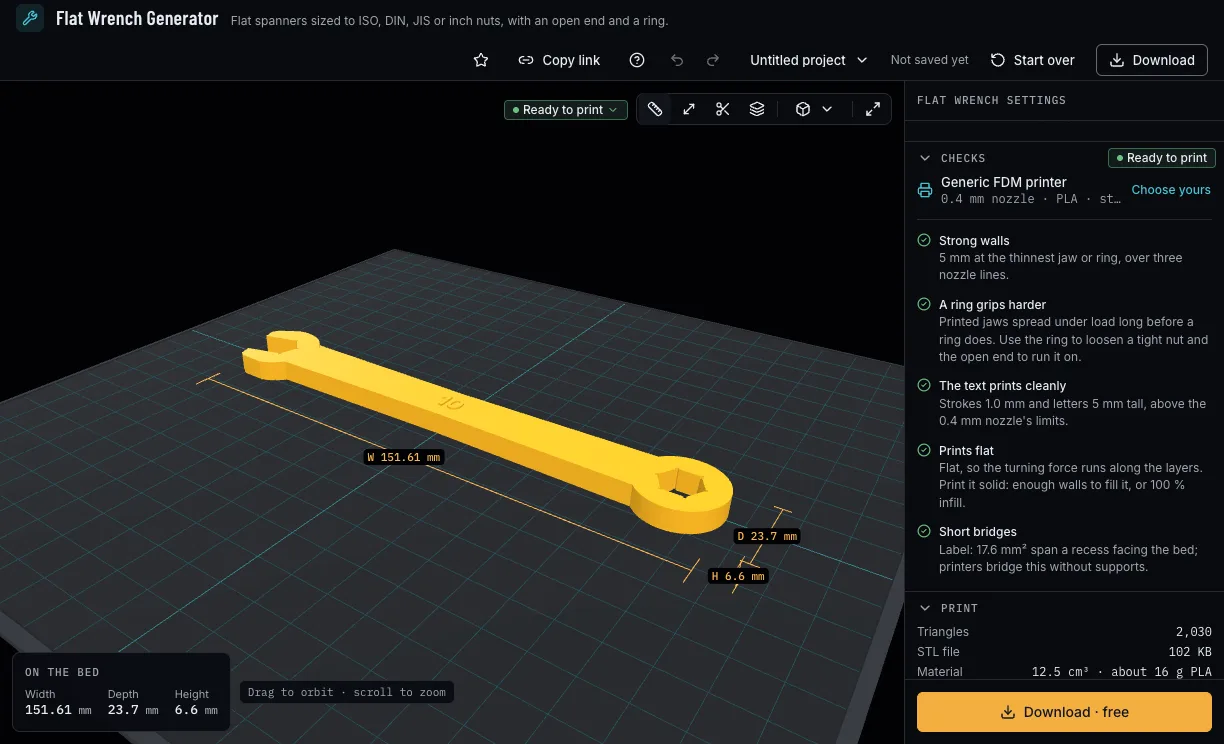
The checks say whether the heads fit the length, whether the walls are three nozzle lines thick and whether the label fits the handle, with Apply where a setting fixes it. Then download 3MF, with the label in its own colour, or STL.
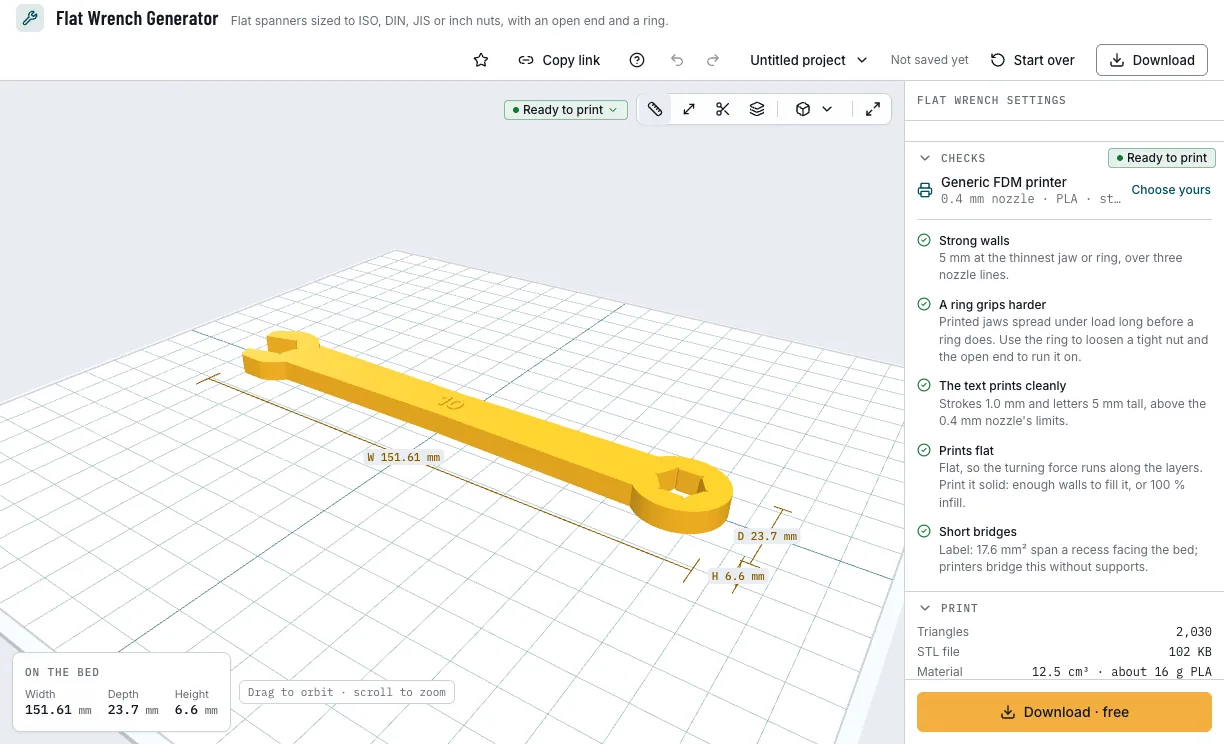
The checks and the download.
Which spanners can you start from?
Each example opens in Flat Wrench Generator as a new design, beside your own.
10 mm combination
An open end at 15° and a 6-point ring, both for an M6 nut.
- 10 mm
- Open and ring
- 6 mm thick
- Free
Ring 13 and 17
Two 6-point rings for DIN 934 nuts, M8 and M10.
- 13 and 17 mm
- DIN
- 8 mm thick
- Free
Thin 13 and 15
Two thin, straight open ends for jam and cone nuts, turned gently.
- 13 and 15 mm
- 3 mm thick
- Free
Inch 7/16 and 1/2
An open end and a ring for 1/4 and 5/16 inch nuts and hex heads.
- 7/16 and 1/2 in
- Open and ring
- Free
Which print settings work best for a spanner?
Print the spanner flat, as it downloads, so the turning force runs along the layers. It needs no supports. Print it solid: enough walls to fill it, or 100 % infill.
| Filament | Layer height to start | Thinnest wall | Supports | Notes |
|---|---|---|---|---|
| PLA | 0.2 mm | 0.8 mm | None | Stiff; for hand-tight nuts, not for anything torqued. |
| PETG | 0.2 mm | 0.8 mm | None | Tougher than PLA: makers pick it for spanners they use often. |
Tips for a printed spanner that holds
- Use the ring to loosen a tight nut and the open end to run it on: printed jaws spread under load long before a ring does.
- Pick the standard your nut follows: ISO M10 and M12 nuts take 16 and 18 mm, DIN 934 ones 17 and 19 mm.
- A 6-point ring grips the flats, the safer choice on a worn nut; a 12-point one takes a new grip every 30° in a tight spot.
- Keep a steel spanner for anything torqued: a printed one is for hand-tight nuts.
- Before you print, check it on the view's bar: Dimensions shows its size, Measure the distance between two points, Section cuts it open and Layers steps through it as your printer will.
What if the nut will not go in or the spanner slips?
- The nut will not go into the opening
- Raise Opening adjust by 0.05 or 0.1 mm and print again, or turn on Fit chip and set the adjust to the opening that slides on.
- The spanner rocks on the nut
- Lower Opening adjust, and check the standard: a DIN spanner is 1 mm too wide for an ISO M10 or M12 nut.
- The open end slips on a tight nut
- Printed jaws spread under load: use a ring end, print it solid, and keep it 4 mm thick or more.
- The check says the spanner is too short for its heads
- Apply turns Automatic length back on, or type a longer length.
- The label prints smaller than set
- It shrinks to fit the handle: Apply sets letters that fit. When it is too long even at 1 mm letters, shorten it or make the spanner longer.
Is Flat Wrench Generator free?
Yes. Every standard, end and download is free; downloading needs a free NabiMakes account, which also keeps your projects.
Free
Free- ISO, DIN, JIS, JIS small, inch and custom widths
- Open ends and 6- or 12-point rings
- The label, the hang hole and the fit chip
- 3MF and STL
Every setting, with its range and default
Lengths are in millimetres. Each setting shows only where it applies: a width only for Custom, end B's size only with an end B, the label's style, size and colour only with a text.
| Setting | Range | Default | What it does |
|---|---|---|---|
| Ends | |||
| Standard | ISO, DIN, JIS, JIS small, Inch | ISO | The nuts' widths: a new standard keeps each end's nearest width. |
| End A | Open at 15° or straight, 6- or 12-point ring | Open, 15° | The first end's kind. |
| Size A | The standard's widths, Custom | 10 mm · M6 | Across the nut's flats, named with the threads it fits, or Custom. |
| Width A | 3–40 mm | 10 mm | A custom width for end A, across the nut's flats. |
| End B | As end A, or none | Ring, 6-point | The second end's kind, or none for a single-ended spanner. |
| Size B | The standard's widths, Custom | 10 mm · M6 | End B's width, as for end A. |
| Width B | 3–40 mm | 10 mm | A custom width for end B, across the nut's flats. |
| Body | |||
| Thickness | 2.5–12 mm | 6 mm | How thick the spanner prints; under 4 mm, or twelve layers, it bends. |
| Automatic length | On, off | On | 8 × the largest width + 50 mm, at least what the heads need, at most 250 mm. |
| Length | 50–250 mm | 130 mm | From nut to nut, or from the nut to the handle's end; typing one turns Automatic length off. |
| Hang hole | On, off | Off | A 5 mm hole at the handle's end, or next to end B. |
| Label | |||
| Text | Up to 32 characters | 10 | On the handle; it follows the sizes until you type your own. |
| Style | Raised, Flush | Raised | Raised, or flush in a second colour on a printer with several filaments. |
| Letter height | 1–50 mm | 5 mm | The letters' height; they shrink to fit the handle when they must. |
| Label colour | 22 options | Brass | The label's colour in the 3MF. |
| Fit | |||
| Opening adjust | −0.2–0.4 mm | 0 mm | Added to every opening: the nut, the ISO 691 play and your hole offset. |
| Fit chip | On, off | Off | A plate with the opening in four steps from −0.1 to +0.2 mm, to try on the nut first. |