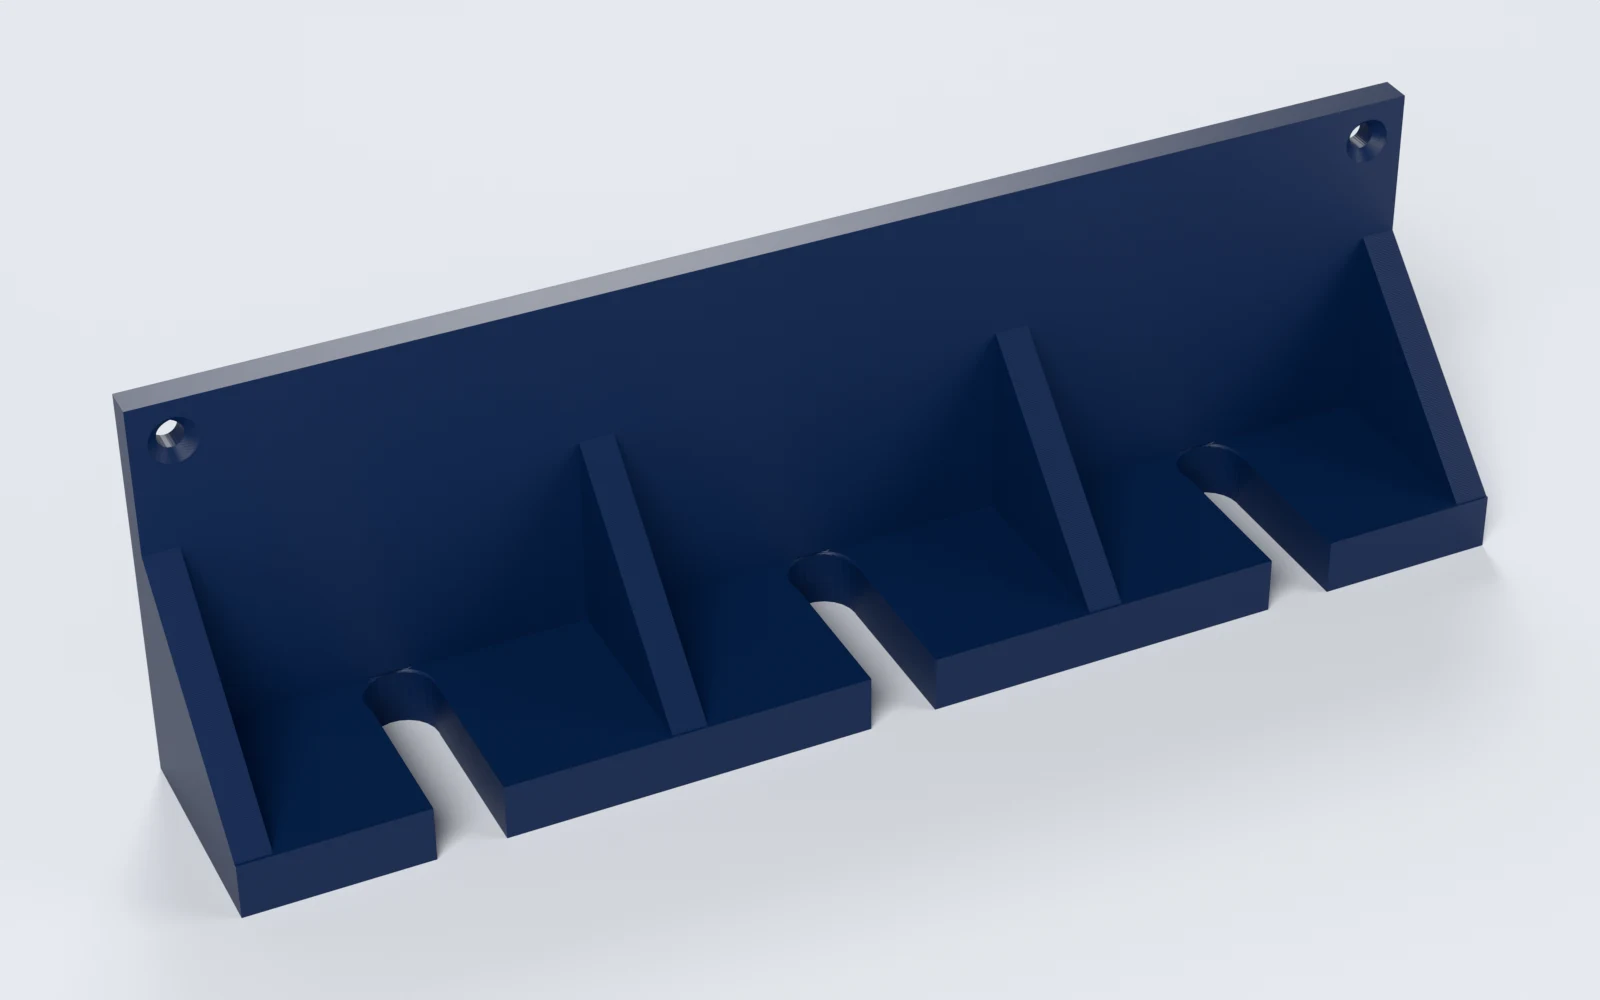
What can you make with Clamp Rack Generator?
Racks of 1 to 24 slots, or a rail for 1 to 24 spring clamps. Makers print:
- Six F-clamps side by side above the bench.
- One-handed clamps by the door of the shop.
- Heavy all-steel clamps on ribs.
- A rail of spring clamps.
How do you make a clamp rack, step by step?
Everything is in the panel beside the rack, which updates as you change it. Start from a preset, then change what you need.
1. Start from a preset
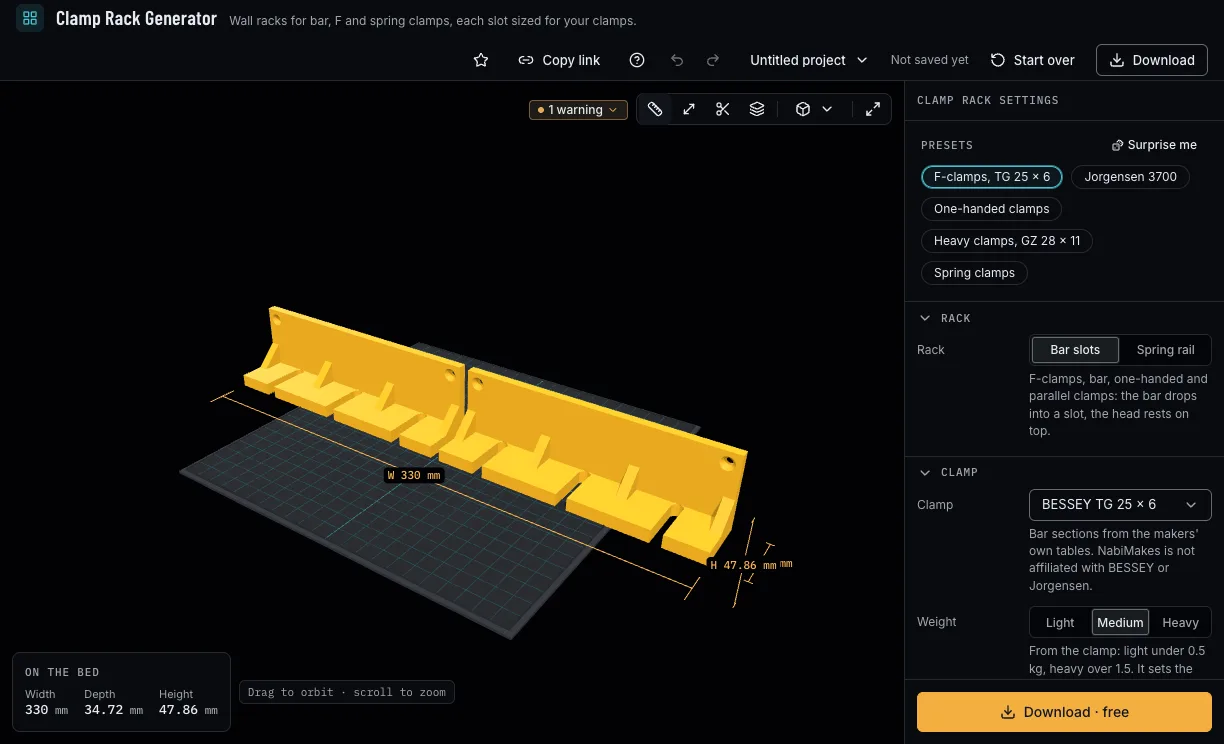
Pick F-clamps TG 25 × 6, Jorgensen 3700, One-handed clamps, Heavy clamps GZ 28 × 11 or Spring clamps. A preset sets only what it names; Surprise me tries another gap and keeps your clamp.
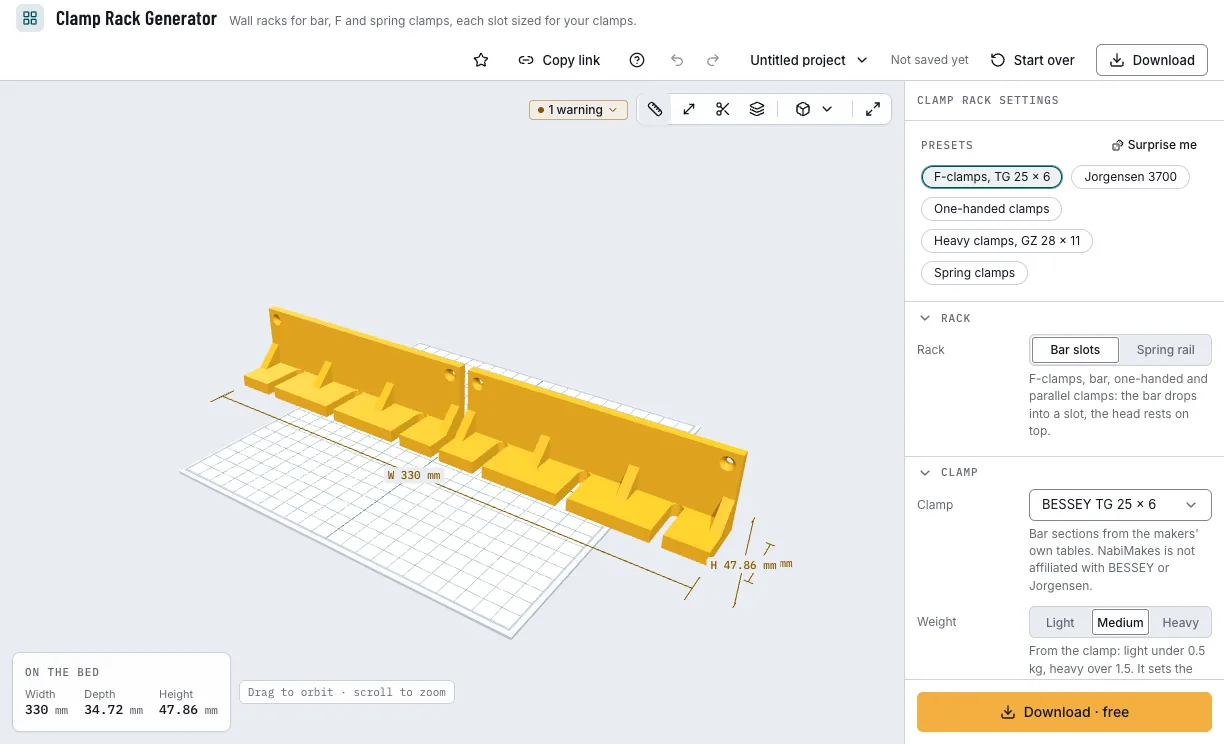
The presets and the rack they make. 2. Pick your clamp
Choose your clamp from the bar sizes the makers publish, or Measure your bar and type its width and thickness. Its weight class, light, medium or heavy, comes with it and sets the shelf and its ribs.
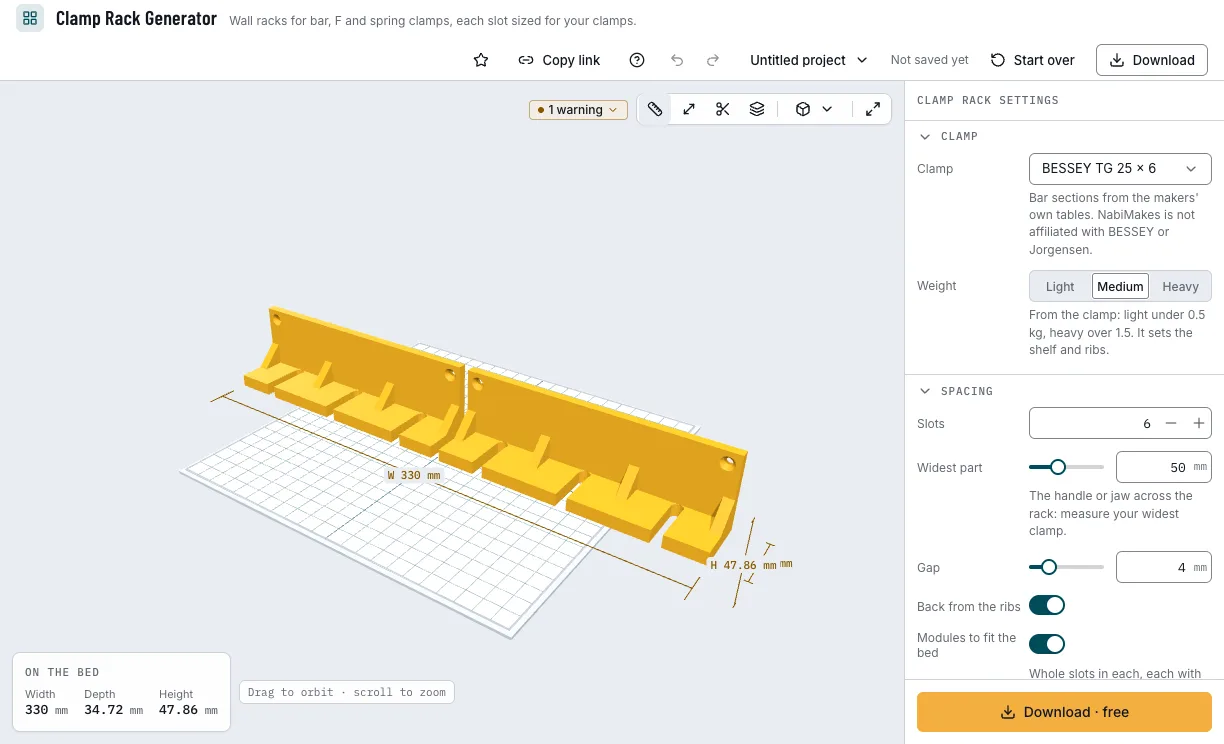
BESSEY TG 25 × 6, medium. 3. Set the spacing
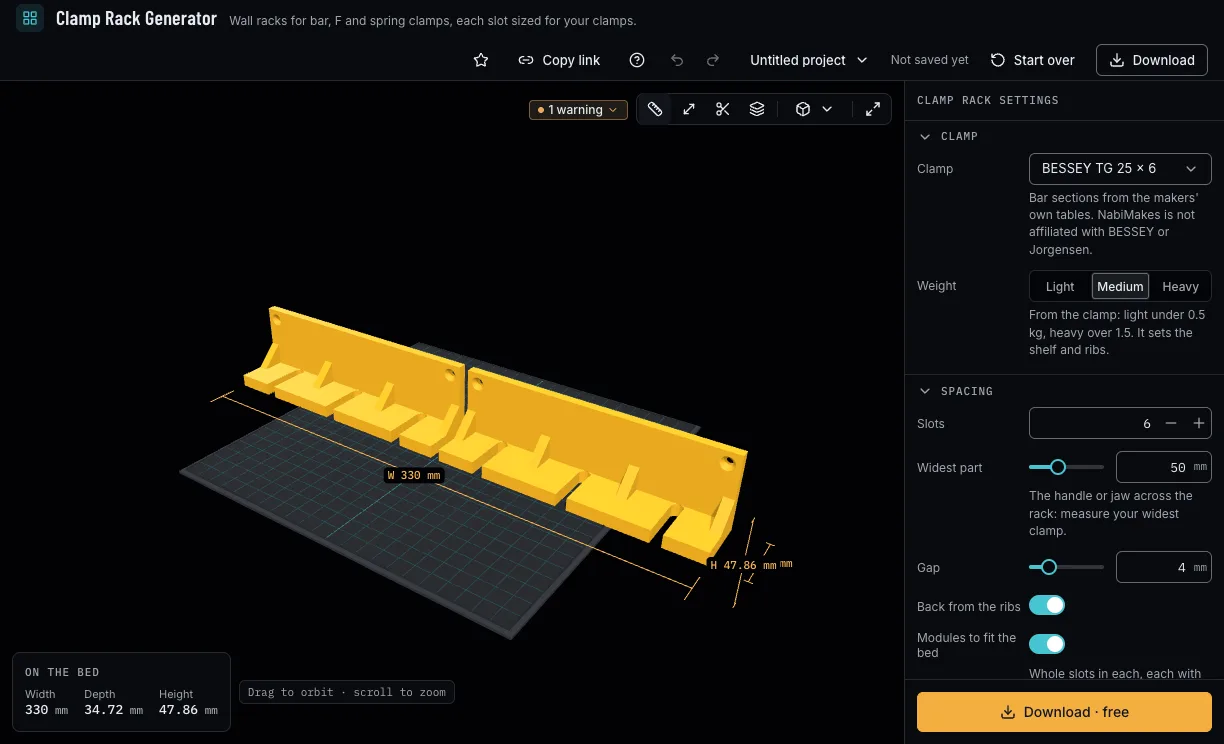
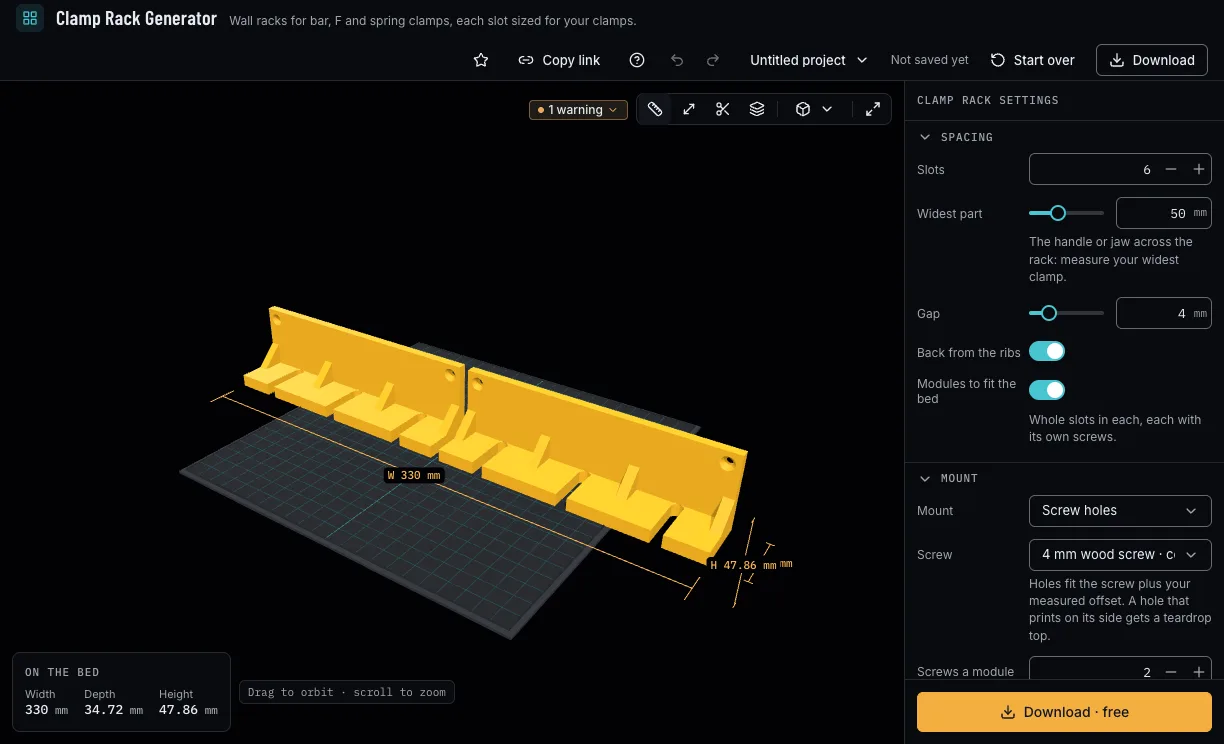
Measure your widest clamp's handle or jaw across the rack and set a gap; choose how many slots. A rack longer than your bed comes in modules of whole slots, each with its own screws.
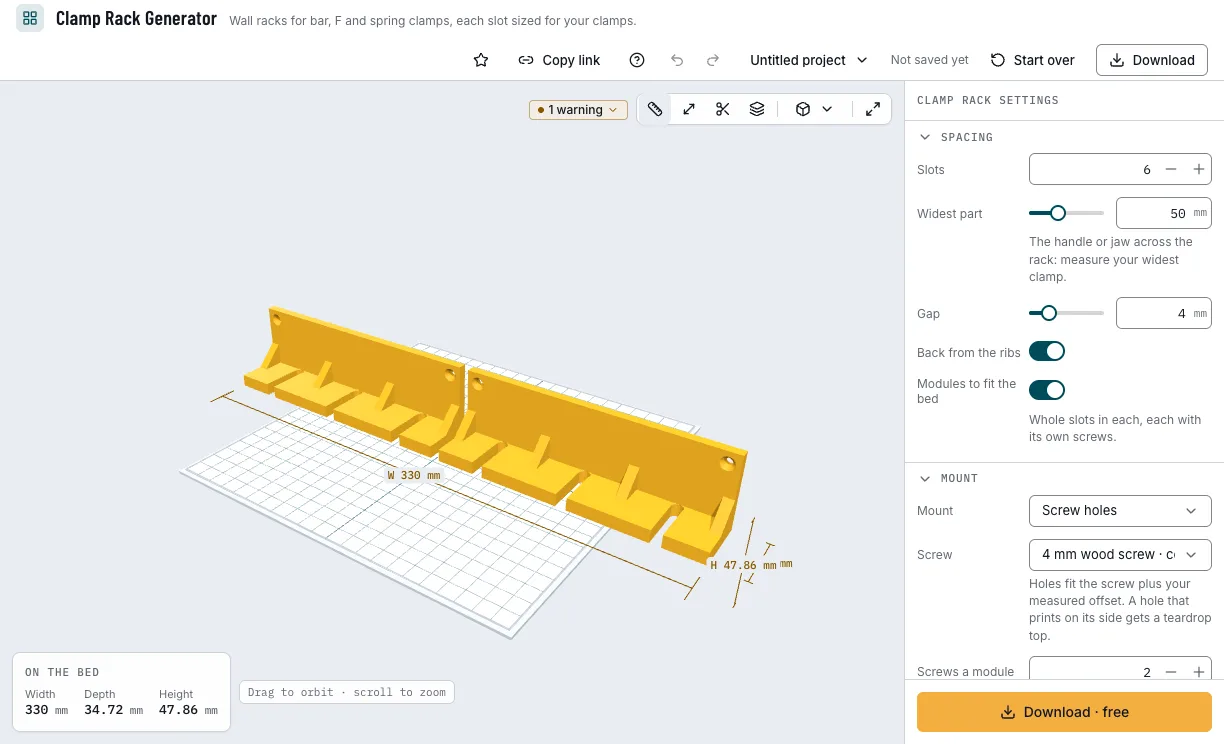
Six slots, 54 mm apart. 4. Or a rail for spring clamps
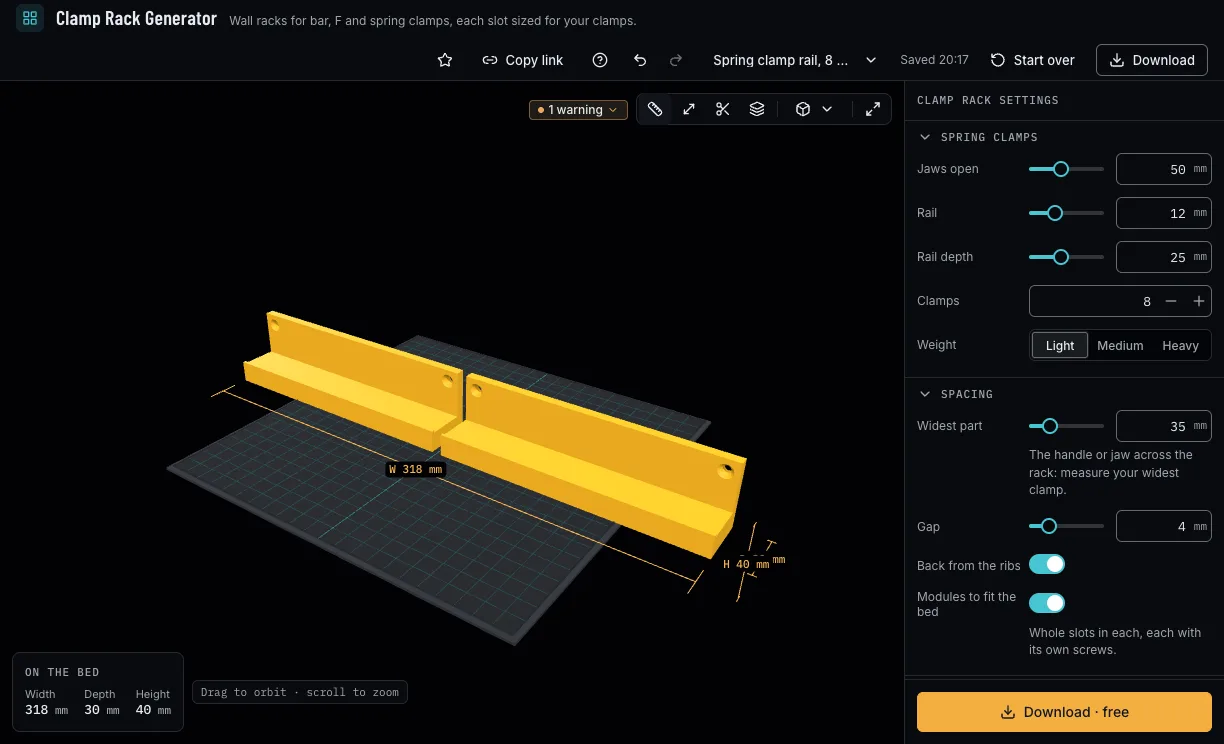
A spring rail is a ledge your clamps bite onto, with a bead along its front so they stay. Set how far the jaws open, the rail's thickness and depth, and how many clamps.
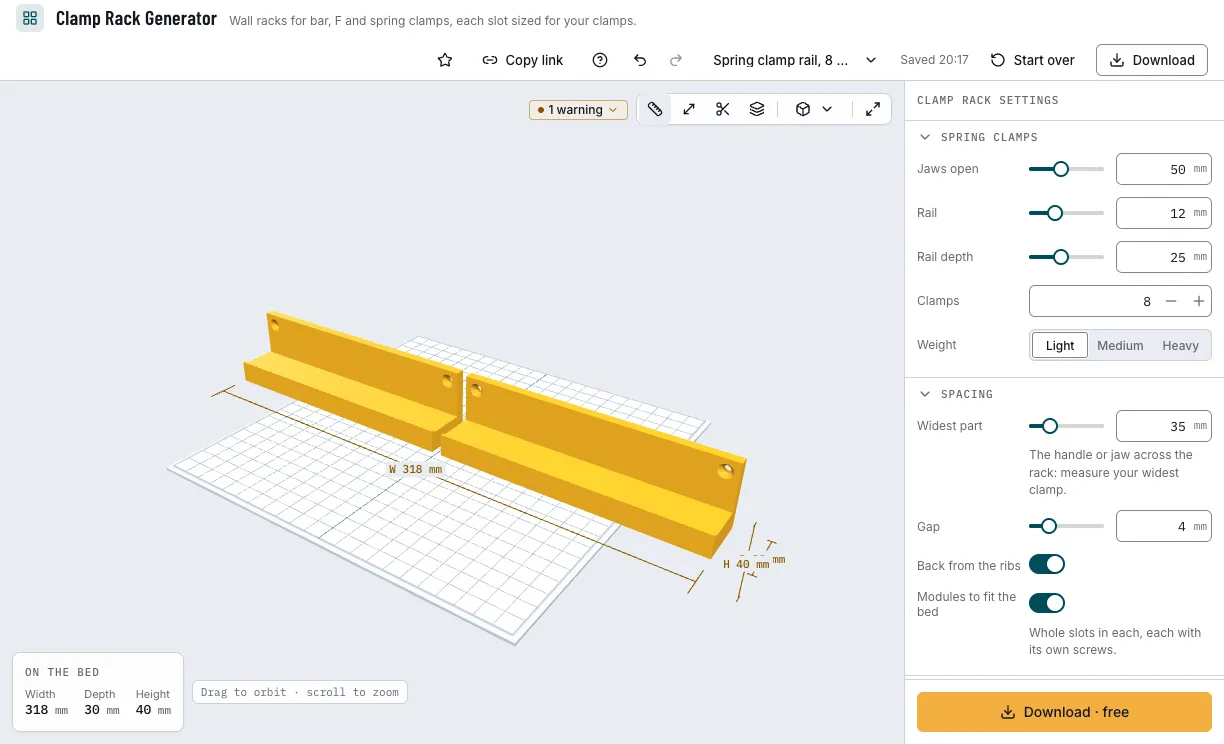
A rail for eight spring clamps. 5. Check it and download
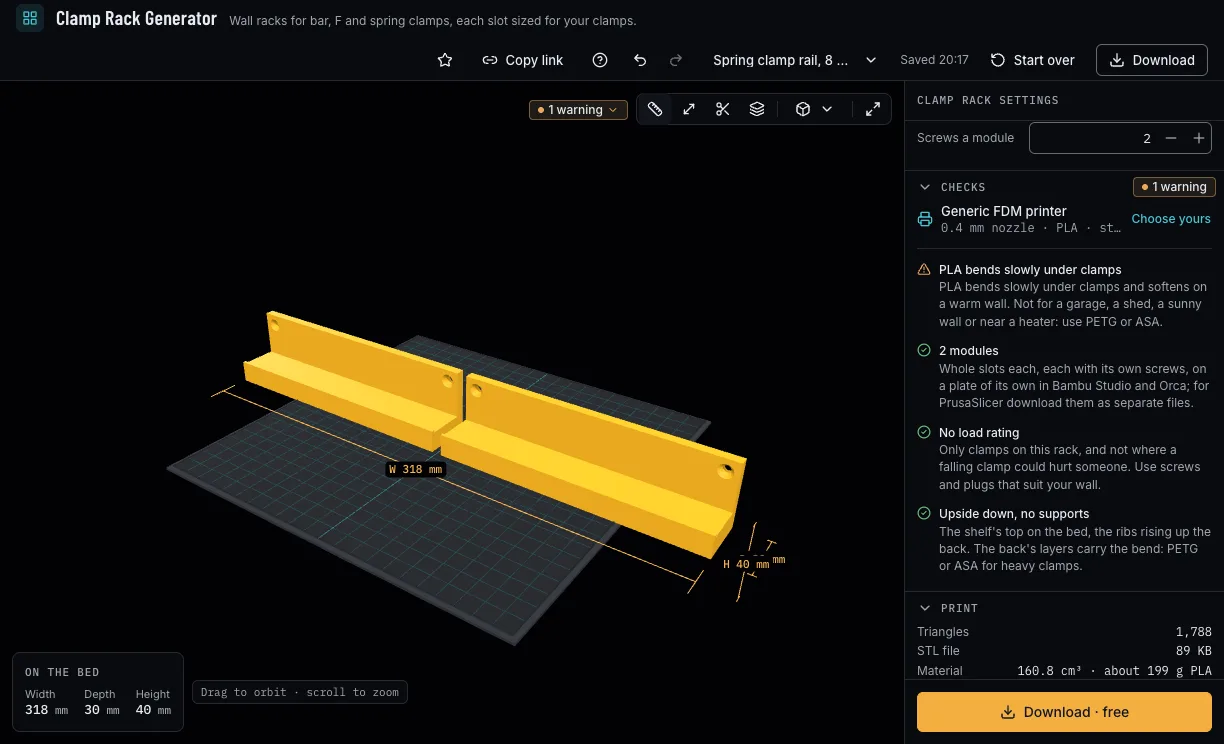
The checks say what your filament does under clamps, whether the teeth are strong enough and how the modules fit, with no load figures. Then download 3MF or STL.
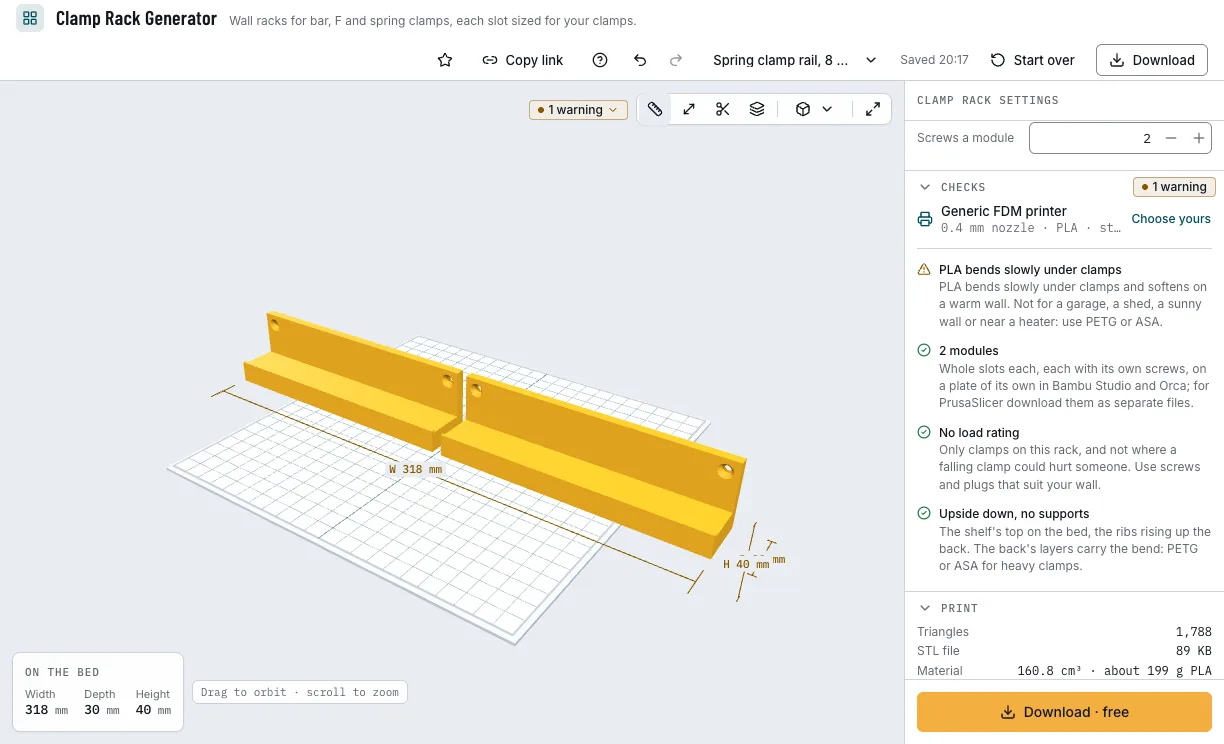
The checks and the download.
Which clamp racks can you start from?
Each example opens in Clamp Rack Generator as a new design, beside your own.
F-clamps, TG 25 × 6
Six F-clamps with a 25 × 6 mm bar.
- 6 slots
- Medium
- Screw holes
- Free
One-handed clamps
Four one-handed clamps with a 19 × 6 mm bar.
- 4 slots
- Medium
- Screw holes
- Free
Heavy clamps, GZ 28 × 11
Three heavy all-steel clamps on full ribs.
- 3 slots
- Heavy
- Full ribs
- Free
Spring clamps
A rail for eight spring clamps.
- 8 clamps
- Light
- A bead
- Free
Which print settings work best for a clamp rack?
The rack prints upside down: the shelf's top on the bed, the ribs rising up the back, so no supports are needed. The back's layers carry the bend, so pick the filament for the clamps' weight; the thinnest wall is the one the printer checks hold each filament to.
| Filament | Layer height to start | Thinnest wall | Supports | Notes |
|---|---|---|---|---|
| PETG | 0.2 mm | 0.8 mm | None | Keeps its shape on a warm wall: the one for most racks. |
| PLA | 0.2 mm | 0.8 mm | None | Only light clamps on a cool wall: PLA bends slowly under load. |
Tips for a rack that stays on the wall
- Screw every module into a stud or a wall plug that suits your wall.
- Print heavy clamps' racks in PETG or ASA.
- Measure your widest clamp across the rack before setting the spacing.
- Leave room in front for the clamps' throats and handles.
- Before you print, check it on the view's bar: Dimensions shows its size, Measure the distance between two points, Section cuts it open and Layers steps through it as your printer will.
What if a clamp will not drop in, or the rack sags?
- A bar is tight in its slot
- Check the bar's thickness, or run the Fit Test so the slots take your printer's sliding fit.
- The checks say the teeth are too thin
- Press Apply for a wider gap, so the shelf between slots is strong enough.
- The rack bends over the weeks
- Print it in PETG or ASA, set the clamps' weight class to heavy for full ribs, and keep it off a warm wall.
- A module is too narrow for its screws
- Press Apply for fewer screws a module, or more slots in each.
Is Clamp Rack Generator free?
Yes. Every clamp, rack and download is free; downloading needs a free NabiMakes account, which also keeps your projects.
Free
Free- Bar slots and spring rails
- Clamps from the makers' bar sizes, or measured
- Modules that fit your bed
- 3MF and STL
Every setting, with its range and default
Lengths are in millimetres. Each setting shows only where it applies: the clamp for bar slots, the spring clamps for a rail, the bar for a measured clamp.
| Setting | Range | Default | What it does |
|---|---|---|---|
| Rack | |||
| Rack | Bar slots, Spring rail | Bar slots | Bar slots, or a spring rail. |
| Clamp | |||
| Clamp | 22 options | BESSEY TG 25 × 6 | Your clamp, from the bar sizes the makers publish, or measured. |
| Bar width | 5–40 mm | 25 mm | A measured bar's width, out from the wall. |
| Bar thickness | 2–15 mm | 6 mm | A measured bar's thickness, across the slot. |
| Weight | Light, Medium, Heavy | Medium | Light, medium or heavy: it sets the shelf and its ribs. |
| Spring clamps | |||
| Jaws open | 15–100 mm | 50 mm | How far the spring clamps' jaws open. |
| Rail | 4–30 mm | 12 mm | The rail's thickness, between the jaws. |
| Rail depth | 15–40 mm | 25 mm | The rail's depth, out from the wall. |
| Clamps | 1–24 | 8 | How many spring clamps. |
| Weight | Light, Medium, Heavy | Medium | Light, medium or heavy: it sets the shelf and its ribs. |
| Spacing | |||
| Slots | 1–24 | 6 | How many slots. |
| Widest part | 10–120 mm | 50 mm | Your widest clamp's handle or jaw, across the rack. |
| Gap | 0–20 mm | 4 mm | Between neighbouring clamps. |
| Back from the ribs | On, off | On | The back's height from the ribs and the screws. |
| Back height | 30–120 mm | 60 mm | The back's height, set by hand. |
| Modules to fit the bed | On, off | On | Modules of whole slots that fit your bed. |
| Modules | 1–8 | 1 | How many modules, set by hand. |
| Mount | |||
| Mount | None, Screw holes | Screw holes | Screw holes, or none. |
| Screw | 27 options | 4 mm wood screw · countersunk | The wall screw, from the hardware tables or your own. |
| Head | Countersunk 90°, Countersunk 82° (inch), Pan or round | Countersunk 90° | Your own screw's head. |
| Shank | 1.5–10 mm | 4 mm | Your own screw's shank. |
| Head diameter | 2–20 mm | 8 mm | Your own screw's head diameter. |
| Head height | 0.5–10 mm | 2.5 mm | Your own screw's head height. |
| Screws a module | 1–6 | 2 | How many screws a module. |