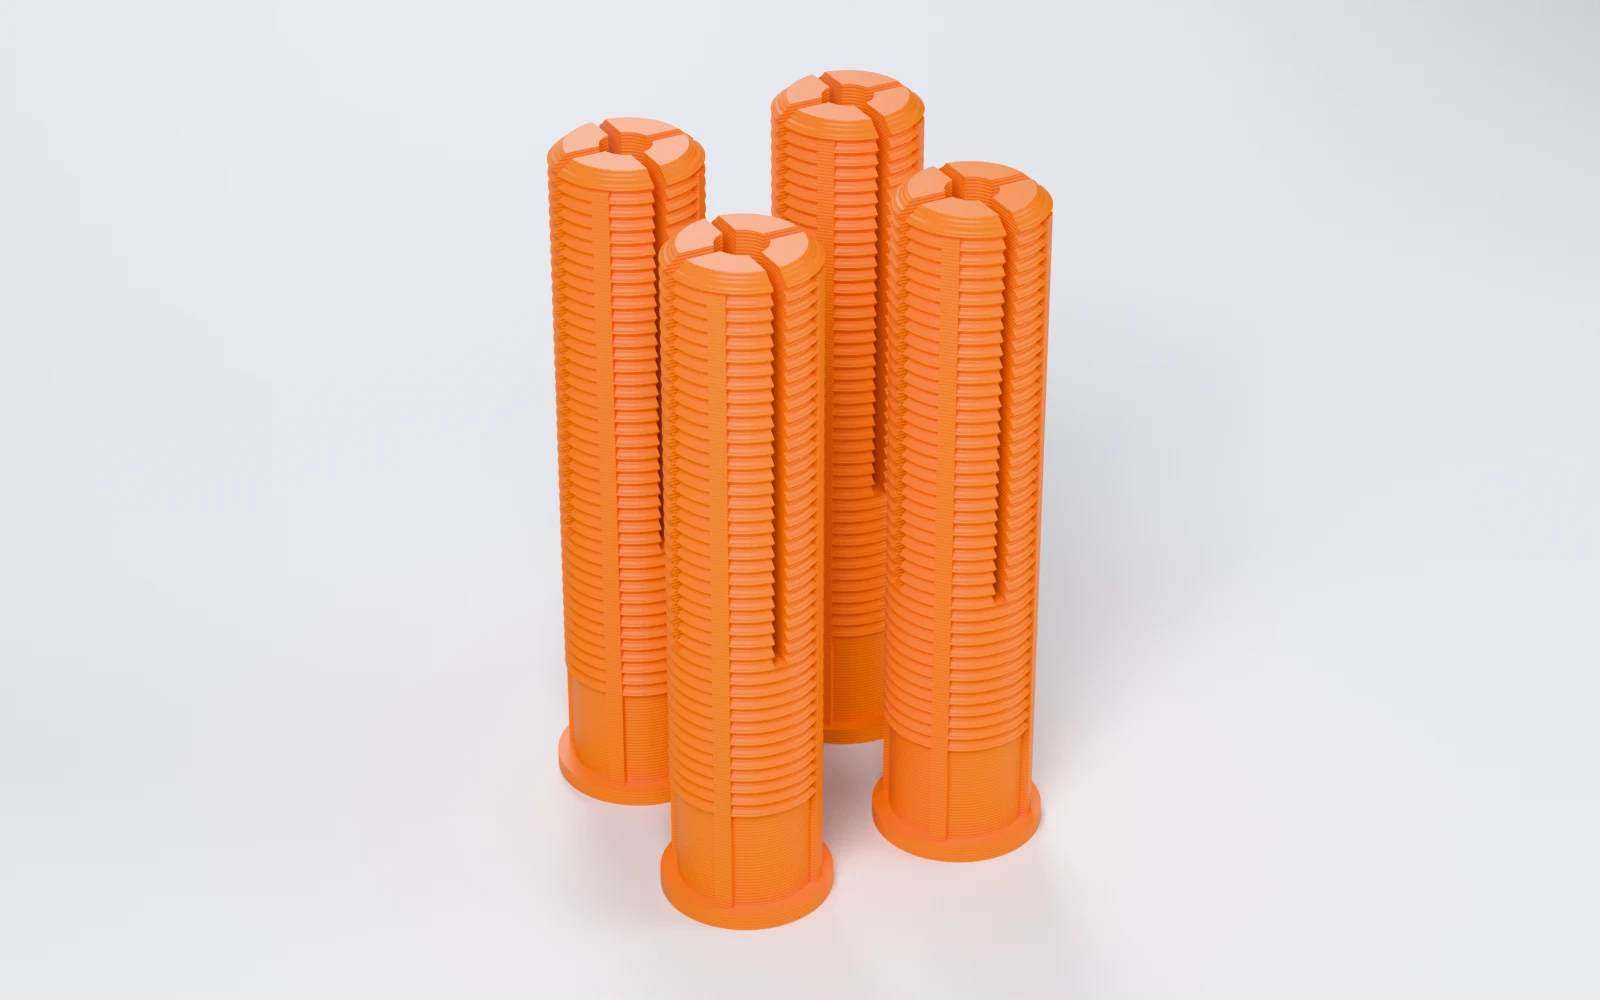
What can you make with Wall Plug Generator?
Plugs for 5, 6, 8 and 10 mm drills and 3 to 6 mm wood screws, and for 9.5, 12.5 and 15 mm plasterboard. Makers print:
- A plug for an odd screw or drill when the shop is closed.
- A few light-duty plugs for a picture hook, a cable clip or a sign.
- A screw-in plug for plasterboard, turned in with a 6 mm hex key.
- A glued-in sleeve that gives a screw grip again in a stripped hole in a cupboard.
- Plugs in a colour that matches the wall.
How do you make a wall plug, step by step?
Everything is in the panel beside the plugs, which update as you change them. Start from a preset, then change what you need.
1. Start from a preset
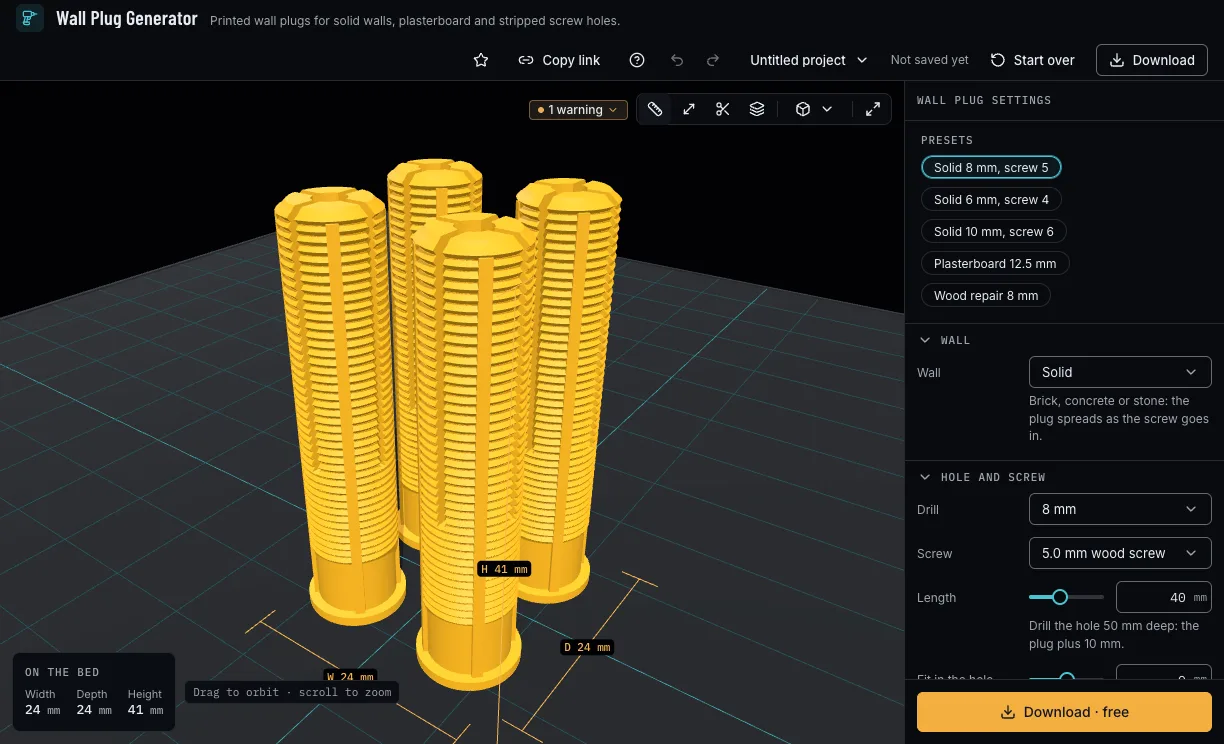
Pick a solid-wall plug for an 8, 6 or 10 mm drill, Plasterboard 12.5 mm or Wood repair 8 mm. A preset sets only the values it names. There is no Surprise me: every value comes from your hole and your screw.
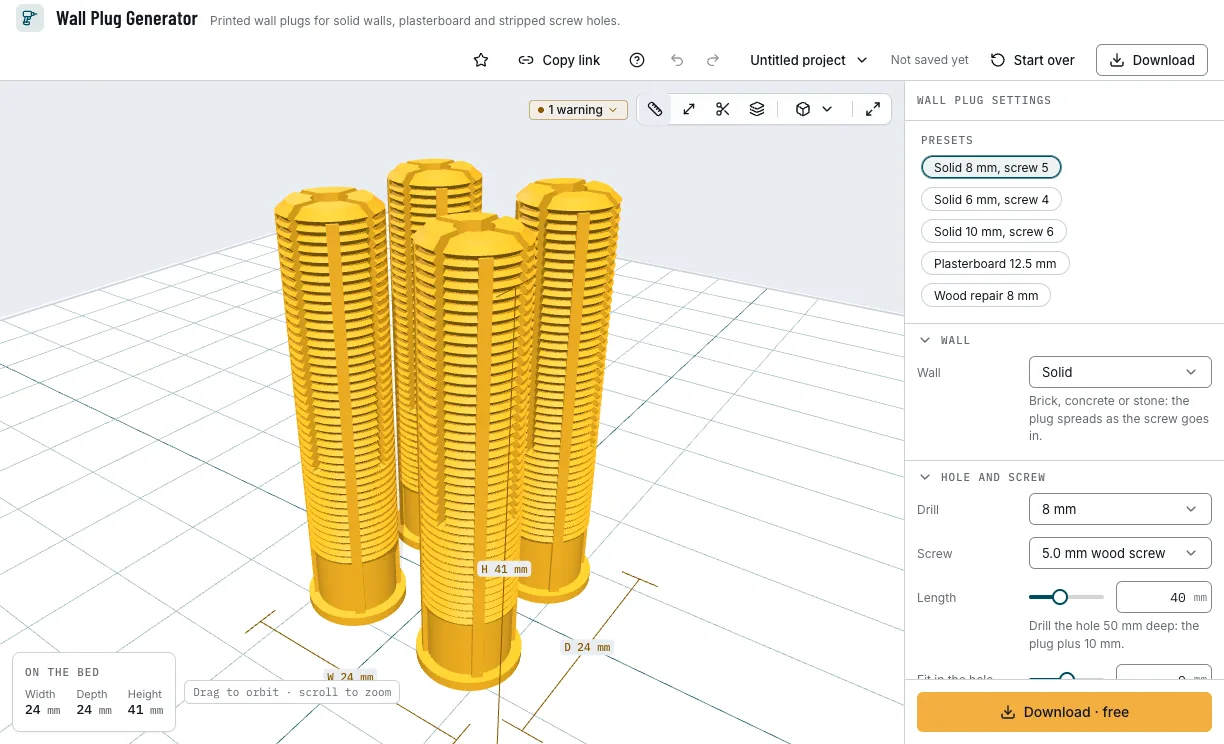
The presets and the plugs they make. 2. Choose the wall
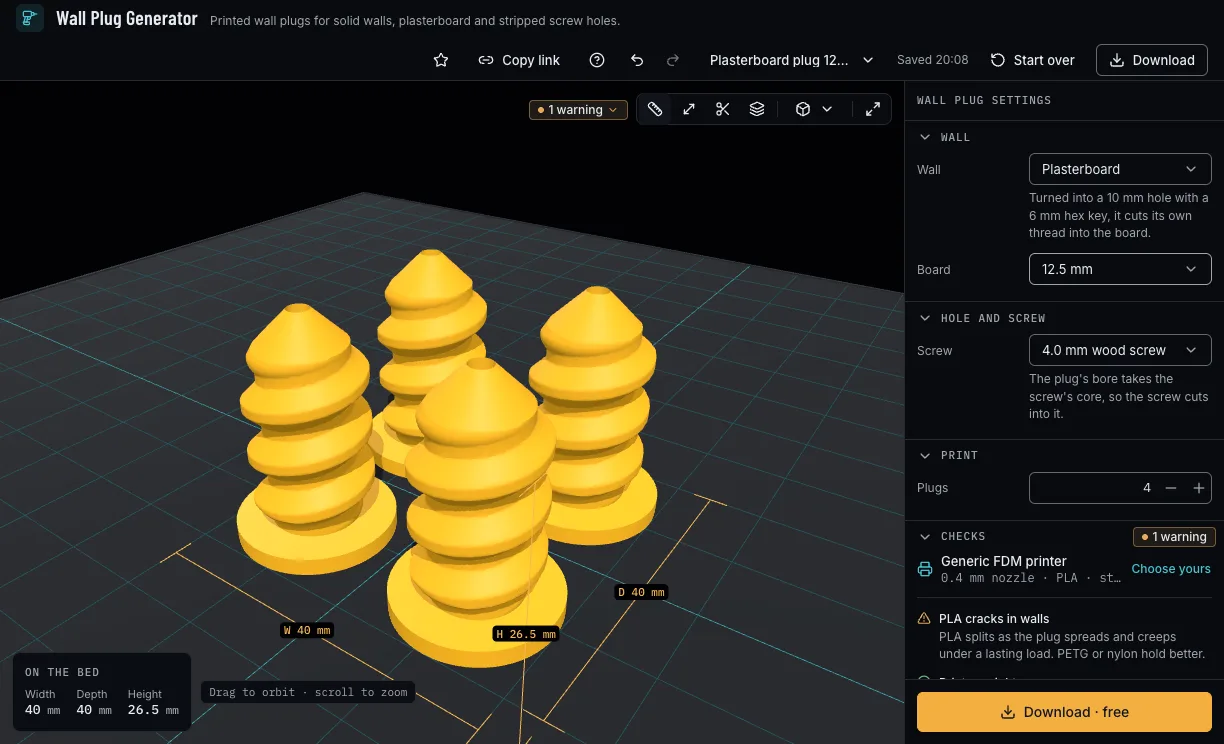
Solid for brick, concrete or stone: the plug spreads as the screw goes in. Plasterboard for a 9.5, 12.5 or 15 mm board: turned into a 10 mm hole with a 6 mm hex key, the plug cuts its own thread. Wood repair for a stripped screw hole: a ribbed sleeve you glue in.
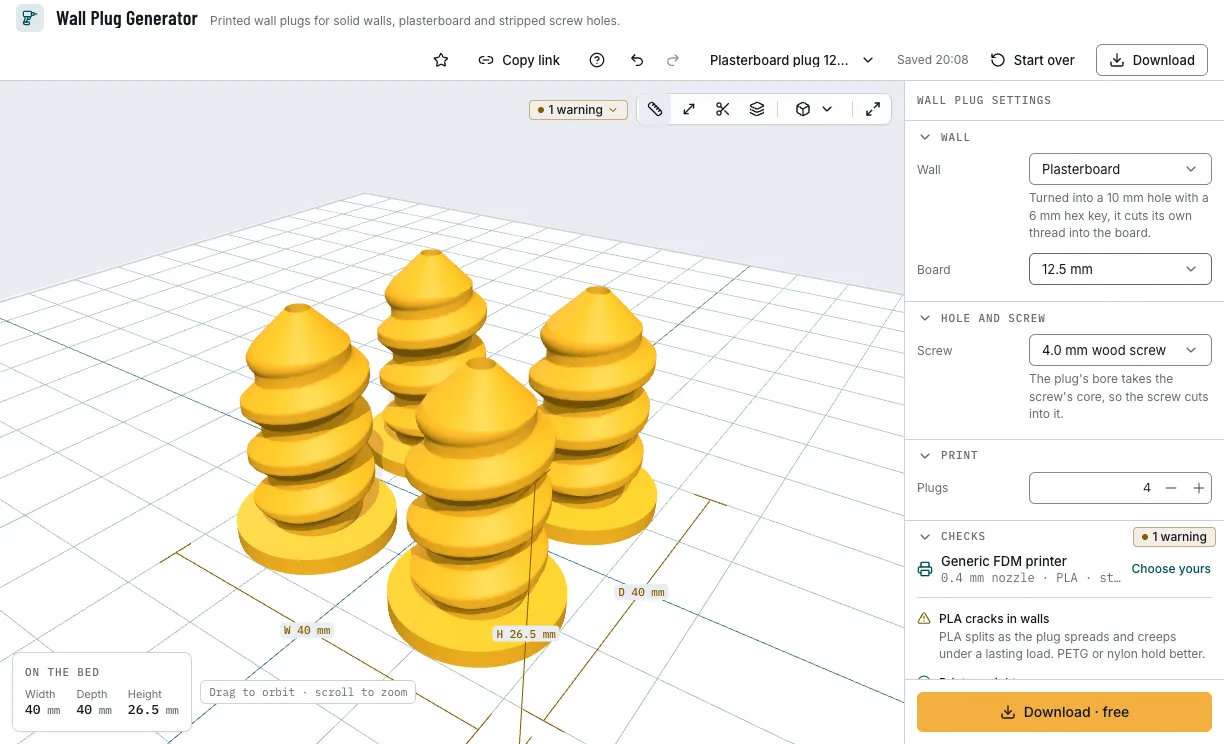
A plasterboard plug and its board. 3. Set the drill and the screw
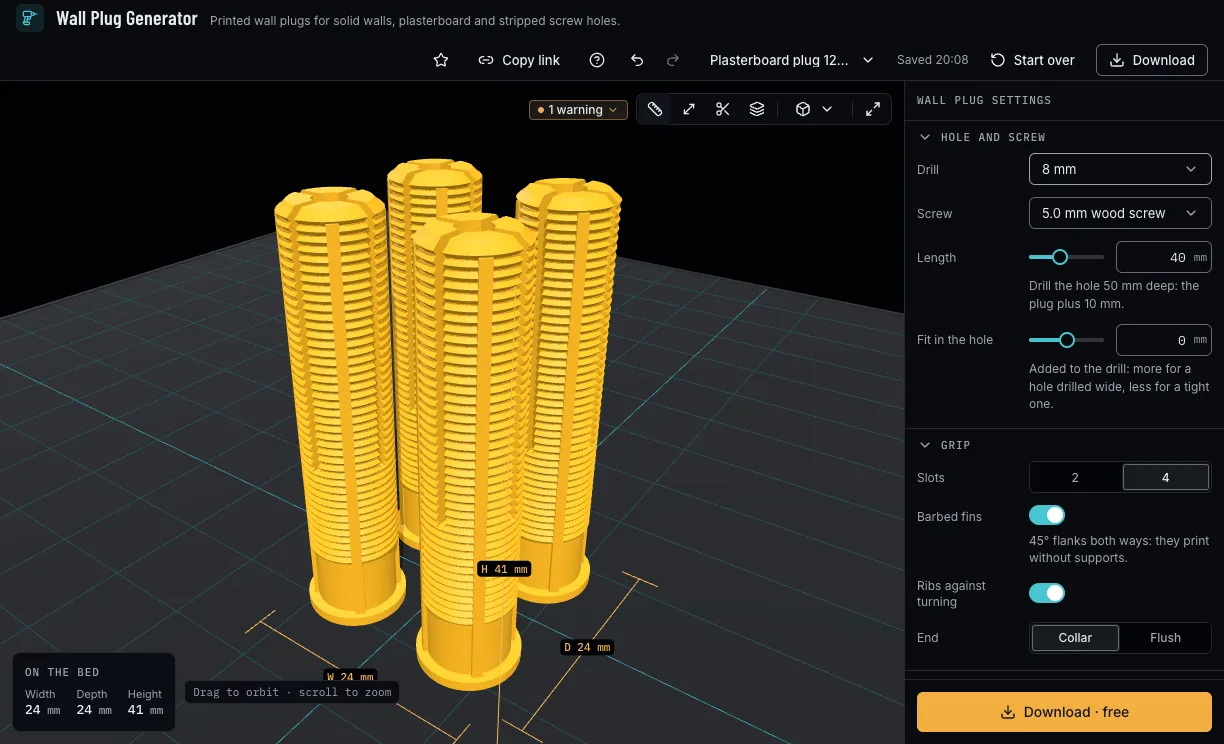
Pick the drill you made the hole with and the wood screw. A drill brings the usual plug length for it and, when the screw is outside its range, the largest screw it takes. Set the length in the wall and Fit in the hole for a hole drilled wide or tight; for a solid wall, drill the hole 10 mm deeper than the plug.
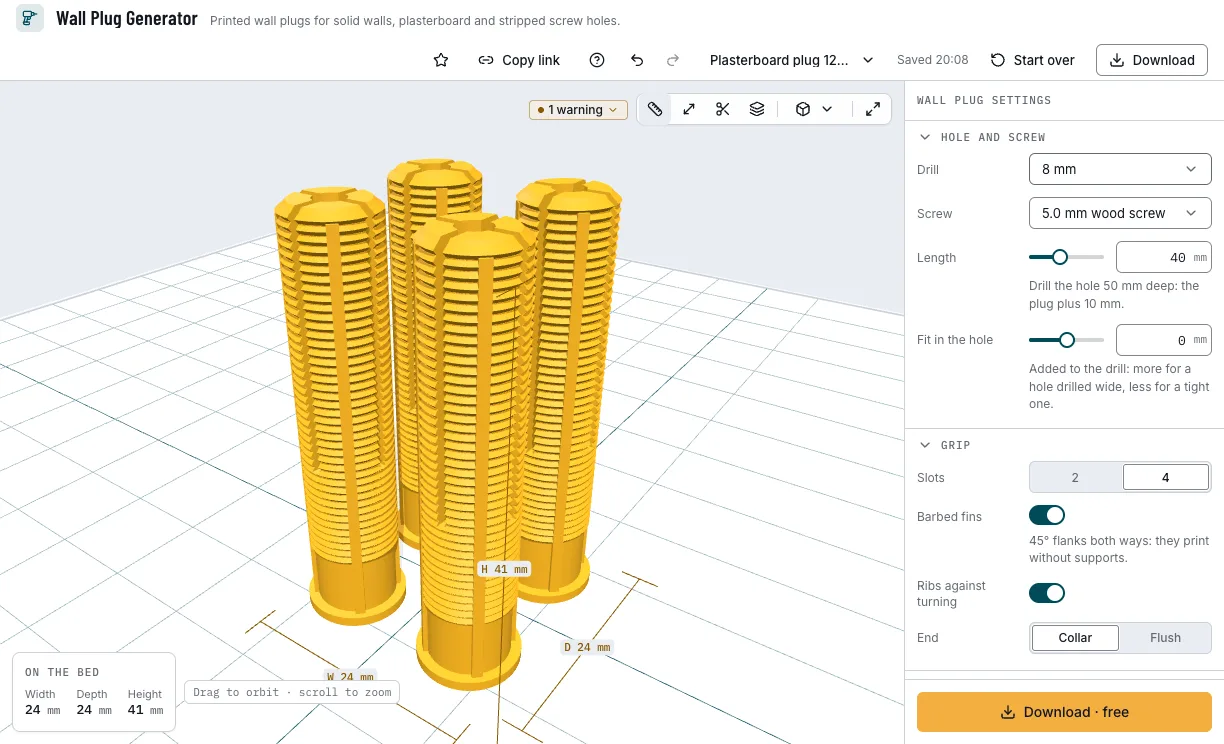
The drill, the screw and the plug's length. 4. Tune the grip
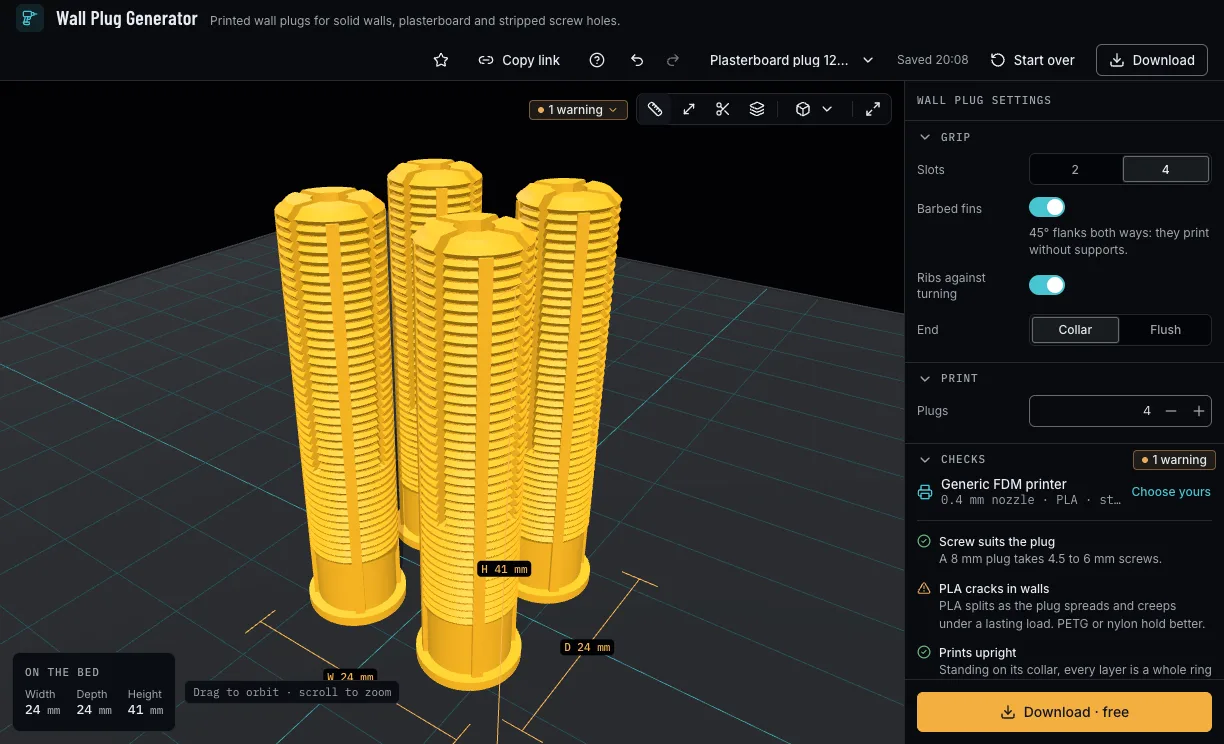
Two or four slots and barbed fins for a solid wall, ribs against turning, and a collar or a flush end. The plasterboard plug has no Grip section: it holds by the thread it cuts into the board.
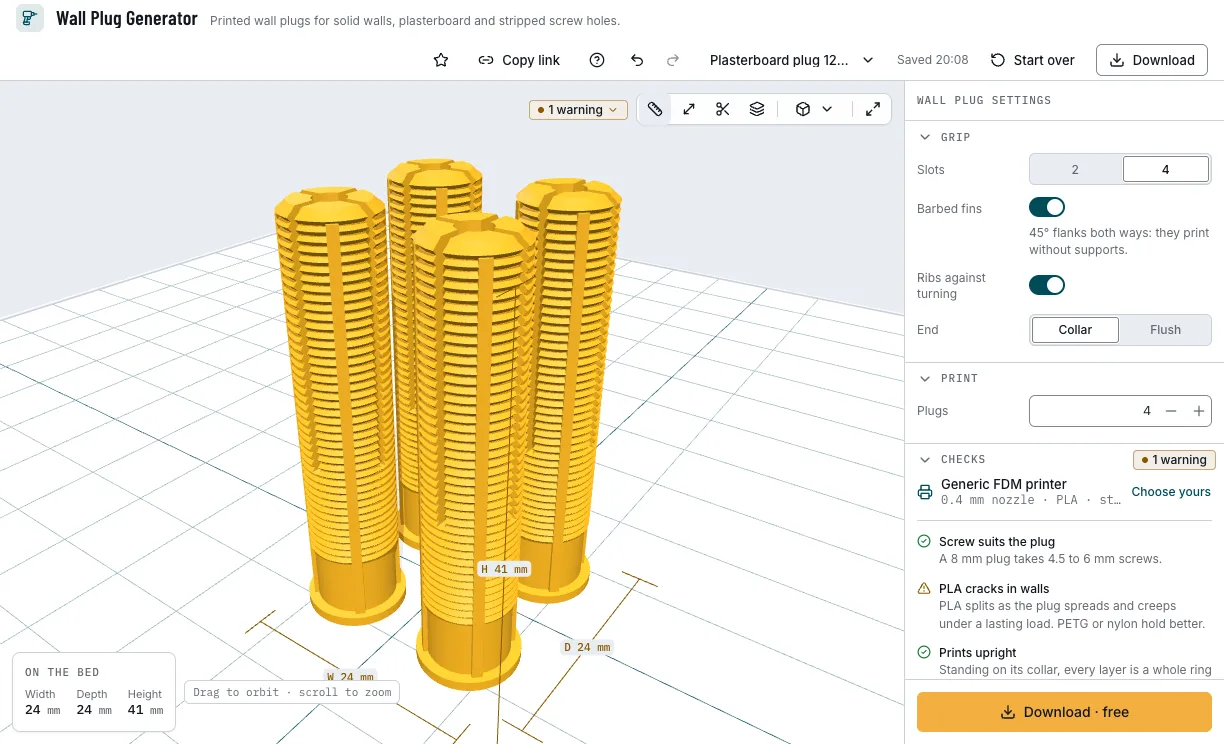
Slots, fins, ribs and the collar. 5. Check it and download
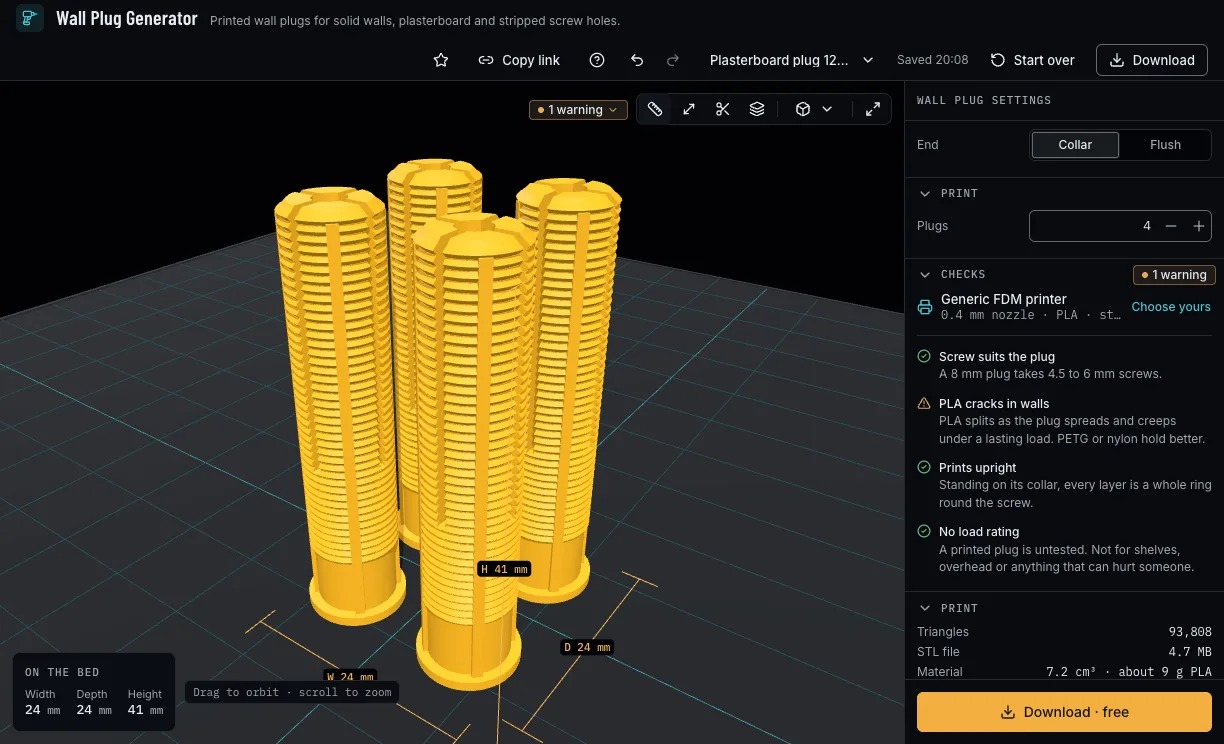
The checks say whether the screw suits the plug, whether the wall round the screw is thick enough for your printer and whether your filament suits a plug. Set how many plugs you want, 1 to 24 on one plate, then download 3MF or STL.
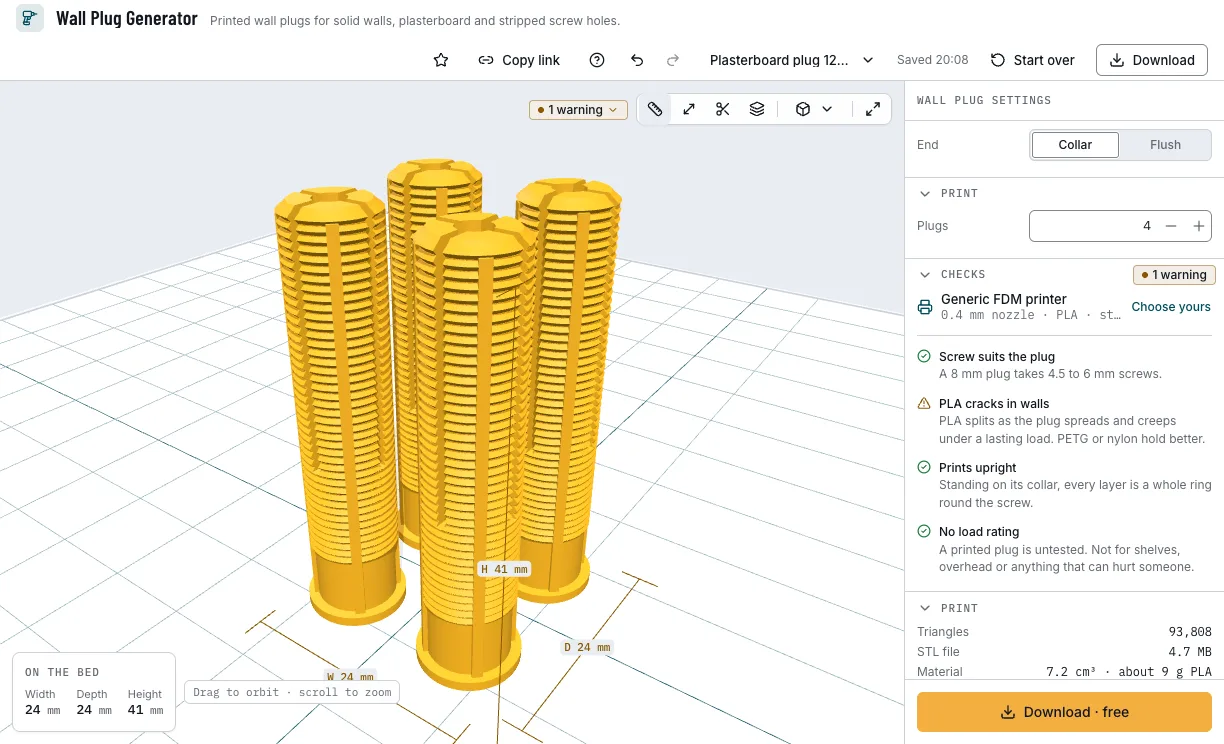
The checks and the download.
Which wall plugs can you start from?
Each example opens in Wall Plug Generator as a new design, beside your own.
Solid 8 mm, screw 5
The everyday plug for brick or concrete, four on a plate.
- 8 × 40 mm
- 5.0 mm screw
- 4 plugs
- Free
Solid 6 mm, screw 4
A smaller plug for light fixings, eight on a plate.
- 6 × 30 mm
- 4.0 mm screw
- 8 plugs
- Free
Plasterboard 12.5 mm
A screw-in plug for a 10 mm hole in 12.5 mm plasterboard.
- 12.5 mm board
- 4.0 mm screw
- Free
Wood repair 8 mm
A sleeve glued into a stripped screw hole, so the screw grips again.
- 8 × 25 mm
- 5.0 mm screw
- Free
Which print settings work best for wall plugs?
Every plug prints standing on its collar, flange or end, its axis up, so each layer is a whole ring round the screw. It needs no supports: the fins' 45° flanks print as they are. Print with full infill. The layer height is a starting point; the thinnest wall is the one the printer checks hold each filament to.
| Filament | Layer height to start | Thinnest wall | Supports | Notes |
|---|---|---|---|---|
| PETG | 0.2 mm | 0.8 mm | None | PETG or nylon: PLA splits as the plug spreads, and the checks warn about it. |
Tips for wall plugs that hold
- Drill the hole 10 mm deeper than a solid-wall plug; the Length line says how deep.
- Run your printer's fit test first: the bore is the screw's core plus your printer's measured hole offset, so the screw cuts into the plug.
- For plasterboard, drill a 10 mm hole and turn the plug in with a 6 mm hex key until its flange meets the board, then drive the screw.
- Keep printed plugs for light things: never for shelves, overhead or anything that can hurt someone if it falls.
- Before you print, check it on the view's bar: Dimensions shows its size, Measure the distance between two points, Section cuts it open and Layers steps through it as your printer will.
What if the plug spins, splits or the screw will not suit it?
- The plug turns in the hole as the screw goes in
- Turn on Ribs against turning, raise Fit in the hole a step (0.05 mm) for a hole drilled wide, and keep the collar so the plug cannot slide in.
- The checks say the screw is outside the plug's range
- Press Apply for the nearest screw the drill takes, or pick another drill: a smaller screw will not spread the plug, a larger one may split it.
- The checks say the wall is too thin
- The bore leaves less wall than your printer makes reliably. For a solid or wood plug, Apply picks the next larger plug with its usual length; or choose a smaller screw.
- The plug splits as the screw goes in
- Print it in PETG or nylon rather than PLA, with full infill, and check the screw suits the drill.
Is Wall Plug Generator free?
Yes. Every wall, size and download is free; downloading needs a free NabiMakes account, which also keeps your projects.
Free
Free- Solid wall, plasterboard and wood repair plugs
- Every drill, screw and grip
- Up to 24 plugs on one plate
- 3MF and STL
Every setting, with its range and default
Lengths are in millimetres. Each setting shows only where it applies: the board for plasterboard, the drill, length, fit and grip for a solid wall or wood.
| Setting | Range | Default | What it does |
|---|---|---|---|
| Wall | |||
| Wall | Solid, Plasterboard, Wood repair | Solid | Solid for brick, concrete or stone, Plasterboard, or Wood repair for a stripped screw hole. |
| Board | 9.5 mm, 12.5 mm, 15 mm | 12.5 mm | The plasterboard's thickness; the plug reaches 12 mm past it. |
| Hole and screw | |||
| Drill | 5 mm, 6 mm, 8 mm, 10 mm | 8 mm | The drill the hole was made with; it brings the usual length and a screw it takes. |
| Screw | 3.0, 3.5, 4.0, 4.5, 5.0, 6.0 mm | 5.0 mm wood screw | A metric wood screw; the bore takes its core, so the screw cuts into the plug. |
| Length | 15–80 mm | 40 mm | The plug in the wall, without its collar: as deep as a stripped hole, or 10 mm less than a hole in a solid wall. |
| Fit in the hole | −0.3–0.3 mm | 0 mm | Added to the drill: more for a hole drilled wide, less for a tight one. |
| Grip | |||
| Slots | 2, 4 | 4 | A solid-wall plug's slits towards the tip, so it spreads. |
| Barbed fins | On, off | On | Barbs with 45° flanks both ways on a solid-wall plug; they print without supports. |
| Ribs against turning | On, off | On | Small ribs along the plug that stop it turning in the hole. |
| End | Collar, Flush | Collar | A collar that stops the plug sliding into the hole, or a flush end. |
| Plugs | 1–24 | 4 | How many plugs on the plate. |