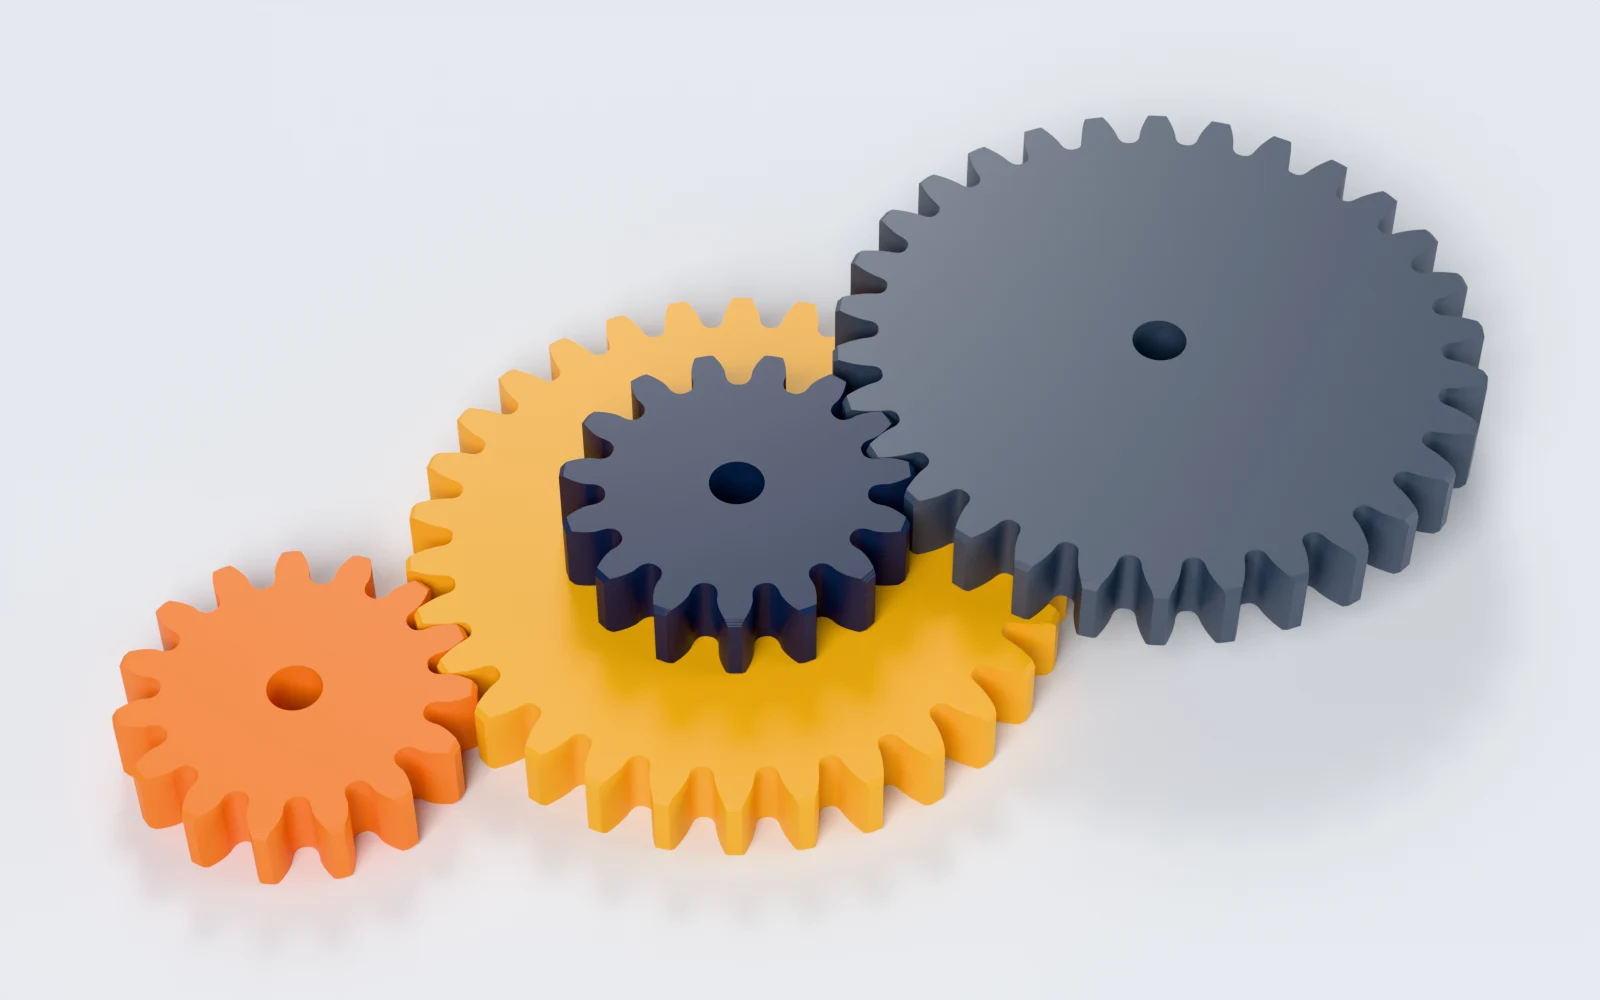
What can you make with Gear Studio?
Trains of up to 32 gears: spur gears with 6–200 teeth, ring gears and racks, module 0.5–10 mm. Makers use it for:
- A speed reduction for a motor, a winch or a crank.
- Gears for a clock, a toy or a kinetic sculpture, checked by watching them turn first.
- Compound gears on a shared axle, ring gears and rack-and-pinion drives.
- Flat SVG outlines of gears for laser cutting or a drawing.
How do you design a gear train, step by step?
Everything is in the panel beside the gears, which turn and update as you change them. Select a gear in the list or the view to change it.
1. Build the train
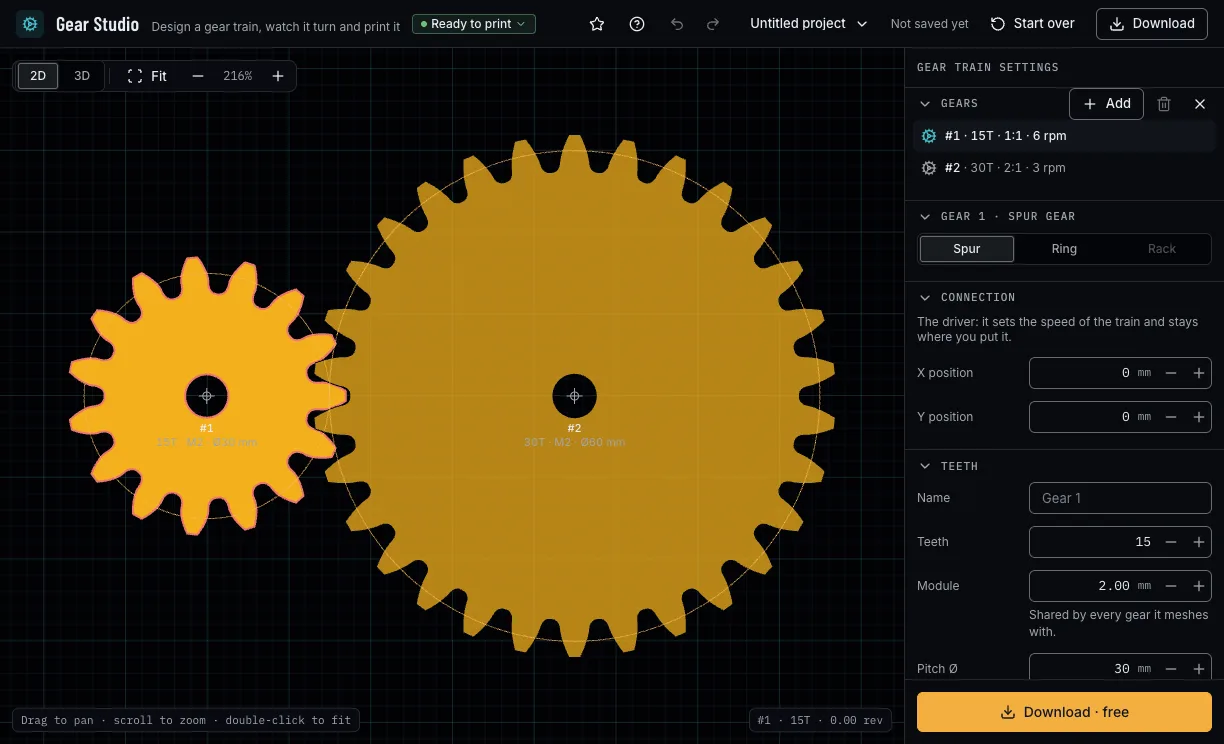
A new train is a 15-tooth driver meshing with a 30-tooth gear. Add a spur gear that meshes, one on the same axle, a ring gear around it or a rack, and set where each meshes by its angle round its parent.
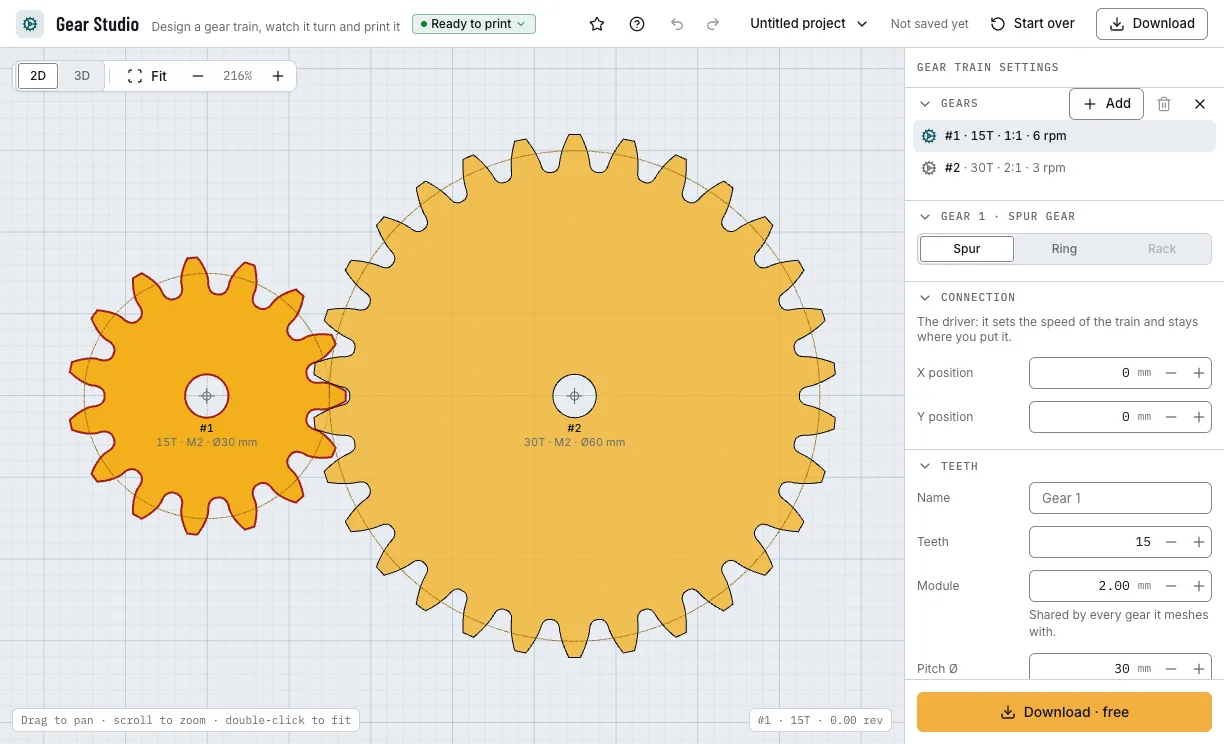
The gears of the train. 2. Set the teeth
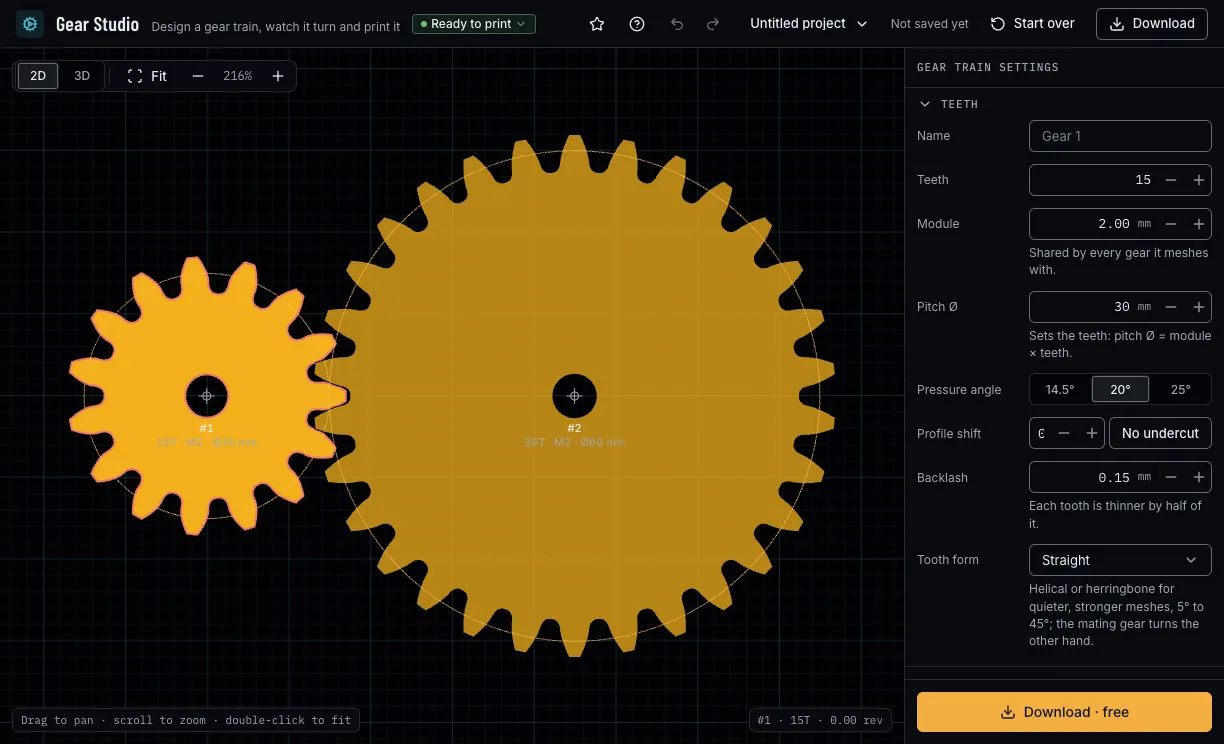
Give each gear its teeth; the module and the pressure angle are shared by the gears it meshes with. Profile shift and No undercut help small gears, and the backlash is the play printing needs.
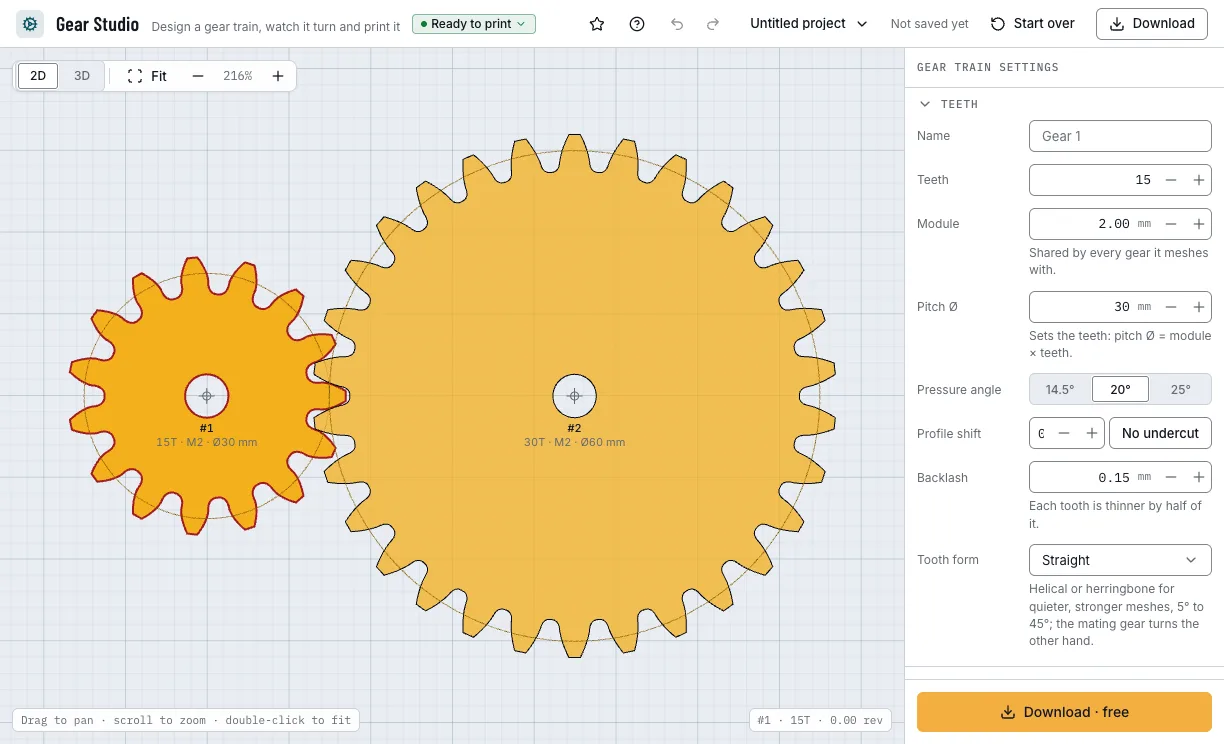
The teeth, the module and the play. 3. Fit it to your shaft
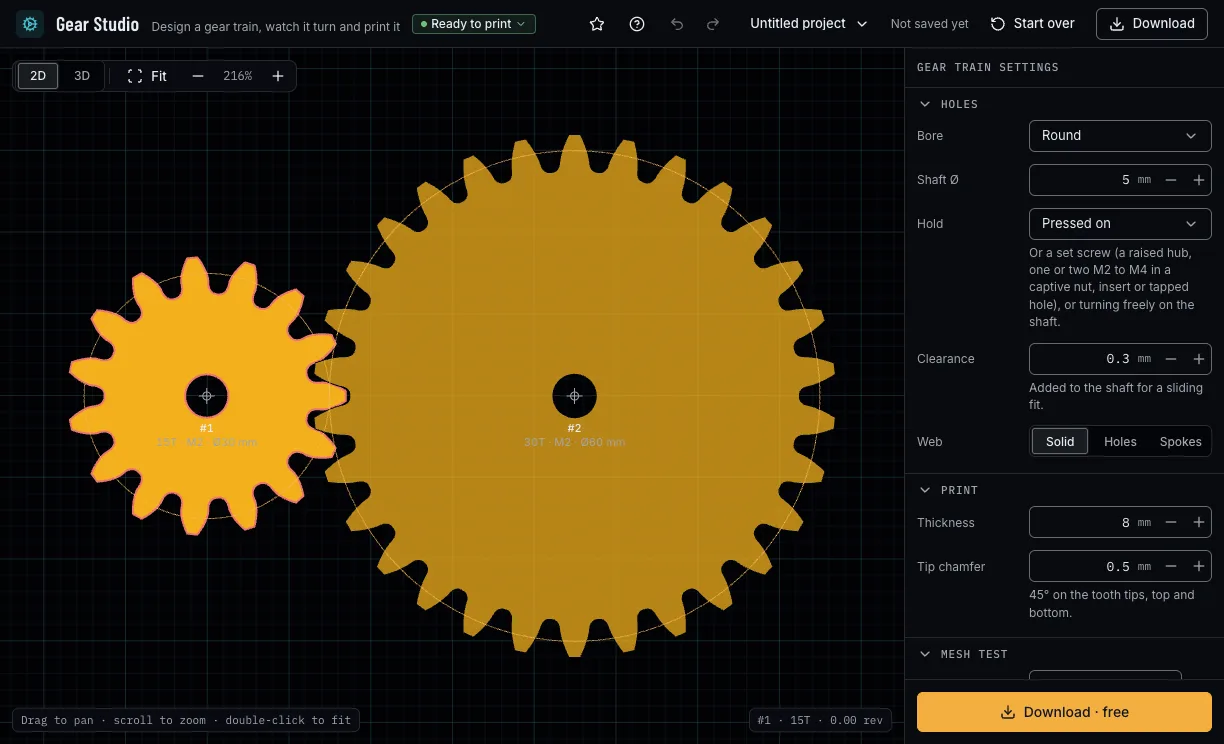
Pick a round, D, hex or keyway bore for your shaft, with a clearance for a sliding fit, and a solid web, round holes or spokes to save filament. Under Print, set the thickness and the tip chamfer.
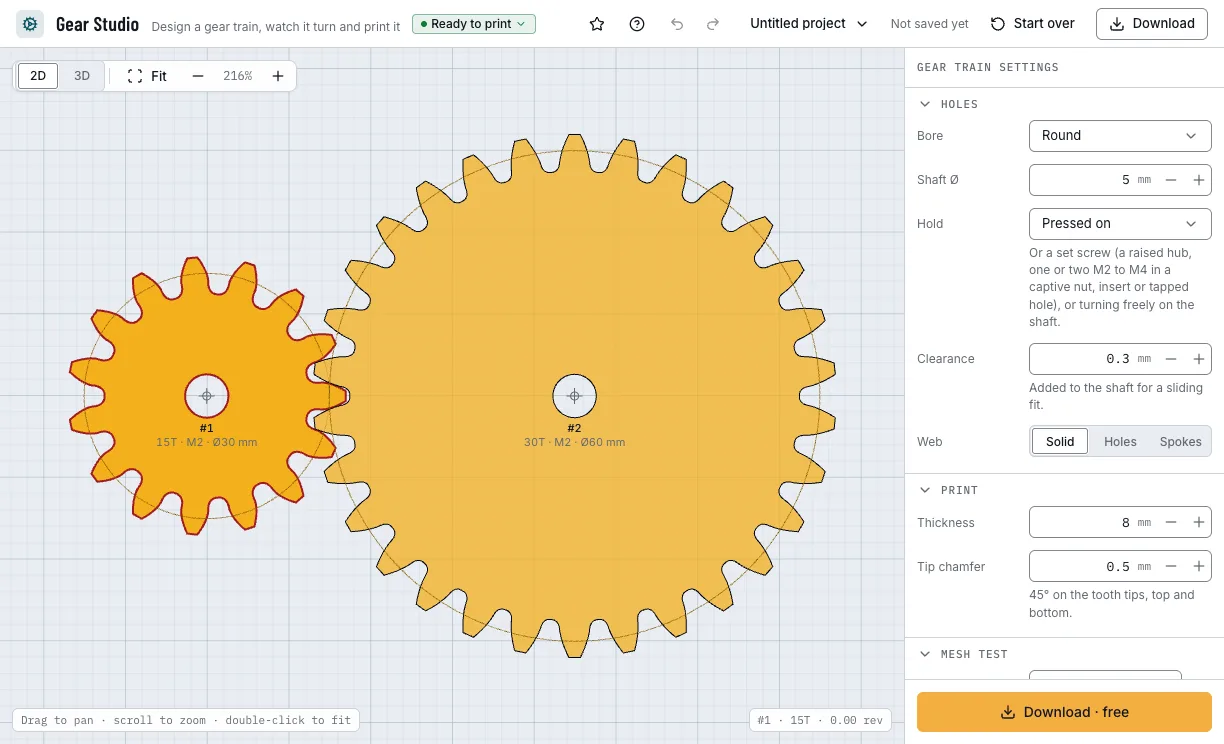
The bore and the web. 4. Watch it turn
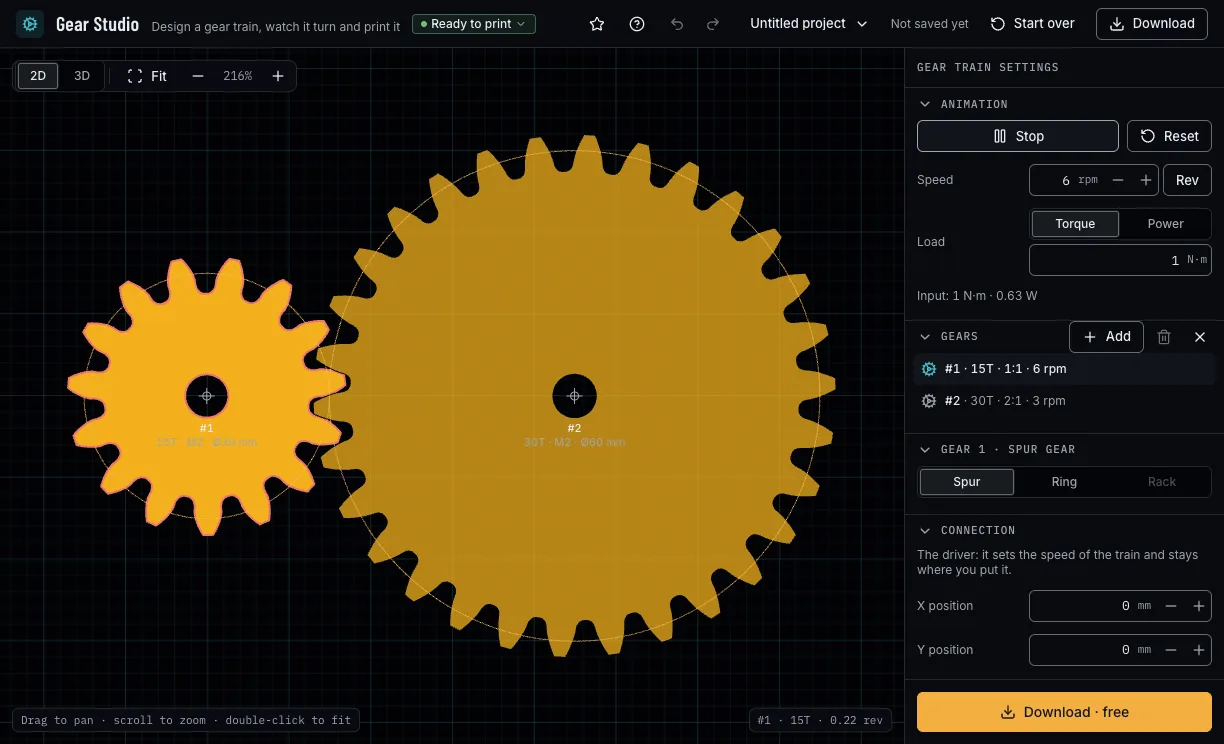
Start the animation: every gear turns at its speed and direction. Motion shows the selected gear's ratio, speed and torque from the driver's speed and load, and Checks says whether every gear meshes, fits and prints.
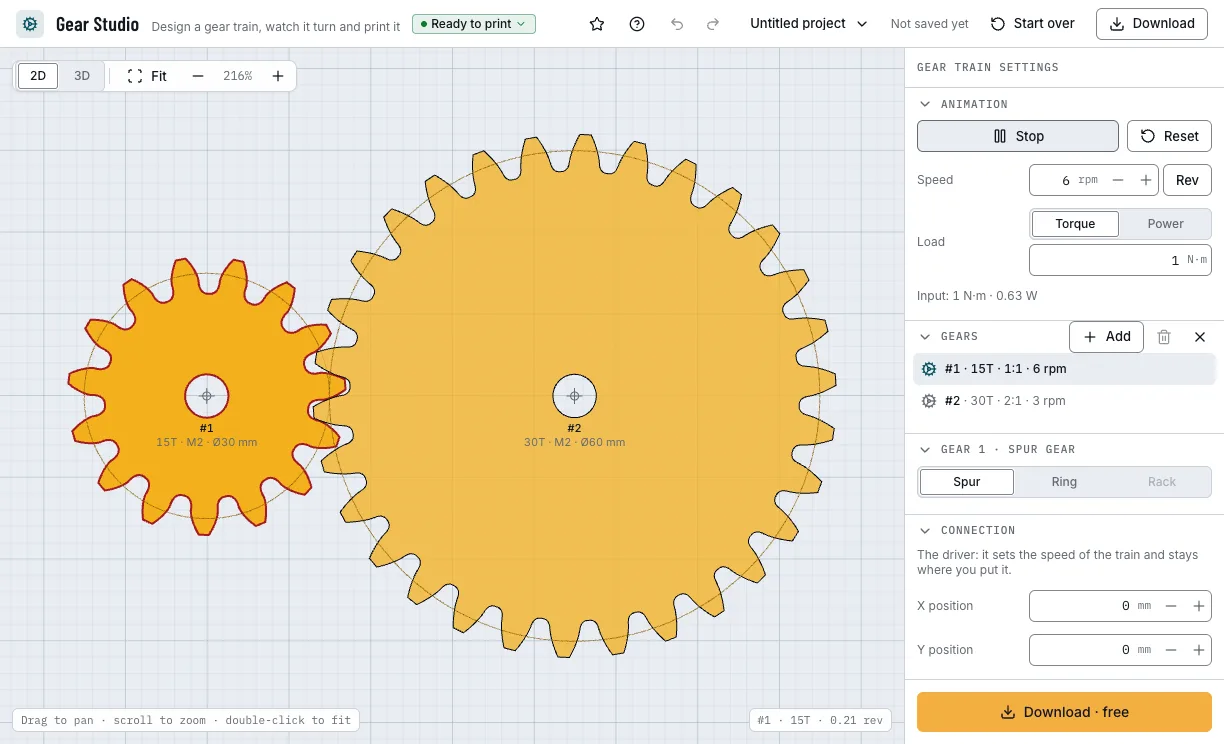
The train turning, with its speed and load. 5. Download
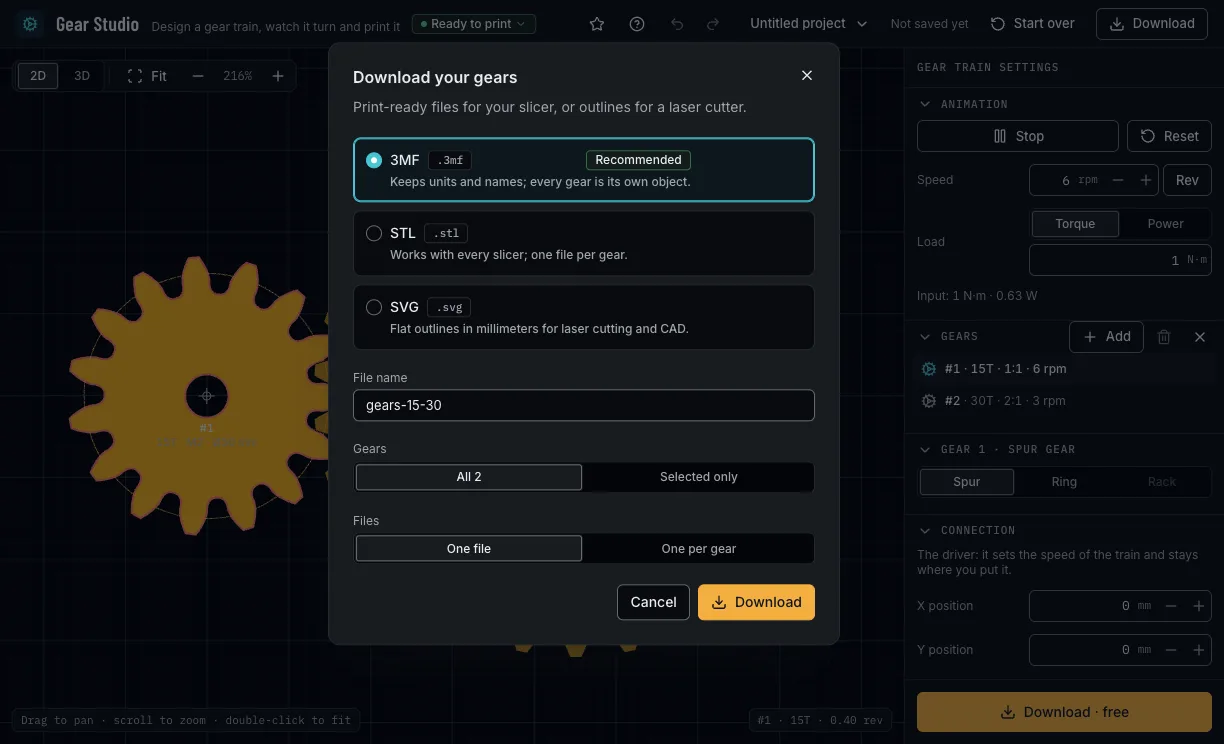
Download 3MF, STL or SVG with a free NabiMakes account: all the gears or only the selected one, in one file or one per gear, laid out to print.
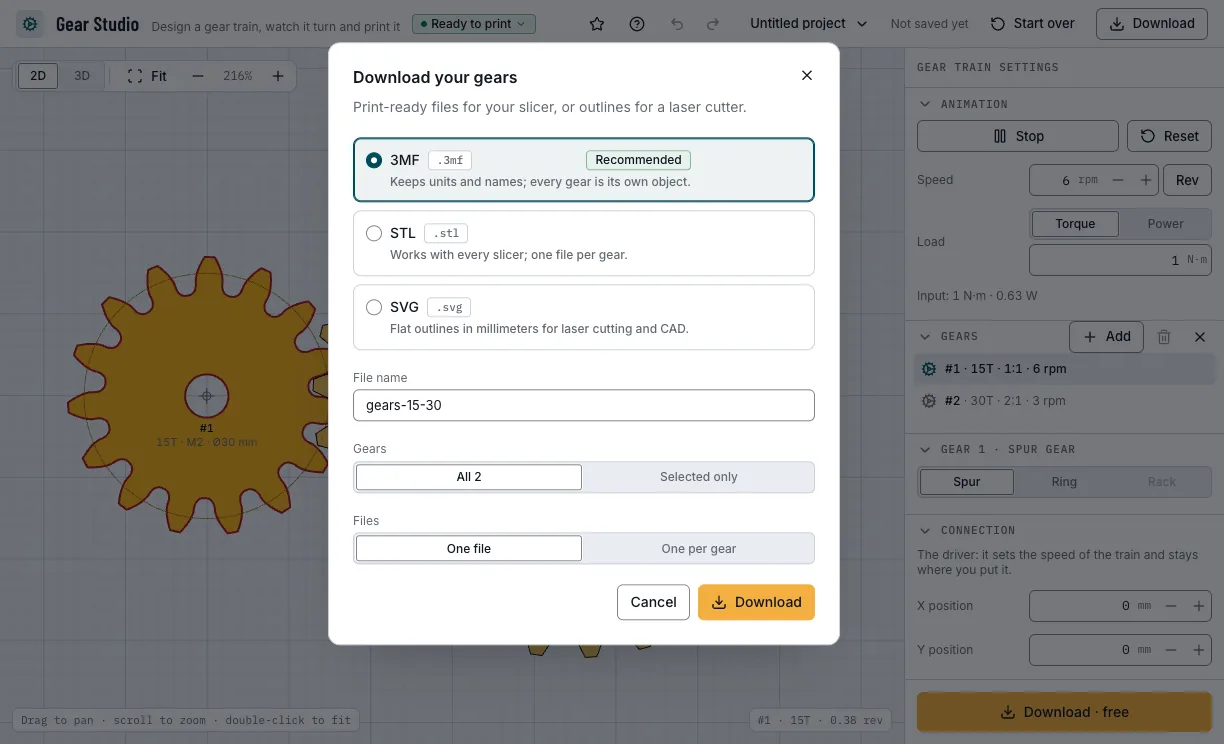
The download: 3MF, STL or SVG.
Which gear trains can you start from?
Each example opens in Gear Studio as a new design, beside your own.
2:1 reduction
A 15-tooth driver and a 30-tooth gear: half the speed, twice the torque.
- 15 and 30 teeth
- Module 2
- 5 mm bores
- Free
4:1 compound
Two 2:1 stages, the second on the first's axle, for a big reduction in a small space.
- Two stages
- Shared axle
- Module 2
- Free
Ring gear
A 48-tooth ring that drives the 30-tooth gear inside it, both turning the same way.
- 48 and 30 teeth
- Internal mesh
- Free
Which print settings work best for gears?
Gears download laid flat, ready to print without supports. The layer height is a starting point for your slicer; the printer checks hold the bore's fit to your filament.
| Filament | Layer height to start | Thinnest wall | Supports | Notes |
|---|---|---|---|---|
| PLA | 0.2 mm | 0.8 mm | None | Crisp teeth; fine for light loads and models. |
| PETG | 0.2 mm | 0.8 mm | None | Tougher teeth that wear less; check the bore's fit, it needs a little more room. |
Tips for gears that run smoothly
- Keep the module at 2.5 times your nozzle or more: from there the flanks print cleanly.
- Gears under about 14 teeth at 20° undercut: press No undercut to shift the profile.
- Watch the train turn before you print: a collision shows at once.
- Print a pair first to try the backlash and the bore on your printer.
- Before you print, check it on the view's bar: Dimensions shows its size, Measure the distance between two points, Section cuts it open and Layers steps through it as your printer will.
What if gears jam, collide or the bore is tight?
- Two gears overlap without meshing
- Turn one of them to another angle round its parent, or stack it on an axle.
- The teeth are pointed
- Lower the profile shift or the backlash.
- A ring gear jams
- A ring needs more teeth than the gear inside it: 12 more at 20°, 15 at 14.5° and 10 at 25°.
- The bore reaches the teeth
- Make the bore smaller or the gear bigger.
- The gears bind on the printed parts
- Raise the backlash a little, or the bore's clearance for a tight shaft, and print them again.
Is Gear Studio free?
Yes. Every gear, setting and download is free; downloading needs a free NabiMakes account, which also keeps your gear trains.
Free
Free- Up to 32 spur gears, ring gears and racks
- Bores, set screws in a raised hub, holes and spokes
- Straight, helical and herringbone teeth
- A mesh test for the backlash
- The animation with ratio, speed and torque
- 3MF, STL and SVG
Every setting, with its range and default
Lengths are in millimetres. Gear Studio refuses values outside these ranges.
| Setting | Range | Default | What it does |
|---|---|---|---|
| Animation | |||
| Speed | 0.1–600 rpm | 6 rpm | The driver's speed. |
| Rev | On, off | Off | Turns the driver clockwise. |
| Load | Torque, power | Torque | What the driver's load is given as. |
| Load value | 0–1000 N·m, 0–10000 W | 1 N·m | The torque or the power at the driver. |
| Gear and connection | |||
| Type | Spur, ring, rack | Spur | A ring gear has its teeth inside; a rack is straight. |
| X and Y position | −2000–2000 mm | 0 mm | The driver only: where it sits. |
| Meshes with or same axle | Meshes, same axle | Meshes | How a gear joins its parent. |
| Angle | −360–360° | 0° | Where it meshes round its parent, from the right, counter-clockwise. |
| Teeth | |||
| Name | Up to 60 characters | None | Shown in the list and the file names; never printed. |
| Teeth | 6–200; racks 3–120 | 15; rings 48, racks 12 | Pitch Ø sets them too: module times teeth. |
| Module | 0.5–10 mm | 2 mm | The tooth size, shared by every gear it meshes with. |
| Pressure angle | 14.5°, 20°, 25° | 20° | Shared by every gear it meshes with. |
| Profile shift | −1–1.5 | 0 | Spur gears: moves the teeth outward; No undercut sets it. |
| Backlash | 0–1 mm | 0.15 mm | Each tooth is thinner by half of it. |
| Tooth form | Straight, helical, herringbone | Straight | Shared by a mesh; the mating gear turns the other hand. A ring is never herringbone. |
| Helix angle | 5° to 45° | 20° | How far the teeth lean; helical teeth push along the shaft, herringbone cancels it. |
| Holes | |||
| Bore | None, round, D shaft, hex, keyway | Round | Spur gears: the hole for the shaft. |
| Hold | Pressed on, set screw, turns freely | Pressed on | Set screws add a raised hub on the top face; turning freely needs a round bore. |
| Set screw | M2, M2.5, M3, M4 | M3 | Held by a captive nut, a heat-set insert or tapped into the plastic; one or two, 90° apart. |
| Held by | Nut, insert, tapped | Nut | What takes the set screw's thread. |
| Screws | One, two at 90° | One | On a D shaft the first presses on the flat. |
| Hub height | 3–40 mm | Raised to what the screw needs | The raised hub over the gear's top face. |
| Shaft Ø | 1–100 mm | 5 mm | The shaft's diameter, or across flats for hex. |
| Clearance | 0–1 mm | 0.3 mm | Added to the shaft for a sliding fit. |
| Web | Solid, holes, spokes | Solid | What lies between the hub and the teeth. |
| Holes or spokes | 3–12 | 5 | How many, when the web is not solid. |
| Hub Ø | 4–200 mm | 14 mm | The solid hub round the bore. |
| Thickness | 1–100 mm | 8 mm | The printed face width; a new gear takes its parent's. |
| Tip chamfer | 0–3 mm | 0.5 mm | 45° on the tooth tips, top and bottom. |
| Rim or back | 1–50 mm | Rings 5 mm, racks 6 mm | A ring's material beyond its teeth; a rack's behind them. |
| Download | |||
| Format | 3MF, STL, SVG | 3MF | SVG gives flat outlines for laser cutting and CAD. |
| Gears | All, selected only | All | Which gears the download holds. |
| Files | One file, one per gear | One file | 3MF with several gears: one file, or one per gear. |
| Mesh test | Spur pairs | A download of its own | The pair thin on two pegs, the smaller gear at three backlash steps; the one that runs best sets both gears. |