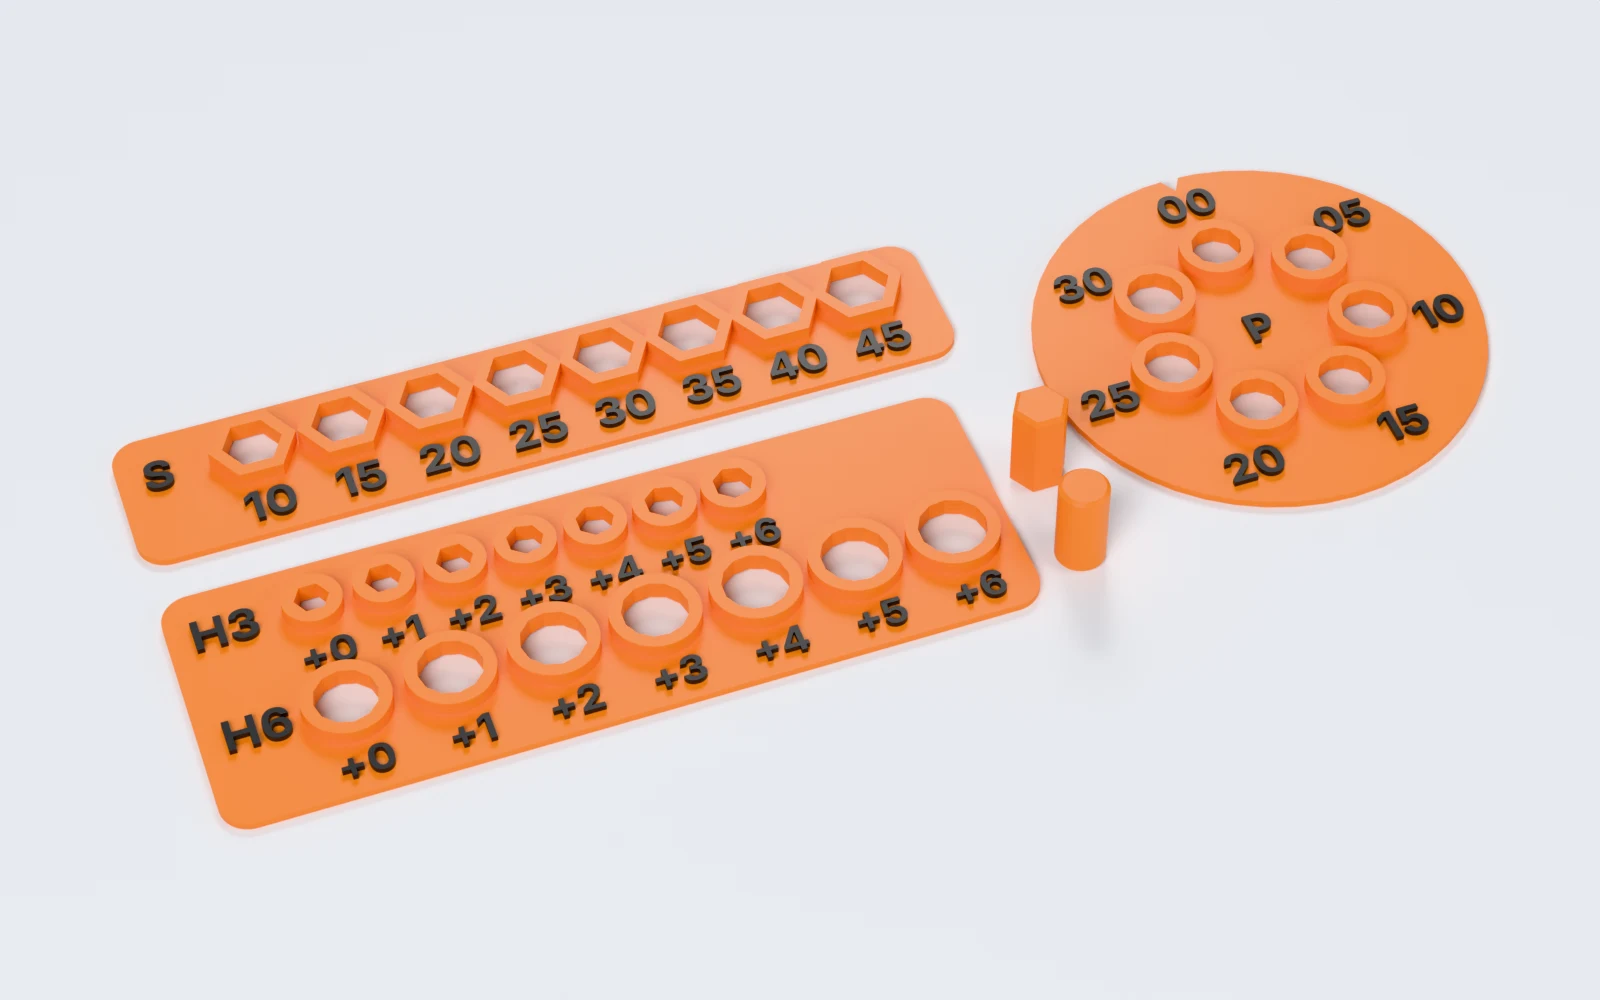
What can you measure with Fit Test Generator?
One print, about 7 g of PLA with every piece. Makers print it when:
- Lids, sliders and drawers jam or wobble on their printer.
- Holes for screws, magnets or bearings print too small.
- They change to a new filament, nozzle or layer height.
- They want every NabiMakes tool to use their printer's real fits instead of starting values.
How do you measure your fits, step by step?
The tool walks you through three steps: Printer, Print and Results. Saving is the last thing you do in Results.
1. Choose your printer and filament
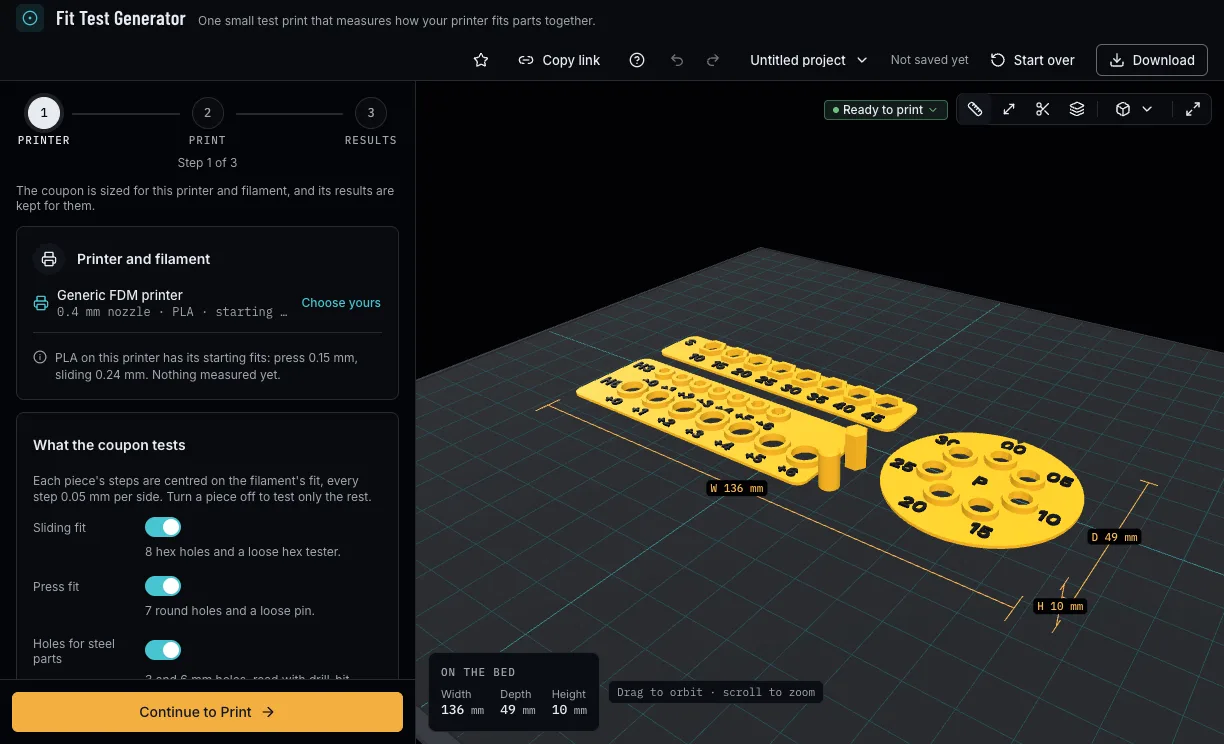
Pick the printer and the filament you want to test. The coupon's steps are centred on that filament's fits. Turn off any piece you do not need, and choose the colour of the raised numbers.
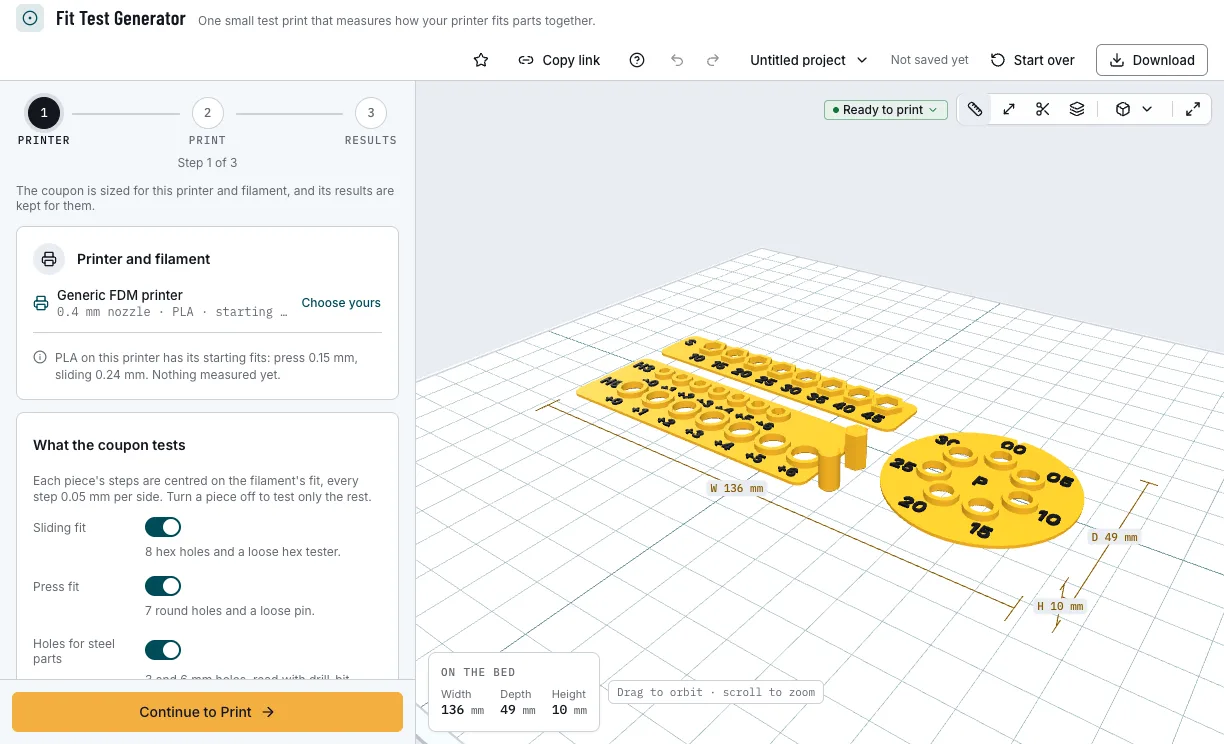
The printer, the filament and the pieces. 2. Print the coupon
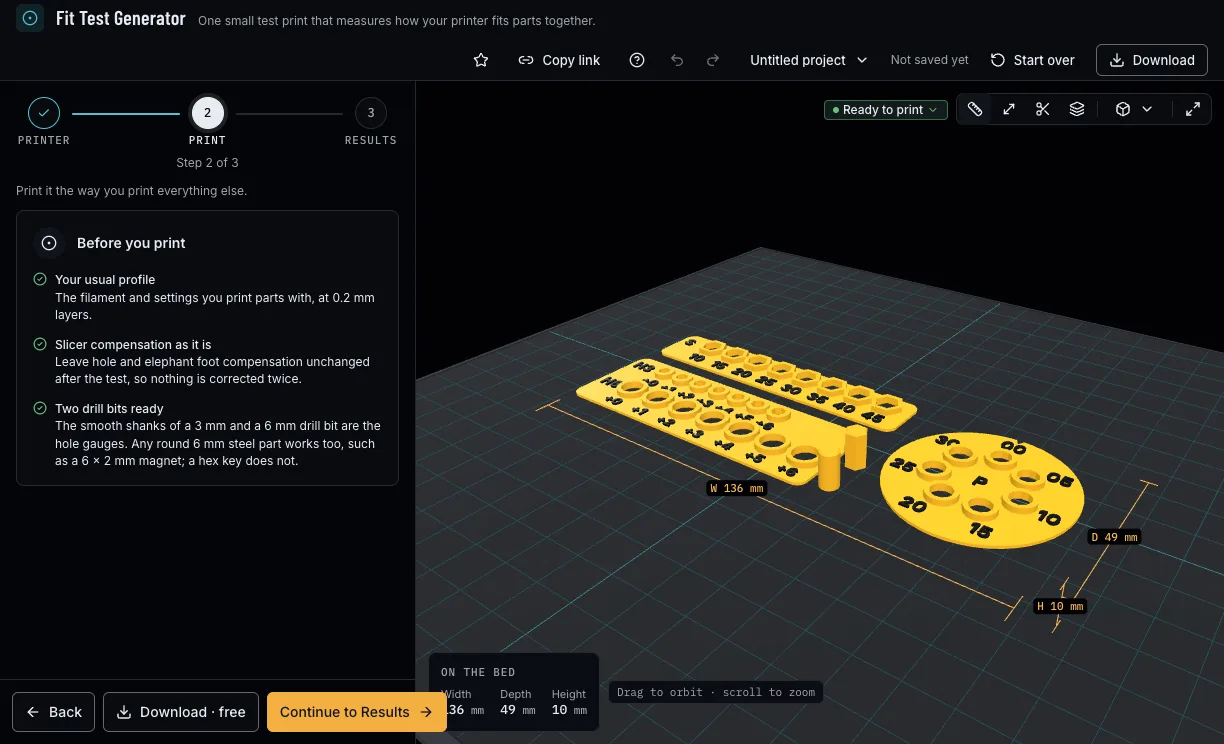
Download the 3MF with every piece on one plate, or a file per piece. Print it exactly as you print fitted parts, with the same nozzle, layer height and walls. Have the smooth shank of a 3 mm and a 6 mm drill bit ready for the holes.
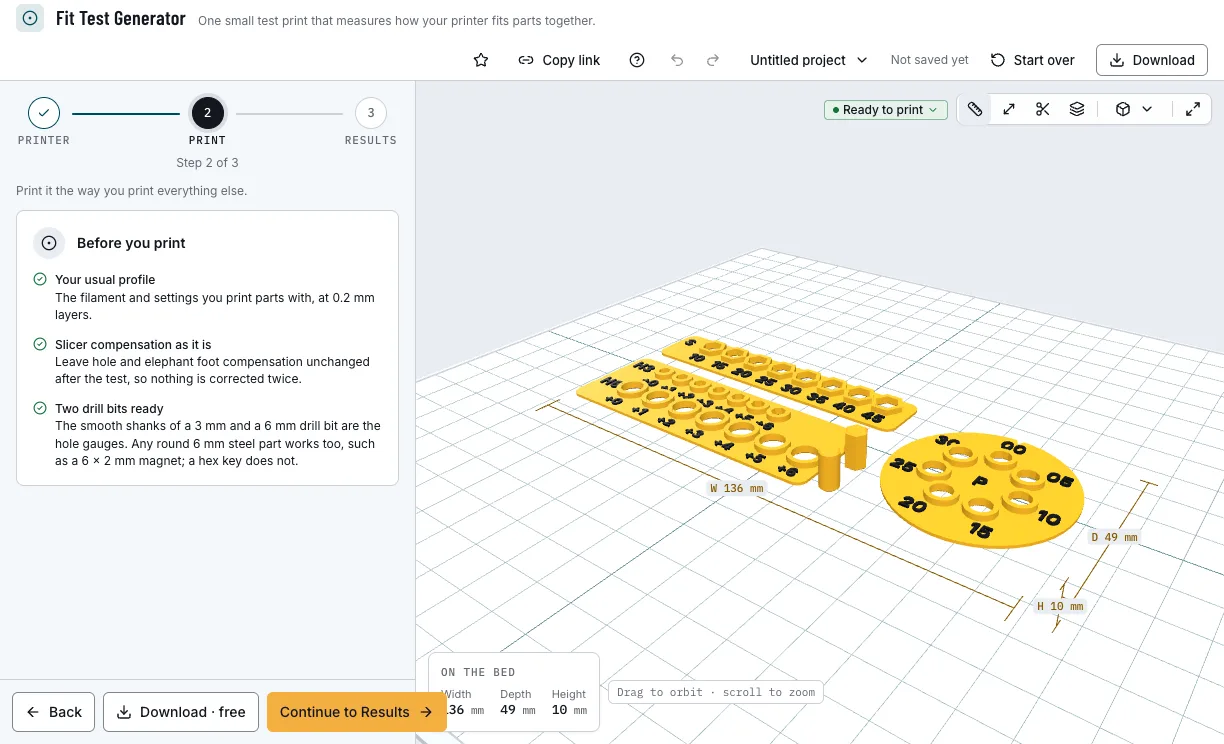
What to keep the same, and the download. 3. Pick the tightest step that fits
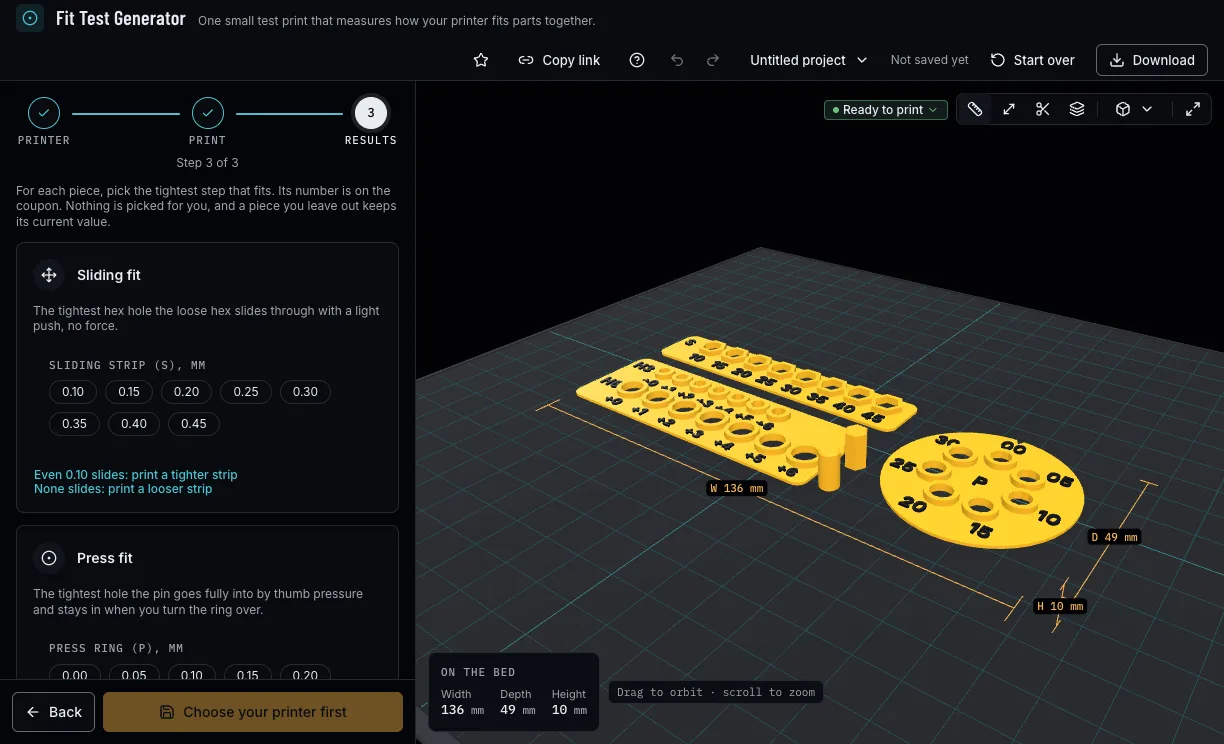
On the sliding strip, find the tightest hex hole the loose hex slides through with a light push. On the press ring, find the tightest hole the pin presses into. On the hole comb, find the tightest hole each drill bit goes into. Pick each step's number; nothing is picked for you.
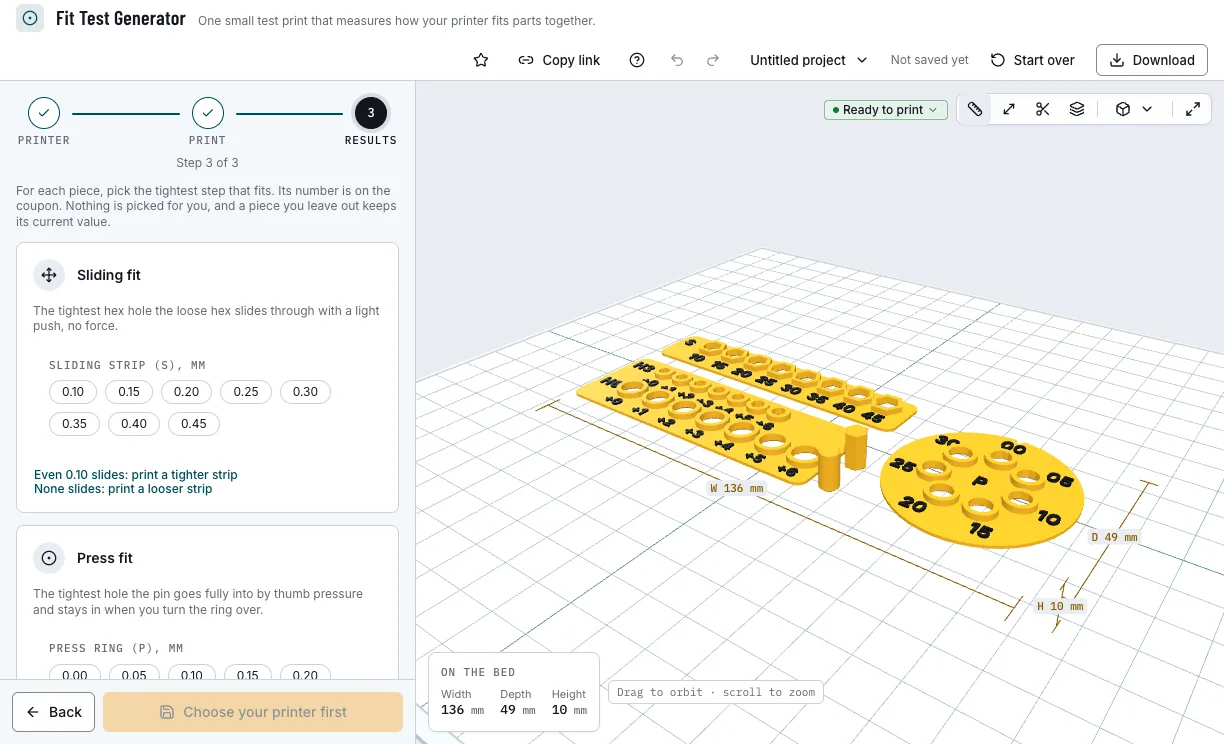
A row of steps for each piece. 4. Save your fits
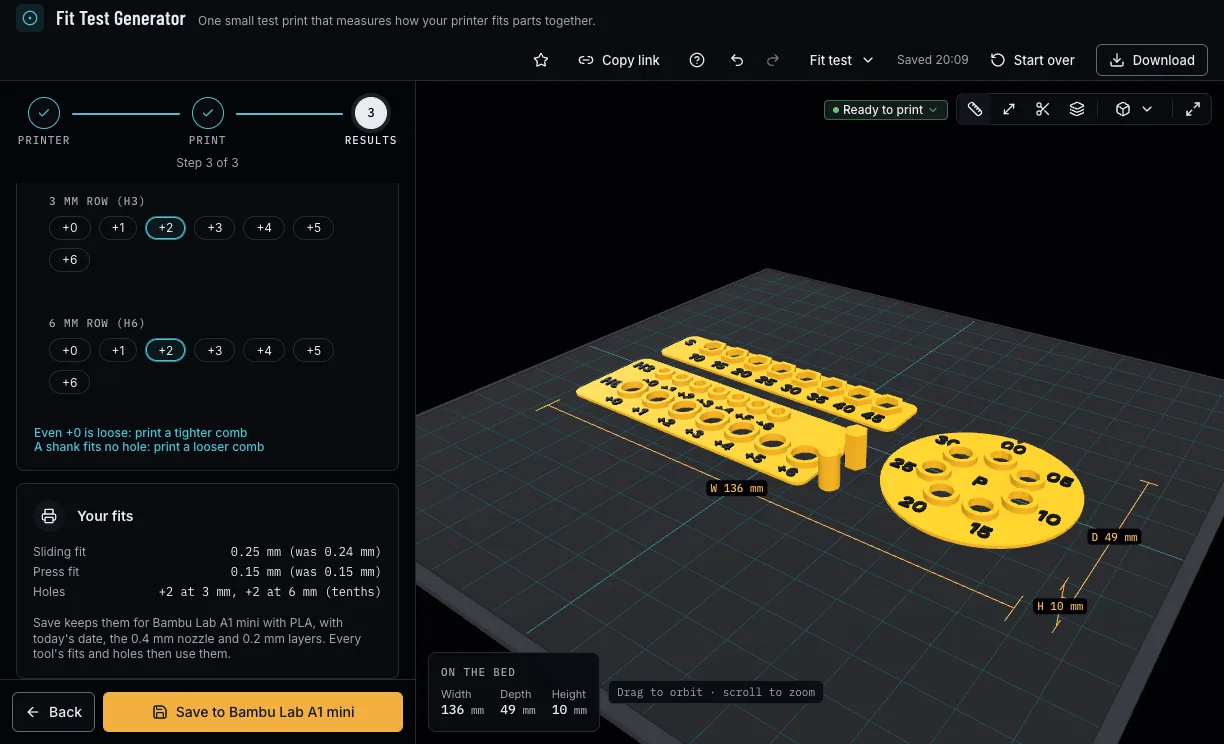
Your fits shows what you picked against the values the tools use now. Save to your printer keeps them with that printer and filament, dated, with the nozzle and layer height. Every tool's checks and holes use them from then on.
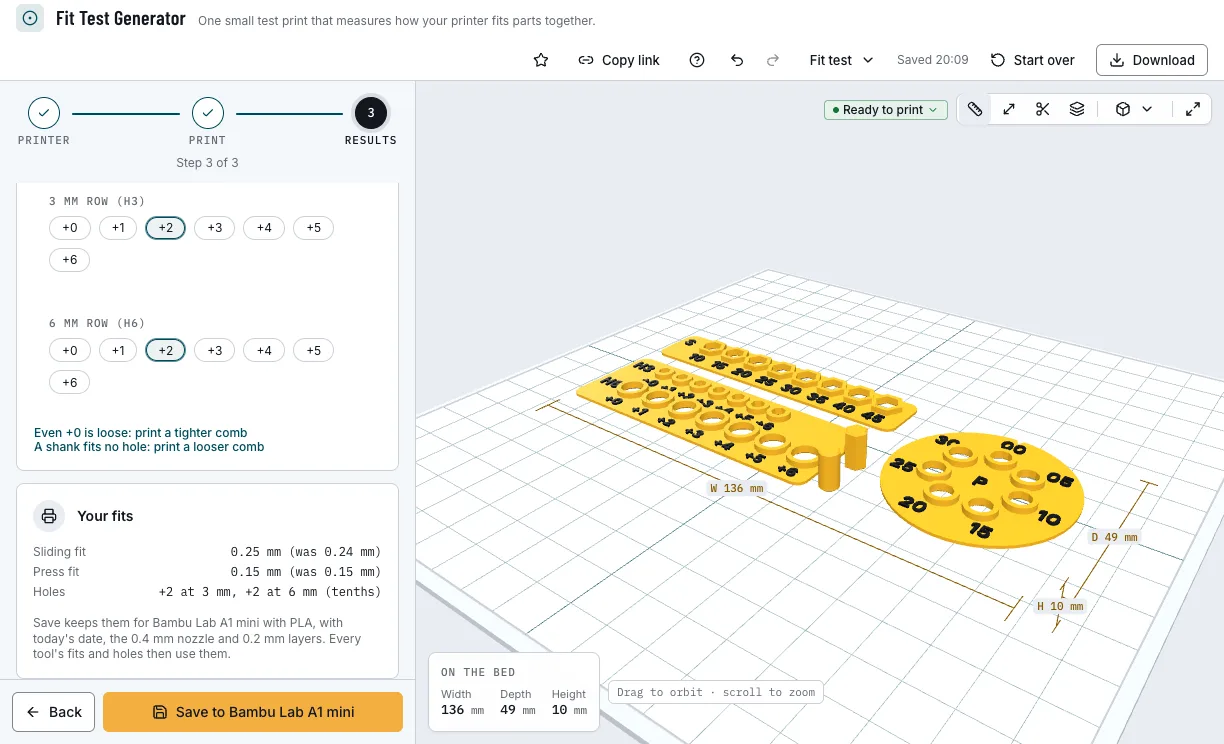
Your fits, ready to save.
Which coupons can you start from?
Each example opens in Fit Test Generator as a new design, beside your own.
The full coupon
Every piece on one plate: the sliding strip, the press ring and the hole comb.
- Sliding, press and holes
- About 136 × 49 mm
- Free
Holes only
Only the hole comb, for screws, magnets and bearings that go into printed holes.
- 3 and 6 mm holes
- Drill-bit shanks
- Free
Sliding and press fits
The sliding strip and the press ring, for lids, drawers and pins between printed parts.
- Hex strip
- Pin ring
- Free
Which print settings work best for the fit test?
Print the coupon with the settings you print fitted parts with: the results hold for those. It prints flat and needs no supports. If you change the nozzle or the layer height later, the tools keep your fits and remind you to print the coupon again.
| Filament | Layer height to start | Thinnest wall | Supports | Notes |
|---|---|---|---|---|
| PLA | 0.2 mm | 0.8 mm | None | The usual choice; the coupon's steps centre on PLA's starting fits. |
| PETG | 0.2 mm | 0.8 mm | None | Starts with more room than PLA; test it on its own coupon. |
Tips for an honest reading
- Let the coupon cool fully before you test it: warm plastic fits looser.
- Leave the slicer's hole and elephant-foot compensation as it is after the test, so nothing is corrected twice.
- Use the smooth shank of the drill bit, not the cutting end; a hex key is too wide across its corners.
- Test once per printer and filament: the results suit every part you print with them after.
- Before you print, check it on the view's bar: Dimensions shows its size, Measure the distance between two points, Section cuts it open and Layers steps through it as your printer will.
What if every step fits, or none does?
- Every step fits
- Results offers a coupon shifted tighter for that piece. Print it and pick again; nothing is saved until you do.
- No step fits
- Results offers a coupon shifted looser for that piece. Print it and pick again.
- Save is not offered
- Choose your own printer first: the generic printer keeps no fits. Every printed piece also needs a pick before you can save.
- The results were gone after the visit
- Without an account they last for the visit only. Log in before you save to keep them in your account.
Is Fit Test Generator free?
Yes. The coupon, the results and the download are free; downloading needs a free NabiMakes account, which also keeps your fits.
Free
Free- Every piece of the coupon
- Re-tests shifted tighter or looser
- Your fits saved per printer and filament
- 3MF and STL
Every setting, with its range and default
The coupon's steps follow your filament's fits, so only the pieces and the label colour are settings.
| Setting | Range | Default | What it does |
|---|---|---|---|
| What the coupon tests | |||
| Sliding fit | On, off | On | The sliding strip: 8 hex holes and a loose hex, 0.05 mm per side apart. |
| Press fit | On, off | On | The press ring: 7 round holes and a loose pin, 0.05 mm per side apart. |
| Holes for steel parts | On, off | On | The hole comb: seven 3 mm and seven 6 mm holes, 0.1 mm apart, read with drill bits. |
| Labels | |||
| Label colour | 22 options | Navy | The raised numbers' colour. In 3MF they are their own part, so they can print in a second filament. |